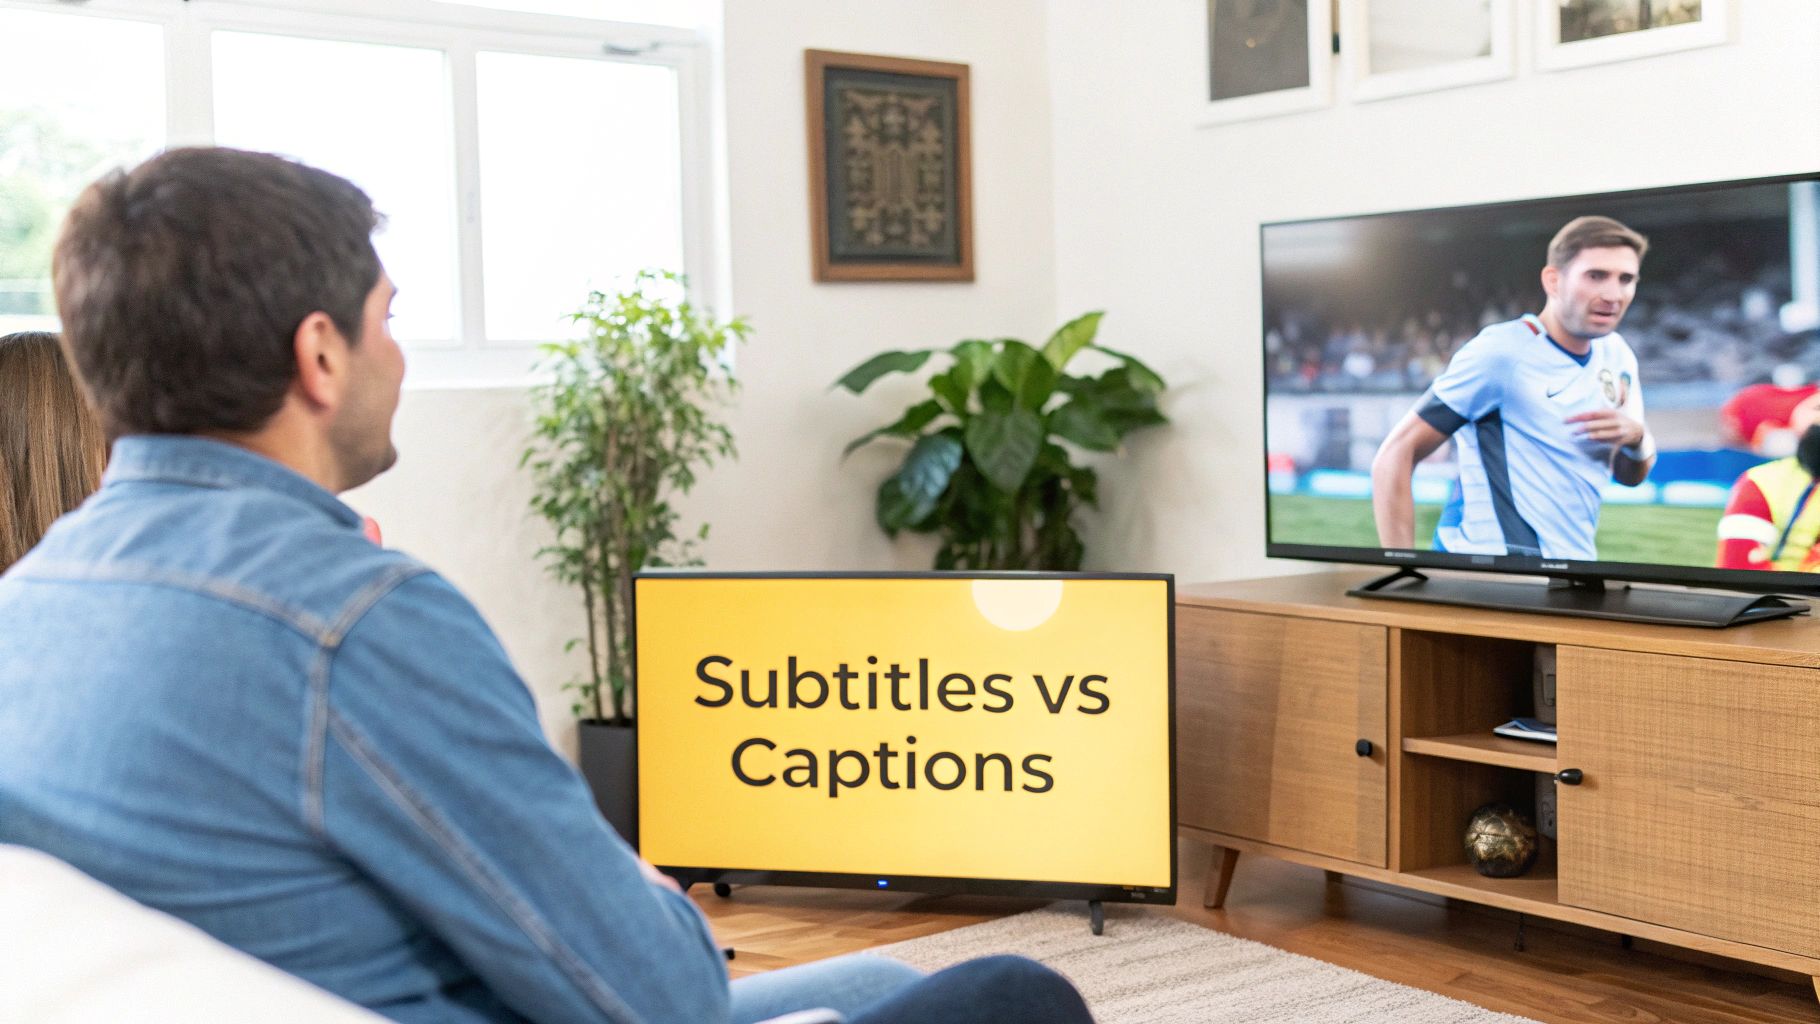
Let's clear this up right away. Subtitles translate spoken dialogue for viewers who can hear the audio but don't speak the language. Closed captions, on the other hand, transcribe all important audio for viewers who can't hear. This includes crucial non-speech sounds like [tense music] or [door slams].
Making the right choice here isn't just a small detail—it affects everything from who can access your content to your legal responsibilities as a creator.
Defining The Core Purpose
The biggest difference between subtitles and closed captions comes down to who you're creating them for. Subtitles are fundamentally a translation tool. They're built on the assumption that the viewer can hear just fine but needs help understanding the language being spoken.
Closed captions (CC) are all about accessibility. They were designed from the ground up for viewers who are deaf or hard of hearing, giving them a complete text version of the entire audio experience. That means they don't just cover dialogue; they also identify speakers and describe sounds that are essential for understanding the story.
Core Function A Quick Comparison
Understanding the primary goal of each format is the first step in making an informed decision. This quick table breaks down the fundamental purpose of each.
| Attribute | Subtitles (For Translation) | Closed Captions (For Accessibility) |
|---|---|---|
| Primary Goal | To translate spoken dialogue into another language for viewers who can hear. | To transcribe all meaningful audio for viewers who are deaf or hard of hearing. |
| Audience | Foreign-language speakers, language learners, or viewers in noisy environments. | Individuals who are deaf or hard of hearing, and anyone watching with the sound off. |
| Content | Includes only spoken dialogue and occasionally translated on-screen text. | Includes dialogue, speaker labels, and important non-speech audio cues. |
| Example Cue | "It's behind you." | (Whispering) "It's behind you." [Footsteps approaching] |
Ultimately, both are just lines of text timed to your video. The key is remembering that one bridges a language gap while the other bridges a hearing gap. As a creator, knowing this distinction helps you serve your entire audience and meet important accessibility standards.
If you want to dive deeper into the nuts and bolts of the subtitling process, you can explore our detailed overview of subtitling and translation services.
For a more technical look at getting your content ready for a global audience, check out this a comprehensive guide to video translation subtitling.
Comparing Technical and Functional Nuances
Once you get past the basic definitions, the real differences between subtitles and closed captions show up in the technical details. These little nuances have a big impact on how you create them, the file formats you’ll end up using, and the final experience for your audience.
Think of it this way: subtitles are lean and mean, built just for translating dialogue. Closed captions have a much bigger job—they have to paint the entire soundscape for someone who can't hear it. That means you're not just transcribing words; you're capturing every important sound effect, musical cue, and whisper.
Sound Cues and Speaker Identification
This is where the two really part ways. It's the most obvious functional difference you'll notice.
- Subtitles: These operate on the assumption that the viewer hears everything except the spoken language. You’ll almost never see things like
[phone rings]or speaker names because the audio provides that context. - Closed Captions: These have to describe those sounds explicitly. They identify speakers, especially when they’re off-screen, and note audio cues that build tension or move the story forward.
Imagine a subtitle just says, "I can't believe it." The closed caption gives the whole story: (Sarah whispers) "I can't believe it." [mysterious music swells]. That small change makes a world of difference, delivering the full emotional punch of the scene.
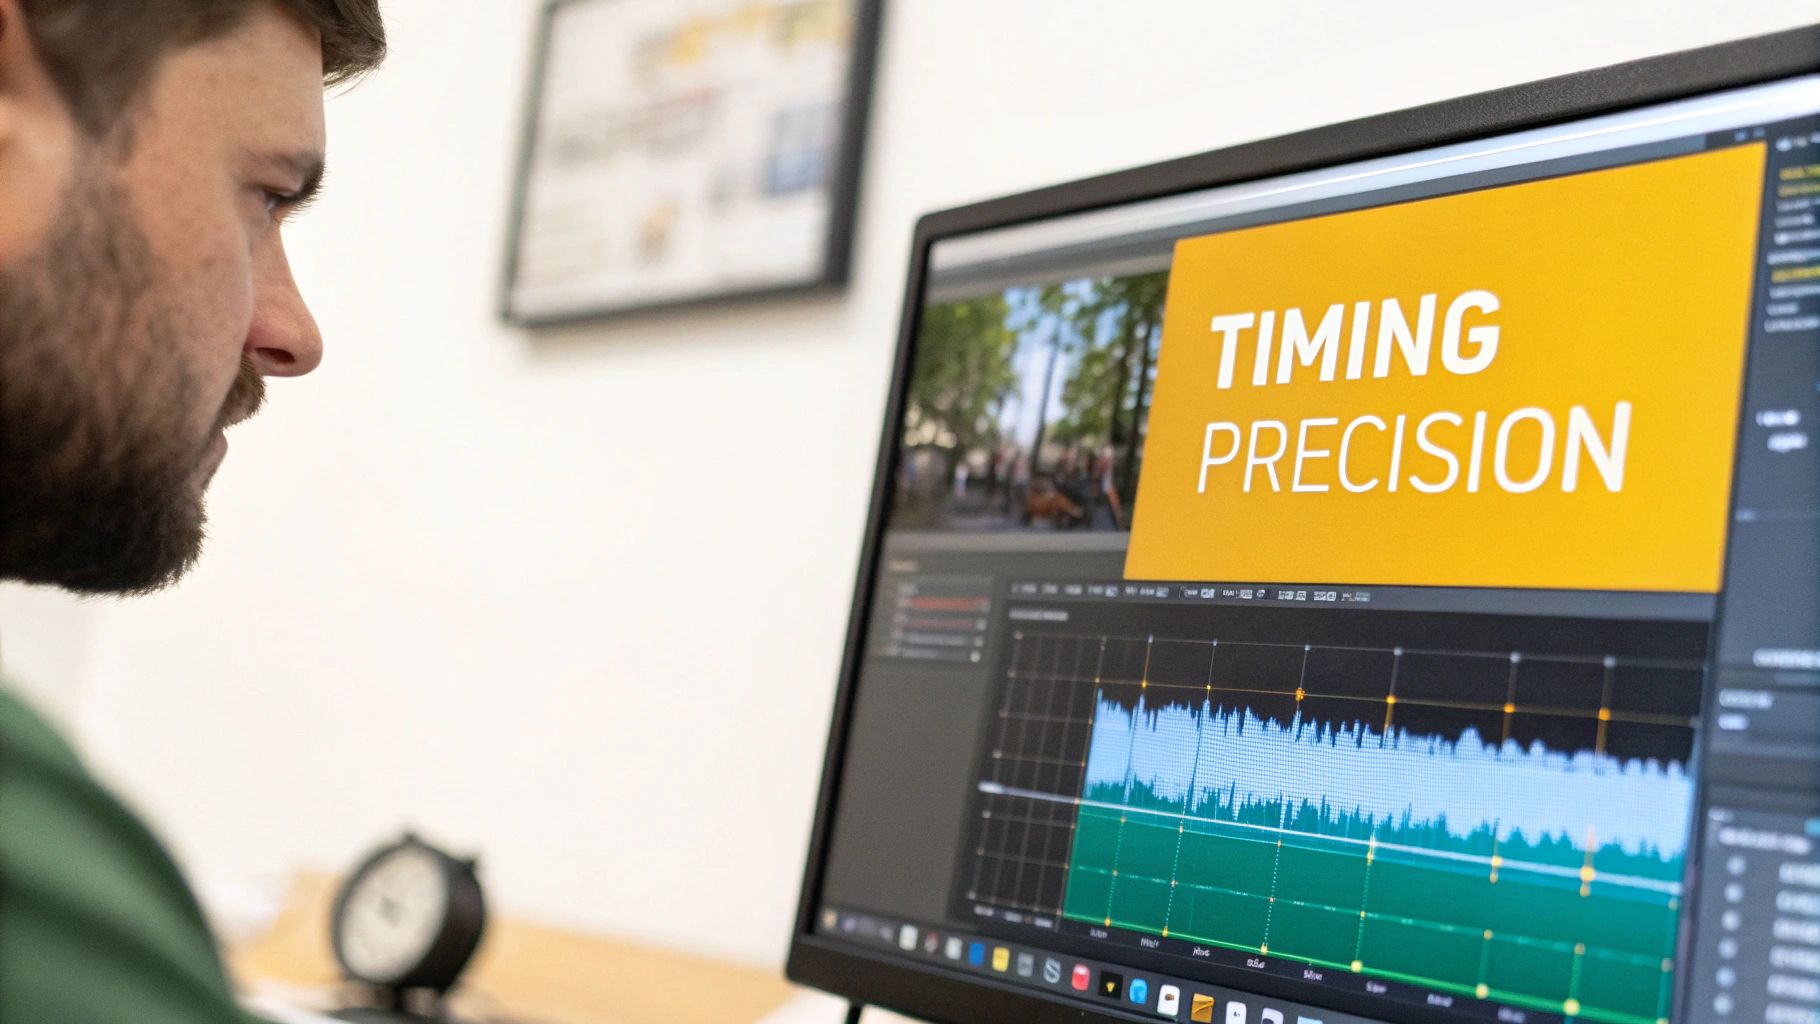
Timing Precision and File Formats
Both subtitles and captions are delivered in timed text files, but the level of precision needed is completely different. You’ll often see formats like SRT (SubRip Text) or VTT (WebVTT) used for both, but what’s inside the file is what really counts.
An SRT file for subtitles is basically a timed script of the dialogue. For closed captions, that same file needs accurately timed descriptions for all the non-speech audio, too. If you’re starting with a basic transcript, knowing how to structure these files is key. This guide on how to convert a TXT file to SRT format is a great place to start.
This is where having the right tool is a game-changer. In the TranslateMom Studio Editor, for instance, you can see the audio waveform visually. This lets you pinpoint exact moments of speech and silence. You can literally drag the start and end points of a caption to line up perfectly with the sound, making sure a cue like [glass shatters] appears at the exact split-second it happens. It turns a tedious, manual chore into a simple, streamlined process.
Understanding Accessibility Laws and Compliance
When you're weighing subtitles against closed captions, the choice is often made for you by legal and accessibility rules. For many creators—especially if you're in education, government, or a corporate setting—providing high-quality closed captions isn't just a good idea, it's the law. These regulations are in place to make sure content is equally accessible to everyone, including people who are deaf or hard of hearing.
Just throwing up subtitles that only show the dialogue won't cut it. Accessibility laws require you to include all important audio information, and that's exactly what closed captions are for. This means you need to transcribe non-speech sounds like [applause], [tense music], or add speaker identifiers to give a full picture of what's happening.
Canadian Accessibility Standards
Canada has been a real leader in setting clear rules for video accessibility. Regulations from bodies like the CRTC and provincial acts like the AODA establish specific, non-negotiable standards for any content available to the public. The whole point is to remove barriers so everyone can engage with digital media.
A great example is the framework from the Canadian Radio-television and Telecommunications Commission (CRTC). In Canada, the CRTC has had strict closed captioning standards since 2007, requiring 100% accuracy for pre-recorded English programs and 98% for live broadcasts. These rules were created alongside deaf advocacy groups to ensure captions are properly timed and complete, supporting the more than one million Canadians who are deaf or hard of hearing.
The Cost of Non-Compliance
Ignoring these legal requirements can lead to some serious penalties, like fines and legal trouble. But maybe more importantly, it means you're shutting out a huge part of your potential audience and telling the world your brand isn't committed to inclusivity. The difference is simple: subtitles are for language, while closed captions are for access. If you want to get deeper into this, you can learn more about the meaning and importance of closed captions in our detailed guide.
For creators, the key takeaway is that compliance isn't just about avoiding fines; it's about building a more inclusive audience. Using a professional tool is essential for creating legally compliant captions that are both accurate and comprehensive.
This legal landscape is precisely why having a solid workflow is so important. With a tool like TranslateMom, you can start with the Transcription service to get a precise base transcript. From there, you can hop into the Studio Editor to carefully add all the necessary non-speech cues and speaker labels. The visual waveform lets you nail the timing, ensuring your final file meets the strict accuracy percentages required by law. This process turns a simple transcript into a fully compliant closed caption file, protecting you from legal risks while making your content accessible to all.
How Captions Boost Engagement for All Viewers
The whole subtitles vs. closed captioning debate used to be all about accessibility. But today, captions are a powerful tool for hooking every single viewer, not just those who need them. They’ve gone from a niche feature to a mainstream preference.
Why the shift? It’s all about how we watch videos now. Think about it: scrolling through your phone on the bus, in a quiet office, or late at night. Most social media video is watched with the sound off. Without captions, your message is just a silent movie. With them, you grab attention immediately, boosting watch time and making sure people actually get what you're saying.

The Learning Advantage
Nowhere is the power of captions more obvious than in education. Research consistently shows that students—with or without hearing difficulties—use captions to focus and untangle complex subjects.
For example, a detailed Canadian study revealed that a staggering 99% of post-secondary students find captions helpful for online classes. What’s really telling is that over 70% of students without any hearing issues use them regularly to understand the material better. You can dig into the full details of the study's findings on student caption use yourself.
That data proves something huge: captions aren't just an accessibility feature anymore. They're a universal learning tool. They reinforce information visually, helping everyone make sense of accents, technical terms, or fast-paced dialogue.
A Creator's Toolkit for Engagement
If you're making content, using captions isn't just a nice-to-have; it's a strategic move to grow your audience and make a bigger impact. Done right, they turn passive scrollers into genuinely engaged followers.
Here’s a quick walkthrough on how to create great captions using a tool like TranslateMom:
- Start a New Task: Upload your video file by dragging it in, or just paste a link from YouTube, TikTok, or Instagram.
- Choose Transcription: Select the Transcription service and the video's original language. This gives you a solid, accurate text to start with.
- Refine in the Studio: Jump into the Studio Editor to polish the text. This is your chance to add those crucial non-speech cues like
[laughter]or[tense music]that create a much richer experience. - Style for Impact: Head to the Style tab to customize the look. For social media, try the "Karaoke" style animation—it highlights words as they're spoken and is fantastic for keeping people's eyes glued to the screen.
- Export for Your Platform: You can choose to Export Video to burn the captions right onto your video file (so they’re always on). Or, you can Download Subtitles as an SRT or VTT file to upload to platforms that let viewers toggle captions on and off.
When to Choose Subtitles or Closed Captions
Figuring out whether to use subtitles or closed captions boils down to a simple question: who are you trying to reach, and what do they need to understand your content? It’s less about a technical choice and more about a strategic one.
Think of it like picking the right tool for a job. You wouldn't use a hammer to drive a screw, right? In the same way, you shouldn't use subtitles when your main goal is full accessibility, or stick with closed captions if all you need is a simple language translation for an audience that can hear perfectly fine.
The Subtitle Scenario: For Translation
Go with subtitles when your only mission is to break a language barrier. This is for viewers who can hear the audio but don't speak the language. Subtitles are purely for translation.
You'll want to use subtitles in these cases:
- International Film and Media: You're releasing a movie or a web series to a global market and need the dialogue translated for different regions.
- Foreign Language Learning: You're making educational content to help people learn a new language, where seeing the translated text while hearing the original words is key.
- Music Videos: You want to translate the song lyrics for an international fanbase who can hear every note of the music and vocals.
Using a tool like TranslateMom makes this super straightforward. You just kick off a New Task, pop in your video, pick your Source Language (what’s spoken) and Target Language (what the subtitles should be), and then select the Translation service. The platform does the heavy lifting, giving you a translated script you can tweak in the Studio Editor.
The Closed Caption Scenario: For Accessibility
Choose closed captions (CC) when your top priority is making your content accessible to everyone. This includes viewers who are deaf or hard of hearing. Often, this isn't just a nice-to-have; it's a legal requirement.
Closed captions are essential for:
- Educational Content: Every student deserves access to lectures, tutorials, and online courses.
- Corporate and Government Communications: Think training videos, public service announcements, and internal town halls. Full accessibility is non-negotiable.
- Social Media and Marketing: A huge number of users watch videos with the sound off. Captions make sure your message still gets through, loud and clear.
Here in Canada, for example, regulations like Ontario's AODA mandate captions—not just subtitles—for videos available to the public. This legal line in the sand is important because it means you must describe all relevant sounds to be compliant. You can learn more about these specifics in this detailed guide to Canadian subtitle and caption laws.
The Hybrid Option: SDH
What if your audience needs both translation and accessibility? That’s where Subtitles for the Deaf and Hard-of-Hearing (SDH) come into play. SDH are basically subtitles that act like closed captions. They translate the dialogue and include crucial non-speech cues, like [phone rings] or [dramatic music].
SDH is the perfect solution for making foreign-language content accessible to a deaf or hard-of-hearing audience, bridging both the language and hearing gaps simultaneously.
Putting It All Into Practice with TranslateMom
Alright, enough with the theory. Let's get our hands dirty and see how this actually works. Knowing the difference between subtitles and closed captions is one thing, but creating them is what really matters. Thankfully, modern tools have made this a breeze.
Here's a quick video walkthrough showing just how simple it is to get started.
The whole decision boils down to a simple question: can your audience hear the audio?
If they can hear but don't understand the language, you need subtitles. If they can't hear and need a complete audio experience described in text, you need closed captions.
This little flowchart nails it:
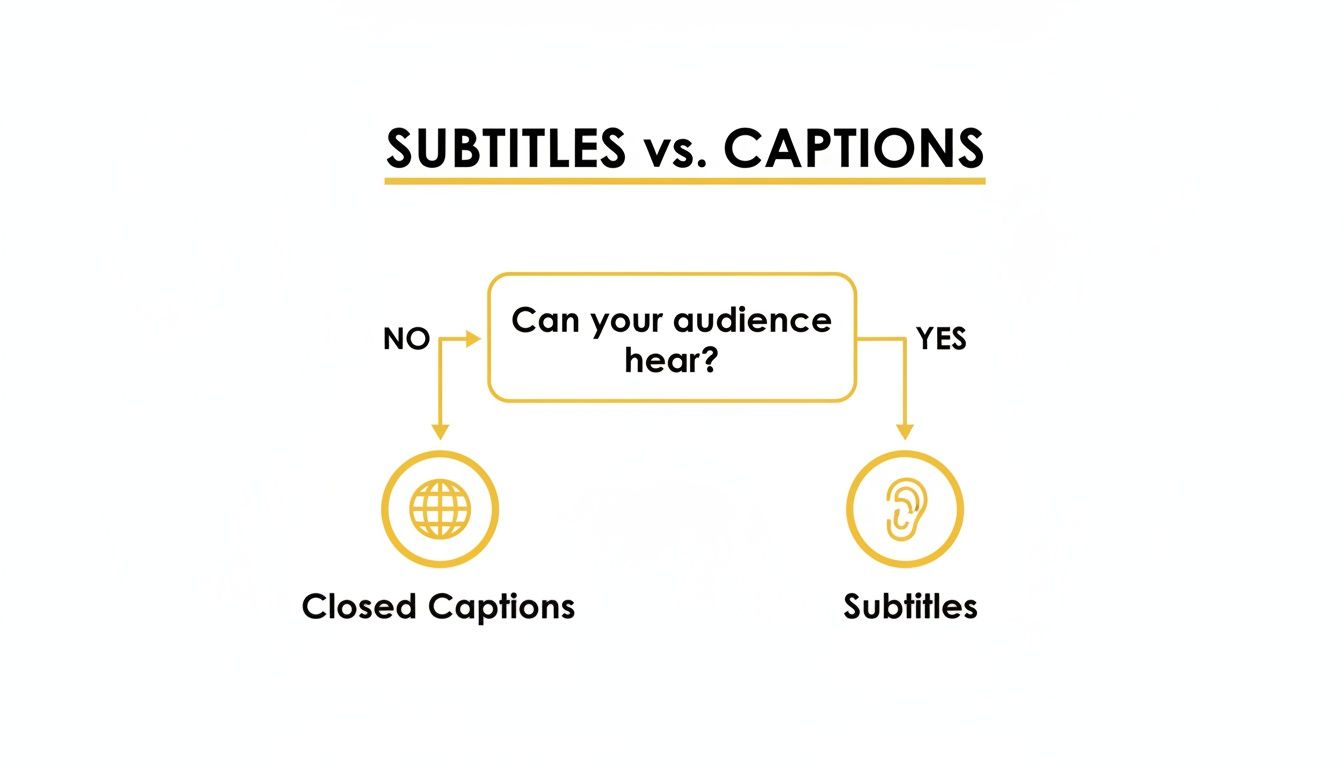
It’s a straightforward visual that cuts right to the chase—your choice is all about whether you’re bridging a language gap (subtitles) or an accessibility gap (captions).
From Upload to Final Edit
With a tool like TranslateMom, the whole process kicks off from the New Task screen. You can either drag your video file right into the window or just paste a link from places like YouTube or TikTok. Easy.
Once the video is in, you tell the tool what you need:
- For Closed Captions: Just hit Transcription. This will create a word-for-word text version of everything said in the original language.
- For Subtitles: Choose Translation. You’ll select the video's original language and then the language you want to translate it into.
Fine-Tuning Your Text in the Studio Editor
This is where the magic happens. The Studio Editor is your command centre for polishing the AI-generated text. Don’t skip this step—it’s what separates amateur work from professional, compliant files. For any serious creator, knowing your way around creating SRT files is a must-have skill, and this editor makes it intuitive.
You can click on any line of text to fix a word or adjust punctuation. For closed captions, this is where you’ll add those crucial non-speech cues, like [upbeat music] or [door slams].
The best part? You get a visual audio waveform right below the text. You can literally see the sound, making it incredibly simple to drag the start and end points of a caption to line up perfectly with the spoken words. No more awkward timing.
This setup is powerful. You have the video preview, the editable text, and the waveform all in one place, giving you total control over how everything looks and feels.
Finally, you can jump over to the Style tab to tweak fonts or add cool karaoke-style animations for social media. When you’re happy with it, you have two options: download a subtitle file (SRT/VTT) to upload to a platform like YouTube, or burn the text directly into the video by exporting a fresh MP4. The burned-in option is perfect for Instagram or TikTok, where videos often start playing on mute.
Got Questions? We've Got Answers
Digging into subtitles and closed captions always brings up a few common questions. Let's tackle some of the ones I hear most often from creators, so you can make the best call for your videos.
Can I Just Use YouTube's Automatic Captions?
It’s tempting, I get it. YouTube's auto-captions are fast and free. But honestly, they often miss the mark on accuracy and almost always leave out the non-speech sounds that are critical for accessibility.
Think of them as a rough first draft. For any video you're taking seriously, you’ll need to give them a thorough edit. A much smoother way to do this is to just plug your YouTube link straight into TranslateMom's New Task screen. The app will import the video and generate a transcript you can quickly polish in the Studio Editor, adding essential sound descriptions like [music fades] to create a professional, compliant caption file in a fraction of the time.
What Are Open Captions, Anyway?
Open captions are basically "burned" right into your video. Unlike closed captions, which viewers can turn on or off, these are always visible. You can't disable them.
This makes them perfect for social media, where videos often autoplay without sound. You want to make sure your message lands, even on mute. Inside TranslateMom, it's as easy as selecting the Burn-in (Export Video) option after you're done editing. This bakes your styled text right onto the video, ready to go for Instagram or TikTok.
Are Closed Captions a Lot More Expensive to Create?
They used to be, for sure. The old way involved someone manually transcribing every single sound, which was a huge time suck. But modern tools have completely changed the game, bringing the cost way down.
With a platform like TranslateMom, the heavy lifting—the initial transcription—is done by AI in minutes. The only thing left for you is a quick review in the Studio Editor to add those key sound cues. It makes creating top-notch, compliant closed captions way more affordable and faster than ever before.
Ready to make your video content accessible and engaging for everyone? Kick off your first project with TranslateMom and see for yourself how simple creating professional subtitles and closed captions can be. Get started for free on translate.mom.