To get your Spanish audio translated into English effectively, you need a smart workflow. It's about blending the quick work of automated tools with the careful touch of a human expert. This way, your message doesn't just get swapped word-for-word; it keeps its original meaning, feeling, and cultural punch for your English-speaking listeners.
Why Does Top-Notch Audio Translation Even Matter?
We live in a world where content zips across borders in a blink. For creators, businesses, and even public services, that's a massive opportunity—but also a big headache. Just feeding a Spanish audio file into a basic translator usually falls flat. The real goal is to connect with people, not just convert words.
Think about it. A YouTuber from Madrid trying to grow their audience in Los Angeles needs more than just literal subtitles. They need a translation that gets the slang, the humour, and the cultural inside jokes that will land with Californians. In the same way, a public health announcement has to be perfectly clear to do its job.
Closing the Language Gap
One of the trickiest parts is just how different Spanish can be from one place to another. The Spanish spoken in Spain, Mexico, and Argentina has its own unique flavour. An automated tool can easily get tripped up by these regional quirks, spitting out phrases that are just plain awkward or wrong. This is where a modern platform with a "Studio" feature becomes a game-changer, letting you get in there and tweak every last detail.
It's also super important to get the difference between transcription and translation straight. Transcription is turning speech into text in the same language. Translation is taking that text and putting it into a new language. A solid workflow always starts with a good transcription.
The Californian Context
Nowhere is the need for accurate translation more obvious than in places with large bilingual communities. In California, for example, Spanish is the second-most spoken language. Over 28% of residents—that’s more than 10.4 million people—speak it. This simple fact means there’s a constant need for clear communication, whether it's for business, school, or government services. You can get a deeper look at the data on the Spanish language in California.
High-quality audio translation isn't just about swapping words. It's about building a cultural bridge. It makes sure your message isn't just understood, but that it's also respected and valued by your new audience. That's how you turn listeners into loyal followers.
At the end of the day, putting in the effort to get your translation right protects your credibility. It ensures your message hits home exactly as you intended, no matter what language your audience speaks.
Your Workflow for Translating Spanish Audio
Alright, let's put the theory into practice. I'll walk you through a clear, actionable workflow to translate Spanish audio into English. Using a tool like TranslateMom turns this from a complex chore into a smooth, manageable part of your production process. We’ll cover everything from getting your file into the system to having a fully processed translation ready for the final touches.
This whole process is about blending smart automation with human oversight. It's a simple, yet powerful, combination.
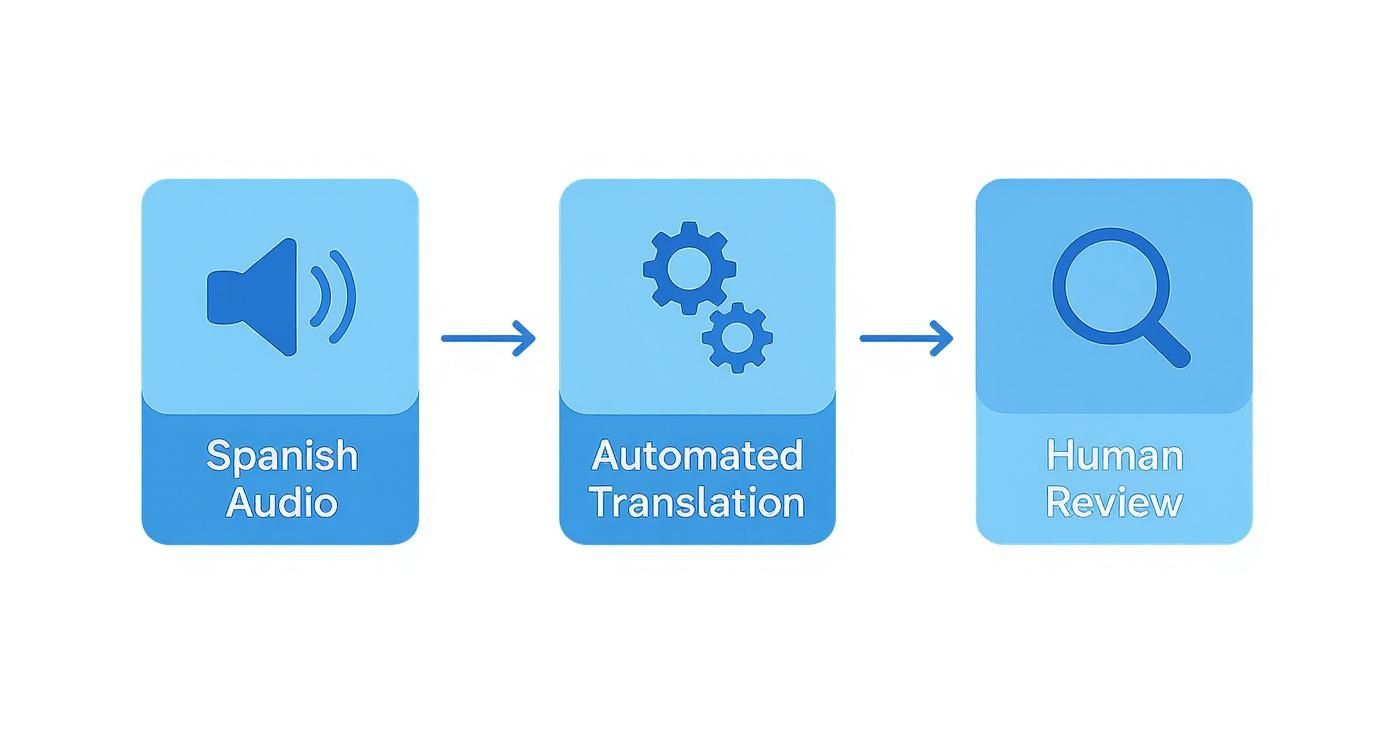
As you can see, the first stage is all about getting the Spanish audio in, letting the tech do the initial heavy lifting, and then setting it up for a crucial human review. That last step is where you ensure both accuracy and the right cultural feel.
Getting Your Spanish Audio into the System
Everything kicks off on the New Task screen. The main goal here is to get your media loaded up as quickly as possible, whether you have a file on your computer or a link to something already online.
With TranslateMom, you have two easy options:
- File Upload: Just drag and drop your video or audio file right onto the page. It’s built to handle large, high-quality files up to 5GB, so you don't need to worry about compressing anything first. A little pro-tip: just hit the
Fkey on your keyboard to bring up the file picker instantly. - Link Import: This is a lifesaver for content already living online. You can paste a URL from places like YouTube, TikTok, or Twitter (X), and the app will grab the video for you. This saves you the step of having to download it yourself. It's especially handy if you just need to download a YouTube transcript to work with.
Configuring Your Translation Settings
Once your file is in, it's time to tell the software what to do with it. The settings here are straightforward but absolutely critical to getting the output you want.
In TranslateMom, you’ll be asked to set a few things:
- Source Language: First, tell it the language being spoken. In this case, you'll select Spanish.
- Target Language: Next, pick the language you're translating to—English.
- Choose a Service: Finally, decide what kind of output you need.
This last choice is where you really define the end product.
The big decision here is whether you want subtitles or a completely new audio track. Think about your project's goal. Are you aiming for accessibility, audience engagement, or something else entirely? That will point you to the right answer.
If you choose Translation, the tool will generate English subtitles from the original Spanish dialogue. This is perfect for most social media content, training videos, or any situation where you want to keep the original speaker's voice and tone intact.
On the other hand, selecting Dubbing will create an entirely new, AI-generated audio track in English that's synced to your video. This is your best bet when you want to create a fully localized experience that feels native to an English-speaking audience.
After you confirm these settings, the system gets to work, and your project lands in the Studio, all ready for you to review and refine.
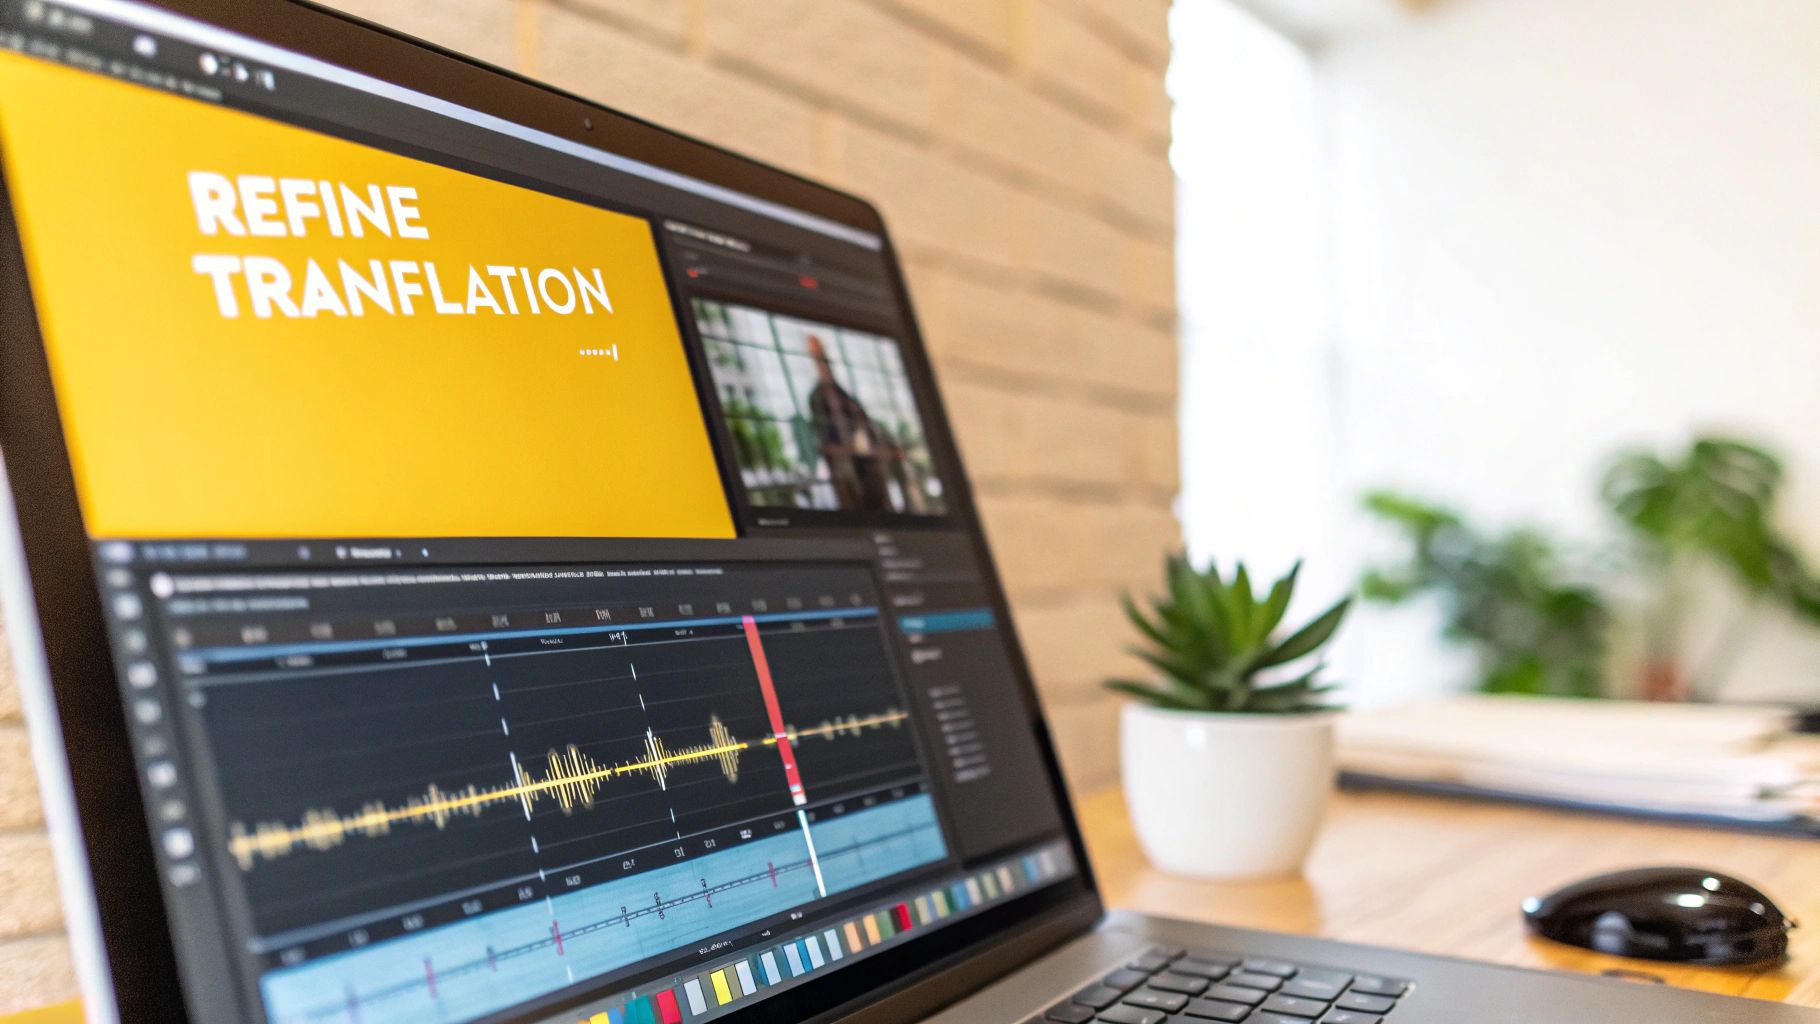
Editing and Refining Your English Translation for Accuracy
An initial AI translation is a fantastic starting point, but it's that final human touch that really makes it shine. Once your Spanish audio has been processed, you'll find yourself in the TranslateMom "Studio" workspace. Think of this as your editing suite, where you'll go beyond a literal, word-for-word translation. This is where the real magic happens—polishing grammar, adapting cultural nuances, and making sure your message truly connects with an English-speaking audience.
This refinement step is absolutely critical when accuracy matters most. Just look at California's judicial system, where Spanish is the most frequently interpreted language. In a single fiscal year, Spanish made up roughly 89% of all court interpretations. That staggering number shows how much responsibility rests on getting the context and nuance just right. While you might not be in a courtroom, bringing that same level of care to your content starts right here in the editor. You can dig into these fascinating language access metrics from the Judicial Council of California if you're curious.
Getting Comfortable in the Subtitle Editor
The heart of the Studio is the subtitle editor, a scrolling list of every caption. It's incredibly straightforward. To start editing, just click on any line of text. The video automatically pauses, letting you concentrate on your changes without any distractions.
This is your space to:
- Fix any little grammar mistakes or awkward phrasing.
- Tweak idioms or cultural references that don't quite land in English.
- Split long lines or merge short ones to make them easier to read.
Here's a pro-tip for when you translate from Spanish to English audio: turn on the Split View. This feature is a total game-changer. It shows your new English translation right next to the original Spanish text. Having that side-by-side comparison makes it super easy to check your work and make sure you've kept the original meaning and tone perfectly intact.
Mastering Timing with the Audio Waveform
Below the video, you'll see one of the most useful tools available: the visual audio waveform. It’s a picture of the sound, showing you exactly where people start and stop talking.
By using the waveform, you can simply drag the start and end points of each subtitle to line up perfectly with the audio. This gets rid of any weird pauses and makes sure the captions appear the instant the words are spoken. It’s a small detail that makes a huge difference in how professional your final video feels.
This visual guide is also a lifesaver for identifying audio problems. If you hear a constant buzz or some other distracting background sound, you can often spot it on the waveform. For a deep dive into cleaning up your sound, it's best to tackle it before you even start translating. Check out our guide on removing background noise from video for some great tips.
Using AI and Collaboration Tools to Your Advantage
Even during the editing stage, AI is still there to help. In the Studio sidebar, the AI tab gives you tools to quickly rewrite captions for clarity or fix formatting. And if you realize you picked the wrong language by mistake, the Translate (Redo) button lets you try again without having to re-upload everything.
Working with a team? TranslateMom has you covered. You can leave "suggestions" on specific lines for someone else to review before making the change permanent. All your edits are saved to the cloud automatically, and a version history lets you roll back to a previous save if you ever need to. No more lost work.
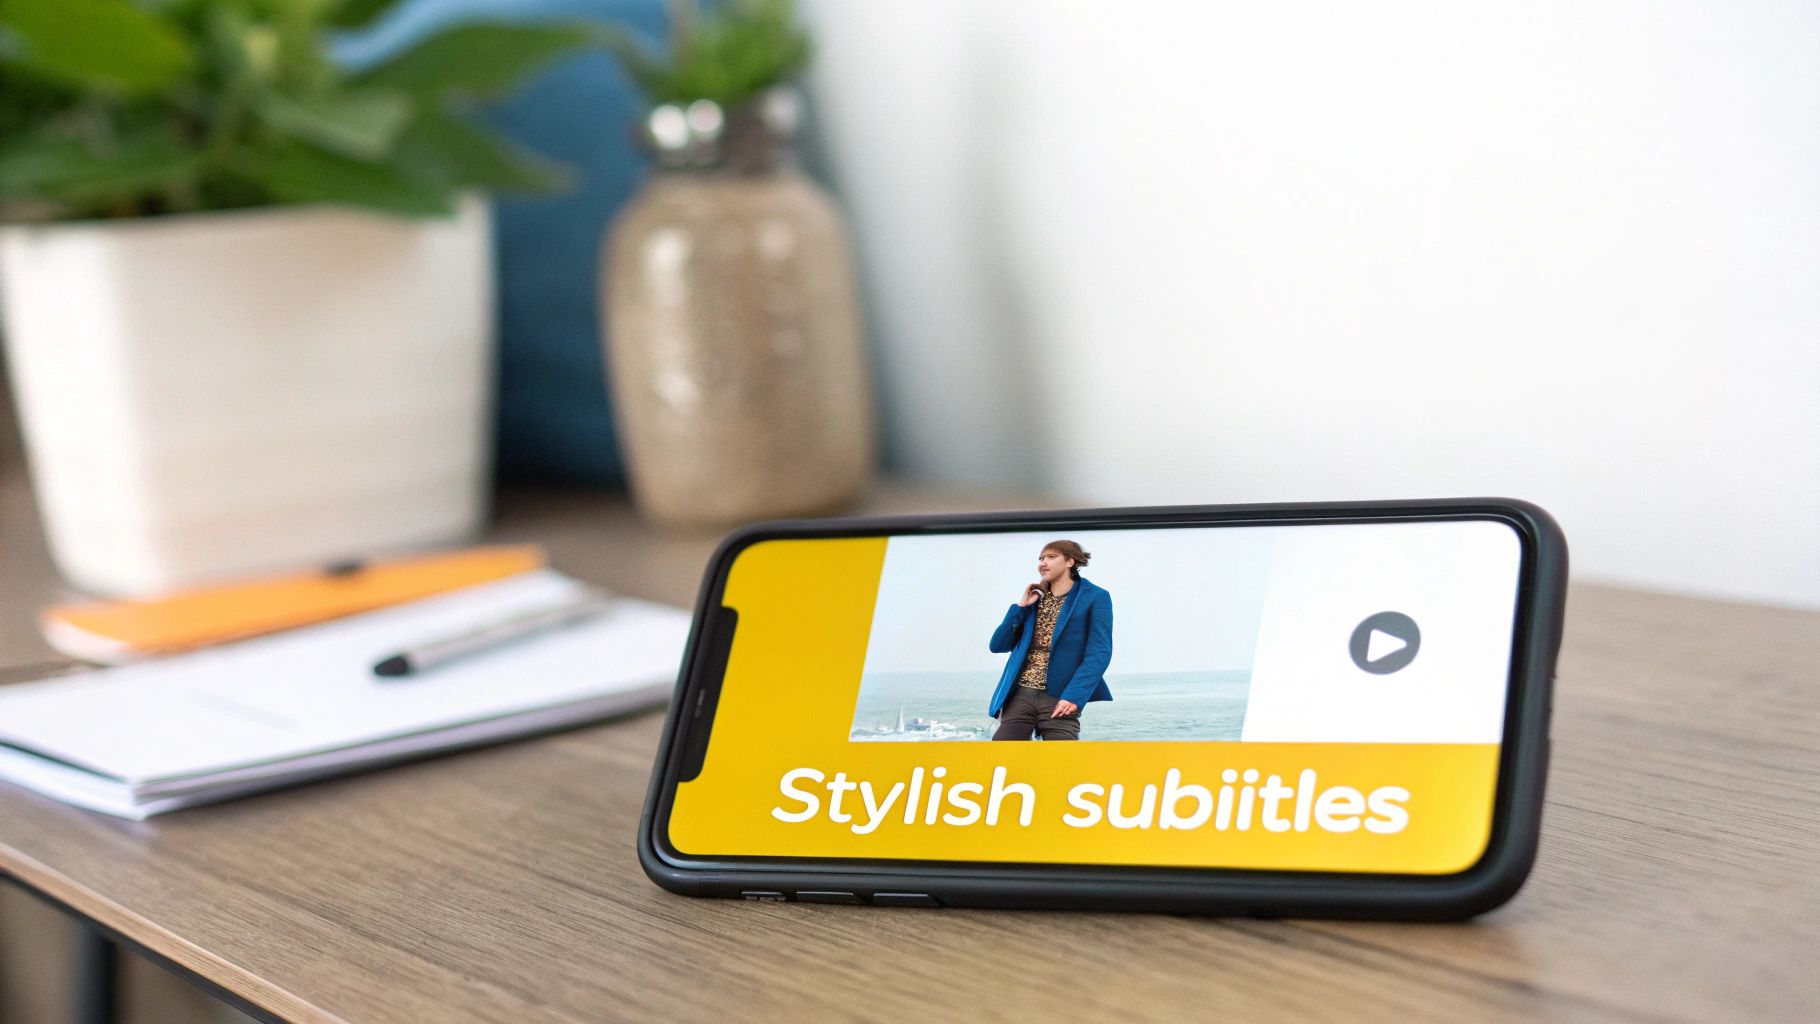
Styling Subtitles and Branding Your Content
Getting the translation right is just half the battle. How those words look on screen can make or break viewer engagement. A bit of visual polish turns basic captions into a seamless, professional part of your video—something that’s absolutely critical on social media where every second counts.
When you translate from Spanish to English audio and generate subtitles, you’re not just transcribing; you’re designing a viewing experience. Inside a tool like TranslateMom, the Style tab is your playground. This is where you can ditch the default look and really make the subtitles your own.
Customizing Your Subtitle Appearance
The right style ensures your text is easy to read against any background. You’ve got a surprising amount of control here:
- Font Family and Size: Pick a font that fits your brand's vibe. A cool little shortcut is using the
+and-keys to quickly tweak the font size as you go. - Colour Palette: Choose text colours that pop but don’t clash with your video’s aesthetic.
- Outline and Shadow: This is a pro trick. Adding a subtle outline or shadow to your text makes it instantly readable, no matter if the background is a bright sky or a dark room.
- Background: You can also add a semi-transparent background box behind the text. It's a popular look that makes captions incredibly easy to follow in busy scenes.
Best of all, you see these changes happen in real-time right on the video player, so there's no guesswork involved. For a deeper dive into making your subtitles look great, check out our full guide to subtitling and translation.
Creating Dynamic Karaoke-Style Captions
Want to really grab your audience’s attention? Try the "Karaoke" style animation. This effect highlights words as they’re spoken, pulling the viewer's eyes along and boosting both understanding and memory.
In TranslateMom, you can apply this with just a click using the presets in the Style tab. The app's Smart Sync feature automatically handles the word timings, so even if you go back and edit the text, the animation stays perfectly synched with the audio. It’s a simple feature that makes your content feel way more dynamic.
By animating your captions, you turn passive reading into an active viewing experience. This is a small tweak that can significantly boost viewer engagement, especially for short-form video content on platforms like TikTok and Instagram.
Finally, let's talk branding. The Brand tab lets you upload your logo or watermark directly onto the video. You can easily resize it and drag it exactly where you want it, making sure your brand gets the visibility it deserves.
Once your translation is perfect and your styling is on point, you might even consider professional video editing outsourcing services to handle other post-production tasks and give your content that final, polished edge.
Choosing the Right Export Option for Your Project
Alright, you’ve done the hard part. The edits are locked in, your captions look slick, and your content is ready. Now for the final step: getting it out into the world.
When you translate from Spanish to English audio, how you export your work really matters. It’s all about where your project is headed. Is it a quick clip for a social media feed, or a polished video for an e-learning platform? The destination dictates the path you take.
You’ve basically got two main ways to go, and each has its own strengths.
Burn-In Your Subtitles for a Ready-to-Upload Video
The simplest and most direct route is to Burn-in your subtitles, which you might also see as "Export Video." This option literally bakes your styled subtitles and logo right into the video frames, creating a fresh MP4 file.
I find this is the best approach for a few big reasons:
- Universal Compatibility: Your video will just work, captions and all, no matter where you post it. Instagram, TikTok, a company website—it doesn't matter. No one needs to do anything extra.
- Guaranteed Style: The fonts, colours, and cool karaoke-style animations you spent time on? They’re locked in, looking exactly how you designed them.
- Simplicity: You get one single file that’s ready to go. No fussing with separate subtitle files.
This is my go-to choice for social media content. People scroll fast. You need your message to be instantly understandable and visually consistent, and a burned-in video delivers exactly that.
Download Subtitle Files for Maximum Flexibility
On the other hand, you can download just the subtitle text files. This approach gives you—and your audience—a whole different level of control. A tool like TranslateMom will usually give you a few standard formats to choose from.
The two you'll run into most often are:
- SRT (.srt): This is the classic. It's the most widely supported subtitle format out there and works with pretty much every platform and editor, from YouTube to Adobe Premiere Pro.
- VTT (.vtt): This is a more modern format that handles advanced styling and positioning much better, making it a solid pick for web-based video players.
Downloading a separate file is the right call when you need flexibility. On YouTube, for example, this lets viewers turn your captions on or off, which is a huge plus for accessibility. It also means you can use the same translation across different versions of a video or inside professional editing software without having to re-render the entire thing. It's all about making your translated content adaptable to any situation.
Got Questions About Translating Spanish Audio?
If you find yourself translating Spanish audio into English regularly, you've probably run into the same handful of questions time and time again. Let's get them answered so you can get back to creating.
A big one is always about cost versus quality, especially for businesses and organizations. We're seeing a massive shift toward AI tools for this very reason. For instance, some local governments in Northern California are now using real-time AI audio translation for their public meetings. One city slashed its annual interpreter budget from an estimated $400,000 down to just $82,000 with AI. That's a pretty compelling argument for the tech. You can read more about how Bay Area cities are adopting AI translation on sfpublicpress.org.
Can I Fix a Mistake After the Translation is Done?
Of course. In fact, you absolutely should. No AI is perfect, and the human touch is what makes a translation great. Any professional tool needs a solid editor, and in a platform like TranslateMom, the entire "Studio" is built for exactly this.
- Edit text directly: Just click on a subtitle line and start typing. The video player even pauses for you so you don't lose your place.
- Undo any mistake: If you mess something up, don't sweat it. The "History" feature lets you roll back to a previous version of your subtitles. You never have to worry about losing your work.
- Work with a team: For bigger projects, you can "suggest" edits instead of making them directly. This lets a manager or proofreader review everything before it goes live.
What if My Video Has a Few Different Speakers?
Not a problem. Modern translation tools are designed to handle conversations. The initial transcription will usually create a new subtitle line whenever it detects a new voice.
From there, you can fine-tune it during the editing phase. You can easily split or merge the caption blocks to make sure the right text is on-screen when someone is talking. The visual audio waveform is your best friend here—it shows you exactly where the speaker changes happen, making it simple to get the timing just right.
Pro Tip: When you're working with an interview or a podcast, really nail down the timing. Tightening up the sync when speakers change hands makes the final video feel incredibly polished and professional.
How Can I Use This to Make Content for Language Learners?
This is one of my favourite ways to use audio translation. To create a really effective learning tool, you need to show both languages at once.
Look for a Dual Language Mode. Many good platforms have this feature. When you turn it on, it stacks the original Spanish and the translated English subtitles right on top of each other in the video. This side-by-side view is a game-changer for learners, letting them instantly compare everything from vocabulary to sentence structure.
Ready to turn your Spanish audio into perfectly translated and styled English content? With TranslateMom, you can get captions, translations, and even dubbing done in minutes. Start your first project for free today and see how easy it is.