So, you've got a YouTube video. What's next? You could just let it sit there, or you could turn it into a powerful tool for growing your audience. The secret is turning that spoken audio into text.
You can either grab YouTube's own auto-captions and clean them up yourself, or use a transcription service to get a more polished result faster. Either way, it's a critical step for making your content more discoverable, accessible, and way easier to reuse.
Why Transcribing Your YouTube Videos Is a Game-Changer
Getting your video's audio into a text format isn't just a technical task—it's one of the smartest things you can do for your channel. Think about it: a transcript gives search engines like Google a full script of your content to read. Suddenly, your video can show up in searches for any of the great ideas you talked about, not just what's in the title.
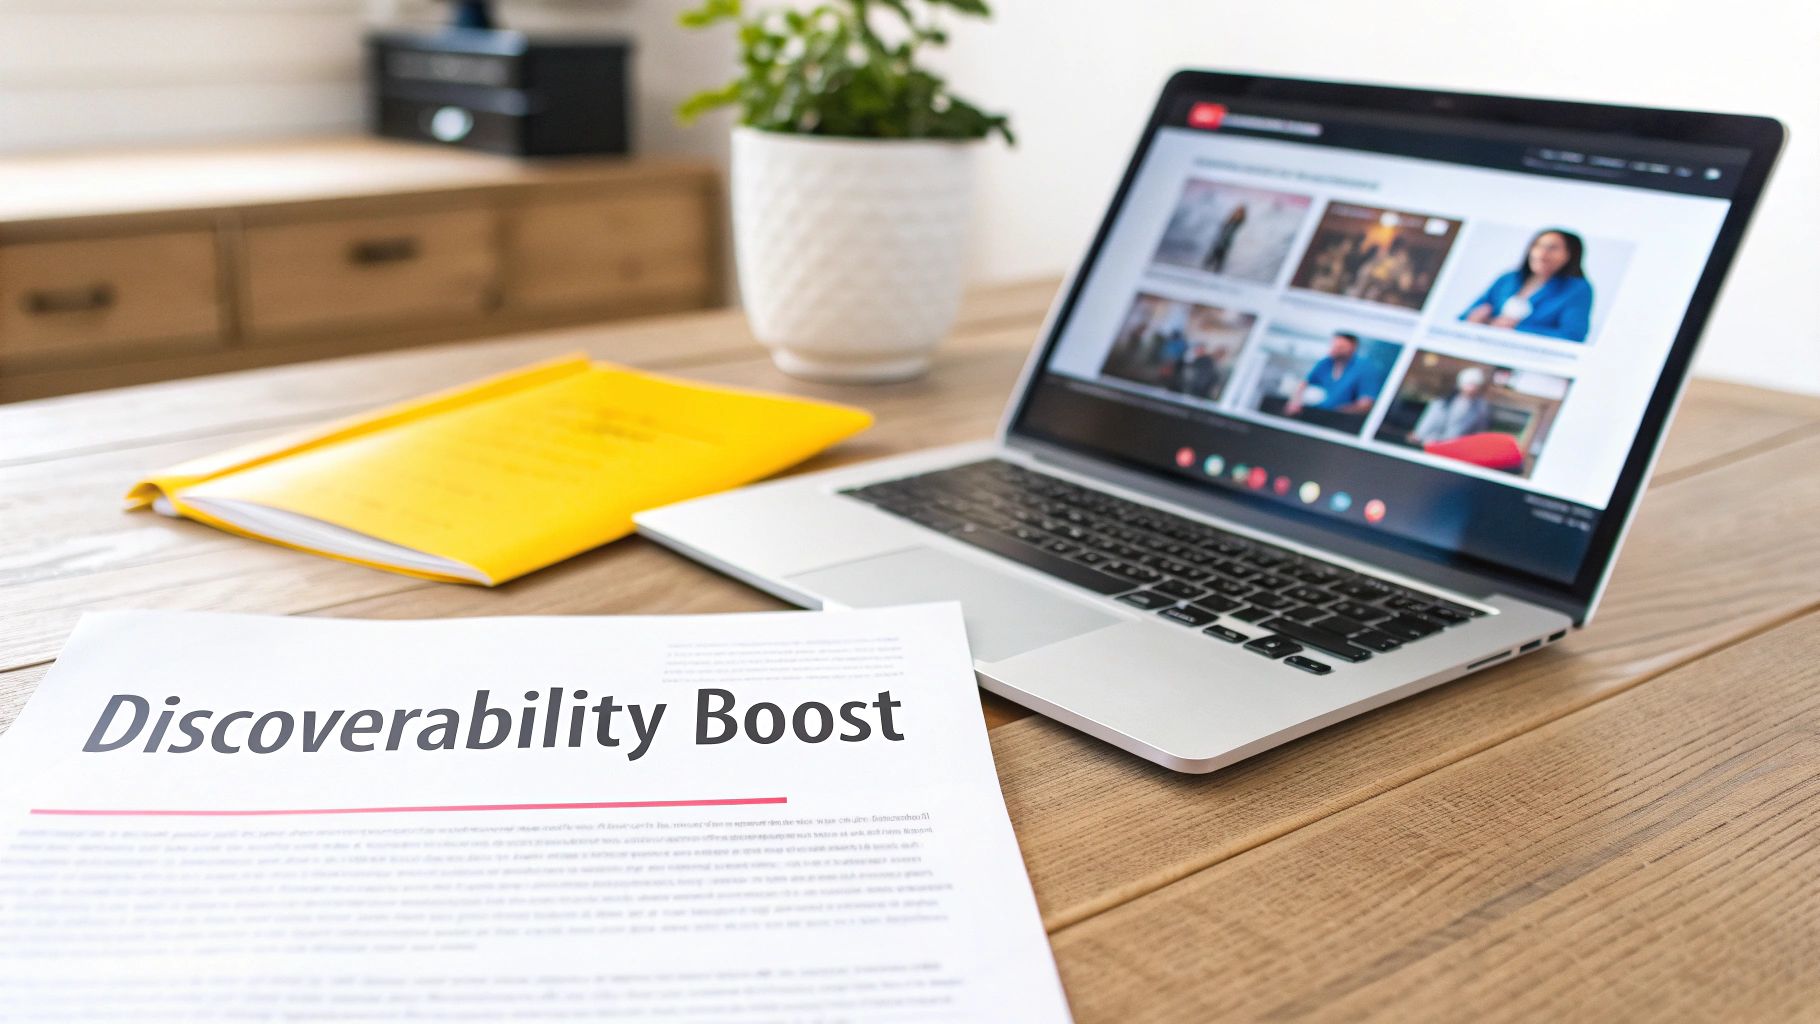
Get Found by More People
When you transcribe your video, you’re basically creating a keyword-rich document that Google can easily understand. This gives your video's SEO a massive boost, helping it rank for all sorts of search terms.
But it’s not just about search engines. It also opens up your content to a much wider audience, including:
- Viewers who are deaf or hard of hearing.
- People watching in a loud coffee shop or on quiet public transit with the sound off.
- Non-native speakers who find it easier to read along and improve their comprehension.
The Easiest Way to Repurpose Your Content
A clean transcript is the perfect raw material for creating more content. Instead of trying to come up with new ideas from scratch, you can spin that one video into a dozen different things.
That simple text file can easily become a blog post, a series of social media updates, a detailed email newsletter, or even a downloadable checklist.
By turning one video into multiple content assets, you maximize the return on your production efforts, ensuring every piece of content works harder to build your brand and engage your audience across different platforms. This is how you build a robust and efficient content marketing engine.
Using YouTube's Built-In Transcription Tools
The most straightforward way to get a text version of your YouTube video is to use the tools YouTube already gives you for free. Right after you upload a video, Google's speech recognition tech gets to work and automatically creates a transcript. It's a great, no-cost starting point.
To get your hands on these auto-captions, just head over to your YouTube Studio. From there, click on the video you want to transcribe and look for the "Subtitles" option in the menu on the left. You should see a file labelled something like "English (automatic)"—that’s your raw, AI-generated transcript.
Finding and Editing Your Transcript
When you click on that automatic subtitle file, you'll land in YouTube's caption editor. It’s a pretty simple setup: you get the text broken down into timed chunks right next to your video player. This is where you'll need to roll up your sleeves, because those automated transcripts are almost never perfect.
You'll have to play the video and edit the text as you go. Be prepared to fix misspelled words, add proper punctuation, and rephrase sentences the AI didn't quite catch. A classic problem is the lack of capitalization or paragraph breaks, which can turn what someone said into a big, messy block of text.
The trickiest part of using YouTube's editor is often wrestling with the timestamps. You’ll find captions that pop up too soon or hang around for too long. To get the text perfectly synced with the speaker, you have to manually drag the start and end times for each individual line.
Exporting and Finalizing the Text
Once you’ve cleaned up the text and nailed the timing, you can hit "Publish." This updates the closed captions viewers will see on your video. But if you want a clean text file of the transcript, there's one more thing you have to do.
You can download your corrected subtitle file, which usually comes in an SRT format. This file has all your text, but it also includes all the timestamp information. For a simple transcript without all that timing data, you'll probably have to copy the text into a different document or use a tool to strip the timestamps out.
If you're looking for a more detailed guide on this, check out our post on how to download a YouTube transcript for a few extra methods. This built-in approach is fantastic if you're on a tight budget, but be warned—it takes a serious time commitment to get a truly polished result.
A Faster Workflow With Professional Transcription Tools
While YouTube's built-in editor can get the job done if you're on a tight budget, let's be honest—it can be a slow, clunky, and often frustrating process. When you need to turn a YouTube video into text quickly and accurately, professional tools offer a much smoother ride. These platforms are built from the ground up for speed and precision, transforming what used to be a tedious task into something surprisingly simple.
With a dedicated tool like TranslateMom, the whole process starts with a single link. Forget downloading and re-uploading files. You just head over to the New Task screen, use the Link Import feature, and paste in your YouTube video URL. The app takes it from there.
From Link to Polished Transcript
Once your video is imported, you just need to select your Source Language and choose Transcription as the service you need. This drops you right into the Studio workspace, which is where the real magic happens. The interface is specifically designed for editing transcripts, packed with features that shave hours off your workflow.
One of the most powerful tools at your disposal is the visual audio waveform. This lets you actually see the dialogue, making it incredibly easy to just click and drag the start and end points of a subtitle to match the speech perfectly. You can spot pauses and silent moments instantly, allowing you to tighten up your captions with a level of precision that’s almost impossible to achieve in YouTube's native editor.
This simple three-part workflow is all it takes to turn a rough automated transcript into something clean and professional.
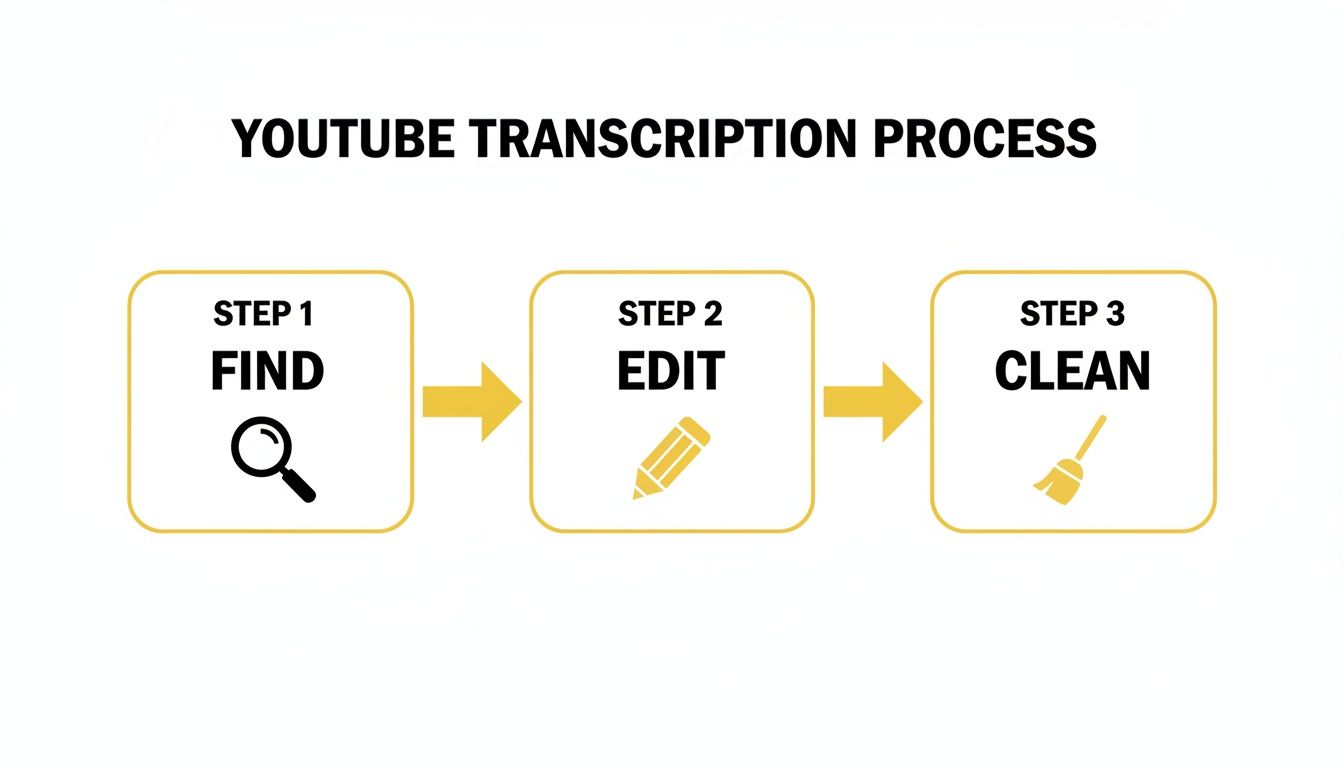
This find, edit, and clean approach is the foundation for getting a polished, ready-to-use document every time.
Comparing Transcription Methods: YouTube vs. TranslateMom
To put it in perspective, let's break down the key differences between sticking with YouTube's tools and upgrading to a dedicated service.
| Feature | YouTube Studio | TranslateMom |
|---|---|---|
| Import Method | Manual upload or auto-generated | Direct import via YouTube URL |
| Editing Interface | Basic text editor, manual timing adjustments | Visual waveform editor, drag-and-drop timing, advanced tools |
| Accuracy | Varies, often requires heavy editing | High accuracy (95%+), with easy-to-use correction features |
| Styling Options | Limited to YouTube's default caption styles | Full customization: fonts, colours, animations (karaoke-style) |
| Export Formats | .sbv, .srt, .vtt | SRT, VTT, TXT, and direct video export with burned-in captions |
| Speaker Identification | Not available | Automatic speaker labelling (diarization) |
As you can see, while YouTube provides the basics, a tool like TranslateMom is built for a much more professional and efficient workflow, saving you time and giving you far more control over the final product.
Styling and Exporting Your Work
Beyond just getting the words right, professional tools give you creative freedom. Inside the Style tab in TranslateMom, for instance, you can customize everything from fonts and colours to slick karaoke-style animations that highlight words as they’re spoken. This is a game-changer for creating engaging social media clips where the captions are a core part of the visual appeal.
This level of accessibility is becoming non-negotiable. In Canada alone, YouTube's reach is staggering, with an estimated 87.5% of internet users on the platform. That means nearly nine in ten Canadians could be engaging with your content if it has accurate, easy-to-read captions and transcripts. It's no wonder so many creators are adopting these professional workflows.
When you’re all done, exporting is a breeze. You can Download Subtitles as standard SRT or VTT files to use in other video editors, or just grab a clean TXT file for a blog post or show notes. You can also choose Export Video to get a new video file with the captions permanently burned in.
If you’re looking to explore different options, check out our guide on the best transcription tools of 2025. This kind of streamlined approach doesn't just save a few minutes—it can save hours of tedious work and delivers a far superior result.
How To Polish Your Transcript For Perfect Accuracy
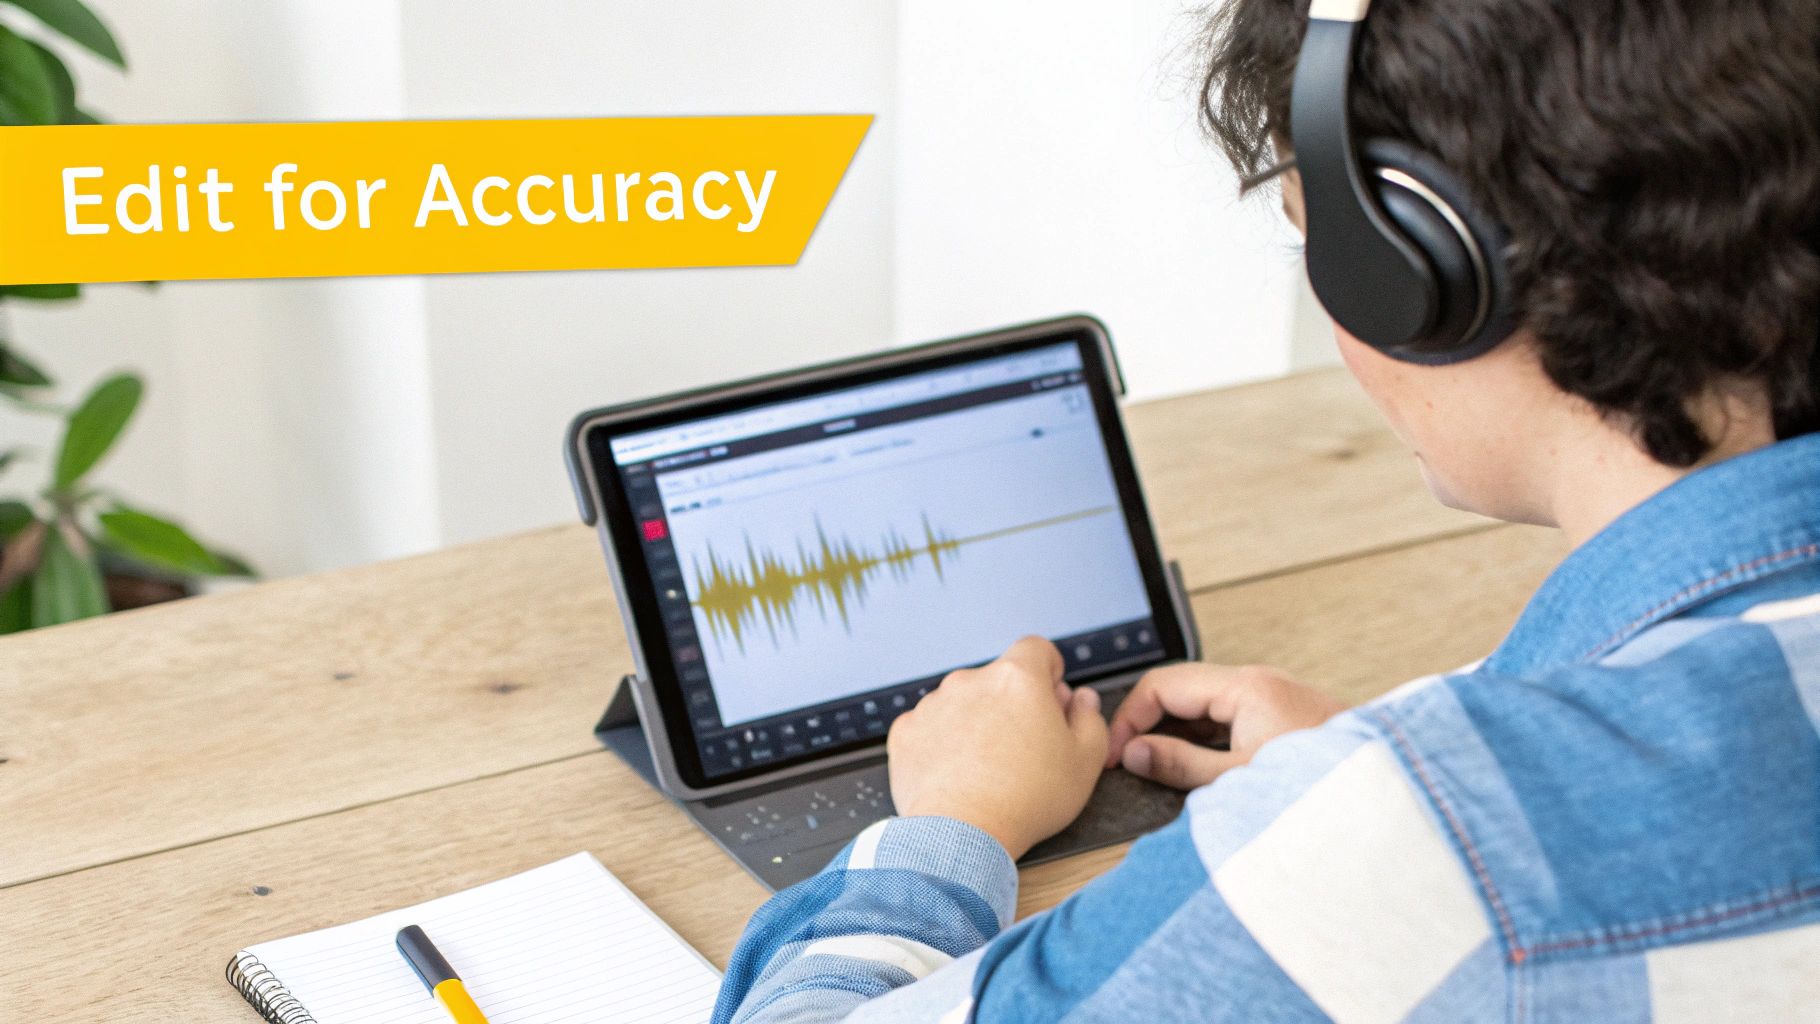
Getting an automated transcript is a great first step, but let's be real—it's almost never the finished product. To get a professional, easy-to-read text from a YouTube video, you’ve got to do a polishing pass. This is where you turn a raw AI draft into a refined, accurate document.
The first thing I always tackle is punctuation. AI is notorious for missing commas, periods, and question marks, which leaves you with a giant wall of text. Just adding these back in makes a huge difference in readability.
Next up, you have to hunt for homophones. These are words that sound the same but have different meanings, and they trip up AI all the time. Think "to," "too," and "two," or "their," "there," and "they're." Fixing these is non-negotiable for a clear transcript.
Refining Dialogue And Flow
If you've got multiple people talking in your video, you absolutely have to label each speaker. A conversation quickly becomes a confusing mess without clear labels like "Interviewer:" or "Guest:".
You also need to decide what to do with filler words. For a strict verbatim transcript, you might keep every "uh," "um," and "like." But for a cleaner, more readable version (what we often call a "clean read"), snipping out these little hesitations creates a much smoother experience for your audience.
My personal tip is to always do one final review by listening to the audio while reading the transcript. This is the only reliable way to catch contextual errors, incorrect names, or awkward phrasing that the AI missed.
For really getting into the weeds, a tool like TranslateMom is a game-changer. Its Studio workspace is designed for this. You can click on any line of text to edit it, and the video pauses automatically. You can even use the visual waveform to line up the text perfectly with the speech, making sure every single correction is timed just right. That hands-on control is what takes a transcript from good to great.
Making Sense of Transcript File Formats
So you’ve transcribed your YouTube video and polished the text until it’s perfect. Now what? The next step is choosing the right file format, and this decision really depends on what you want to do with your transcript.
The format you pick will dictate how you can use the text, whether it’s for making your video more accessible or giving your website’s SEO a serious boost.
Captions vs. Content: Know Your Formats
For anything that shows up on the video player itself, you'll be looking at SRT (SubRip Subtitle) and VTT (WebVTT) files. Think of these as the industry standard for closed captions. They’re basically simple text files that chop up your dialogue into chunks, each with its own timestamp. That's the magic that lets platforms like YouTube sync the text perfectly with the audio.
But then you have the humble TXT (Plain Text) file. It might seem basic, but it’s a content powerhouse.
A TXT file is your transcript without any of the timing data—just the clean, raw dialogue. This is gold for content marketing. You can drop the whole thing into your YouTube video description, instantly making every single spoken word searchable. Or, you can take that text and use it as the skeleton for a brand-new, SEO-friendly blog post.
This is a bigger deal than you might think, especially in places like Canada where more and more people are consuming long-form audio on YouTube. A 2025 Triton Digital report actually found that 35% of Canadian podcast listeners now prefer using YouTube. This trend signals a huge demand for accessible, text-based versions of video content. You can dig into more Canadian audio trends over at TritonDigital.com.
It really boils down to this: Use SRT/VTT files for on-screen captions that make the viewing experience better. Use TXT files for everything else—driving search traffic, repurposing content, and giving your ideas a life beyond the video.
This is where a tool like TranslateMom makes things easy. It lets you Download Subtitles in whatever format you need from its export menu. Whether you're grabbing an SRT for your YouTube upload or a TXT for your next blog post, you get the right file with just a click. And if you're starting from the other direction with a plain text file, you can easily convert a TXT file to SRT to get it ready for captioning. It's all about making sure your hard work pays off in every way possible.
Putting Your Transcript To Work For Content Growth
Once you've transcribed your YouTube video, don't just let that text file sit there. What you're holding isn't just a document—it's raw material that can supercharge your entire content strategy. Think of it as a way to multiply your effort, extending the life and reach of every single video you create.
The easiest win is on social media. I always scan my transcripts for those golden nuggets: punchy quotes, surprising stats, or a really solid tip. Each one of these can be spun into its own piece of content.
- Quote Graphics: Pull a compelling sentence and drop it onto a branded template for Instagram or Facebook. Super easy and effective.
- Twitter (X) Threads: Grab a key idea from the video and use the transcript to map out a detailed thread. It’s a great way to add depth and drive discussion.
- LinkedIn Posts: Share a professional insight from your video. The transcript gives you the perfect starting point for a thoughtful post that gets people talking.
Expanding Your Reach with SEO
Now, here’s where the real magic happens: turning that transcript into a full-length, SEO-optimized blog post. A video's content is mostly invisible to search engines like Google, which is a huge missed opportunity. But a blog post built from your transcript? That makes every single word completely discoverable.
By understanding the broader advantages of content marketing, you can better strategize how your transcripts contribute to your overall content strategy. It's about creating multiple touchpoints for your audience.
Finally, let’s talk about creating things your audience will love. You can pull the core steps from a tutorial video to create a downloadable checklist. Or, you could bundle the key takeaways from an in-depth interview into a handy little eBook. This stuff doesn't just provide real value; it helps you build your email list, turning casual viewers into genuine followers.
Common Questions About Transcribing YouTube Videos
People ask us all the time about the little details of getting a text transcript from a YouTube video. So, let's clear up some of the most common questions right now.
How Accurate Are Automated Transcription Tools?
Honestly, they've gotten incredibly good. The top tools out there can hit 90-95% accuracy when you have clean audio.
But that number can dip pretty fast if you're dealing with background noise, speakers with thick accents, or a lot of niche jargon. Just remember that no machine is perfect. It's always a good idea to have a human give it a final once-over to catch any weird mistakes.
Can I Transcribe a YouTube Video I Don’t Own?
Yes, you can! This is a big one for researchers and content creators.
If the video is public, you can use a tool like TranslateMom. Just grab the video's URL and drop it into the Link Import feature on the New Task screen. The platform pulls in the video and generates the transcript for you. It's perfect for when you need to grab quotes, take detailed notes, or even create reaction content.
What Is the Best Free Option for Transcription?
For a truly free option, your best bet is starting with YouTube's own auto-captioning. It's built right in, so there's nothing to install and it costs nothing.
The trade-off? You'll definitely need to do some manual editing to fix errors and get the timing just right. But if you have more time than budget, it's a perfectly solid way to get the job done.
Ready to create perfectly accurate transcripts and captions in minutes? TranslateMom offers a powerful Studio editor with an intuitive workflow to save you time and effort. Start transcribing your first video for free today.