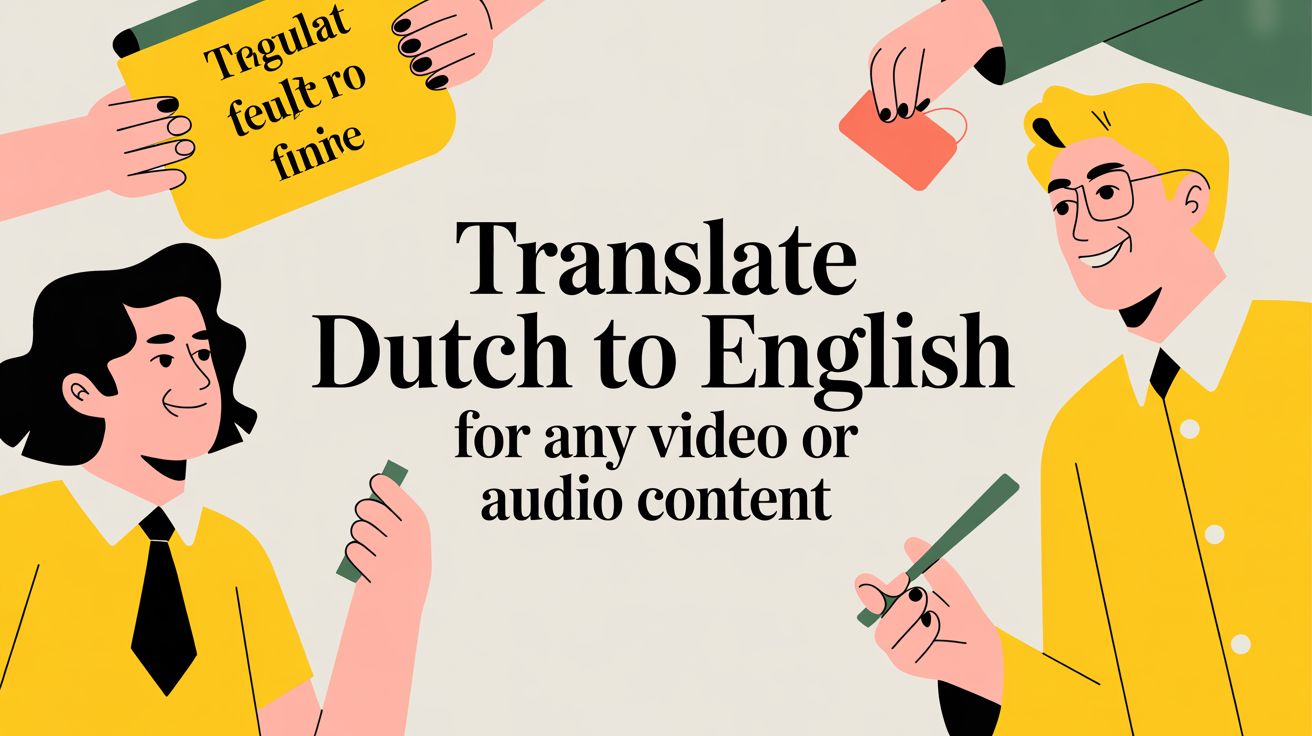
When you need to translate Dutch to English, especially for video or audio, a simple copy-paste into a text tool just won't cut it. You need a system that gets the context, the nuance, and most importantly, the timing right. Standard machine translators are notorious for missing cultural expressions and spitting out clunky phrases, which can seriously damage your message's credibility.
Why Nuanced Translation Matters
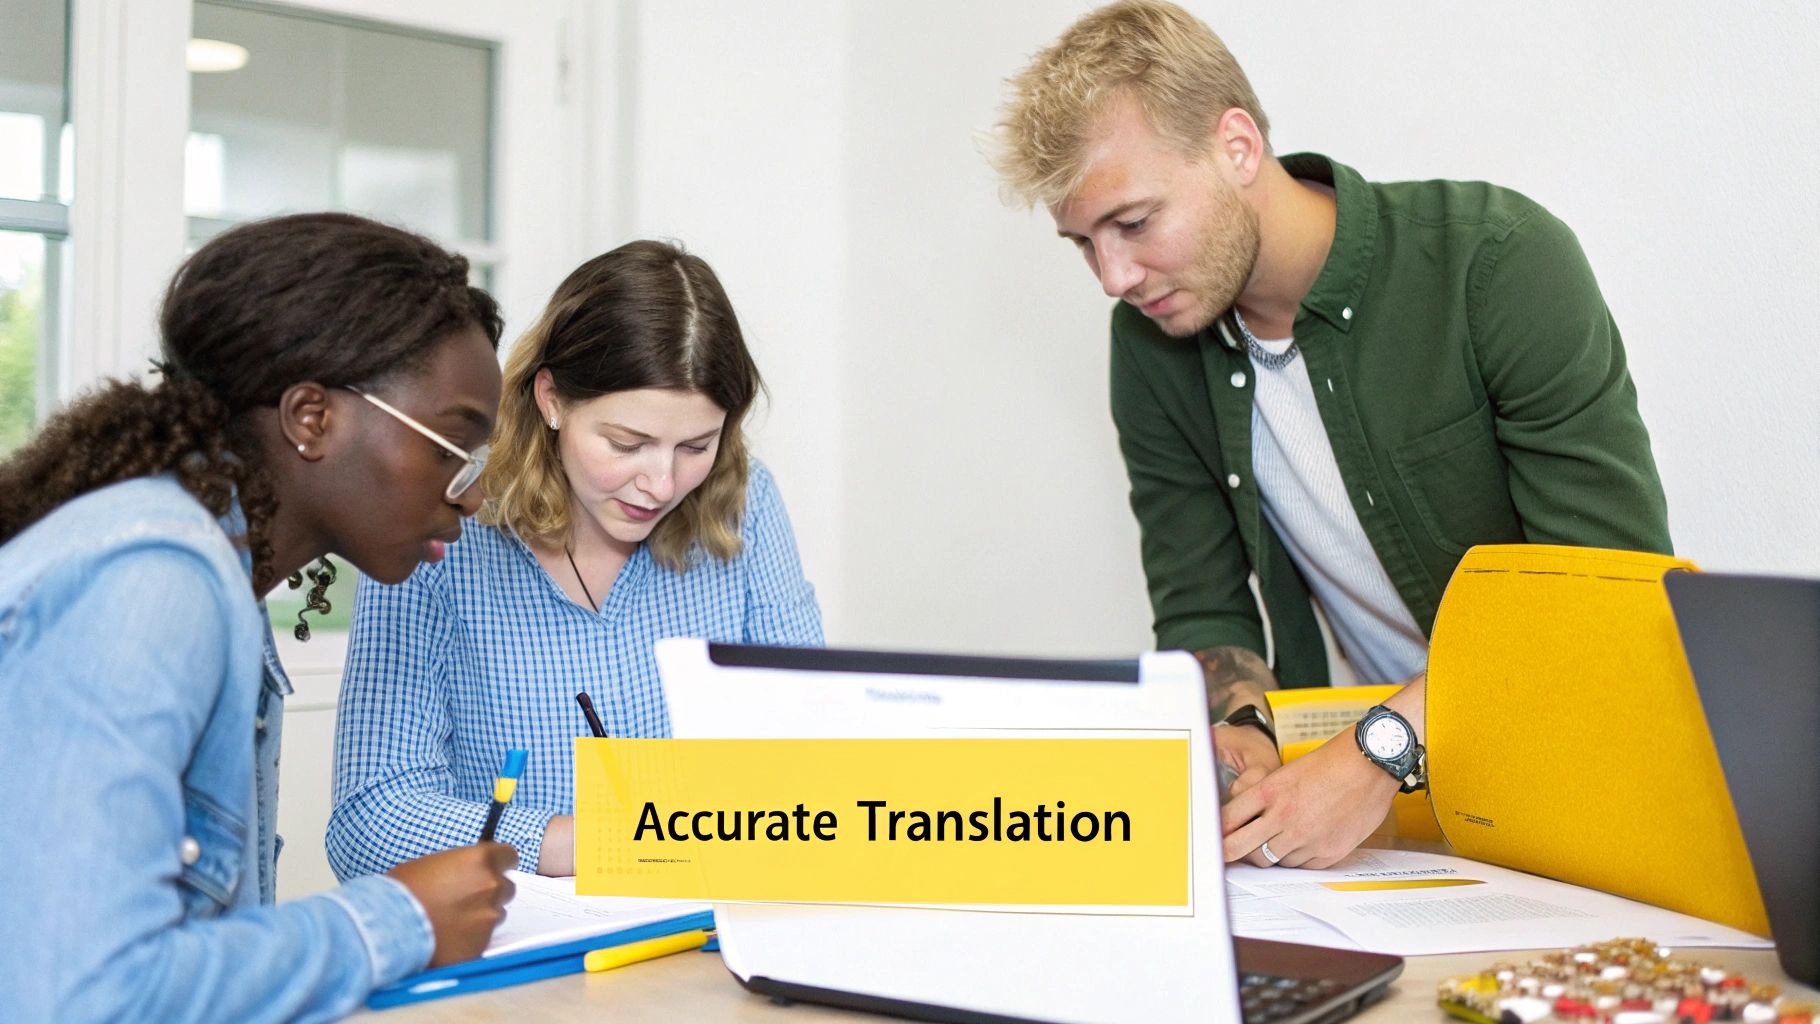
In today's interconnected world, the demand for high-quality Dutch to English translation is bigger than ever. Maybe you're a content creator trying to grow your YouTube channel, or perhaps you're a business expanding into new markets. Either way, the quality of your translation directly shapes how your audience sees you.
Just dropping Dutch text into a basic online tool almost always gives you a literal, word-for-word output that completely misses the original intent. This can lead to confusing or even funny mistakes that make you look unprofessional.
The Pitfalls of Inaccurate Translations
Let's be honest, a bad translation can create some serious headaches. Here’s what you're up against:
- Lost Context: Idioms and cultural references almost never translate directly. An expression that’s perfectly normal in the Netherlands might sound bizarre or nonsensical in English if it isn't adapted properly.
- Awkward Phrasing: Automated tools often create sentences that are grammatically correct but sound completely unnatural. It makes your content a slog to read or listen to.
- Damaged Credibility: Errors in your subtitles or dubbing can make your brand look careless. That’s a quick way to lose the trust you’ve worked so hard to build with your audience.
This is exactly why a more thoughtful approach is so important. Professional-grade tools like TranslateMom are built to handle these challenges. By combining AI with a powerful "Studio" editor, you can manage everything from getting the subtitle timing perfect to creating a full AI dub, making sure your message always hits the mark.
The Real-World Need for Dutch Translation
The demand for Dutch translation isn't just a theory; it's a real, practical need in many places. Take California, for example. Dutch is the 15th most spoken non-English language among its residents, with a community of nearly 290,000 speakers.
That’s a huge audience for creators and businesses looking to connect with Dutch speakers right inside major English-speaking markets. You can discover more insights about California's linguistic landscape if you're curious.
This guide will walk you through how to leave basic tools behind and start producing genuinely professional translations.
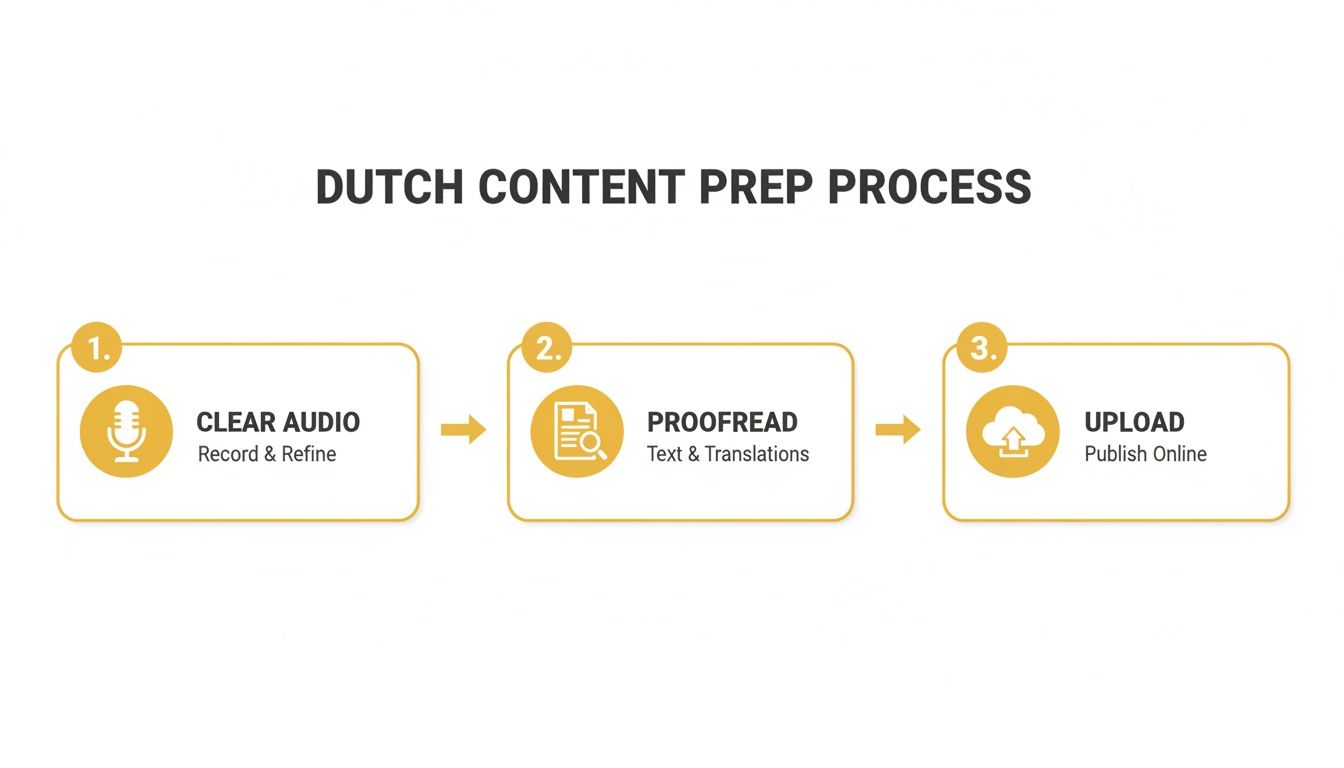
Prepping Your Dutch Content for a Flawless Translation
Before you even think about hitting that "translate" button, taking a few minutes to prepare your Dutch content can make a massive difference. Seriously. It's like prepping a wall before you paint it—a little bit of effort upfront gives you a much cleaner, more professional result. This step is the secret sauce to a great final product.
When you're dealing with video or audio, the single most important thing is audio quality.
If your recording is full of background noise, muffled voices, or people talking over each other, the AI is going to have a tough time. Clean, crisp Dutch audio is the foundation for everything that follows, starting with an accurate transcription. Mess that up, and the whole translation suffers.
If you need some pointers on getting better sound, we’ve got a handy guide on how to get clean audio recordings with just an iPhone.
Fine-Tuning Your Dutch Text
The same logic applies if you're just translating text. A quick proofread of your Dutch source material can help you spot potential translation traps.
- Slang and Idioms: Dutch is full of colourful expressions. Something like "alsof er een engeltje over je tong piest" (which just means the food is delicious) will come out as total nonsense if translated literally. It's often better to swap these out for more straightforward language.
- Cultural References: Are you mentioning a Dutch celebrity or a local TV show? Your English-speaking audience probably won't have a clue what you're talking about. You might need to add a quick explanation or find a more universal example to make your point.
- Ambiguity: Read through your sentences and ask yourself if they could be interpreted in more than one way. The clearer you are in Dutch, the less room there is for the AI to get confused.
By tidying up your source material first, you’re basically giving the AI a roadmap to a more accurate and context-aware translation. This prep work will save you a ton of editing time later.
Once your content is ready to go, the next part is easy.
With a tool like TranslateMom, you can just drag and drop your video files right into the browser on the New Task screen. Or, if your video is already online, just paste the URL from YouTube, TikTok, or Instagram, and the app will pull it in for you.
Putting Your Dutch Video Through an AI Workflow
Alright, once you've got your Dutch content prepped and looking sharp, it's time for the magic. We’re going to run it through a slick, browser-based workflow that handles everything in one spot. No need to download hefty software or bounce between different apps.
A tool like TranslateMom is perfect for this. It keeps the whole process to translate Dutch to English for your videos under one roof.
Getting started is as simple as it gets. Head over to the New Task screen, and you've got two easy ways to get your video in. You can literally drag and drop your file right into the browser—it handles files up to a hefty 5GB. Or, if your video is already on YouTube, X (what we used to call Twitter), or TikTok, just paste the URL. The app will pull it in automatically.
Dialing in Your Translation Settings
Once your video is uploaded, you just need to tell the system what you want it to do. This part is fast, but getting it right is key to getting the perfect result.
First up, languages. Set the Source Language to Dutch (what's spoken in the video) and the Target Language to English (what you want to end up with).
Next, you’ll pick the service that matches your goal. This is where you decide exactly what the final product will look like.
- Transcription: This is your go-to if you just want to create Dutch captions for your original Dutch video. It’s all about accessibility in the source language.
- Translation: Choose this to generate English subtitles. The AI will first transcribe the Dutch audio, then translate it into perfectly timed English captions.
- Dubbing: This is the full package. The AI creates a completely new audio track in English, replacing the original Dutch dialogue. It’s ideal for creating a really immersive experience for your English-speaking audience.
The whole process really hinges on that first step. If you can transcribe a video to text accurately, the final translation will be that much better.
So, Subtitles or Dubbing?
Deciding between subtitles and dubbing really comes down to your content and who you're trying to reach. If you're creating educational videos or tutorials, clear subtitles are often the way to go. But for documentaries or cinematic content, a full English dub can feel much more natural and engaging.
To make it even clearer, here’s a quick breakdown to help you pick the right service in TranslateMom for your project.
Choosing Your Dutch to English Translation Service
| Service | Best For | Final Output |
|---|---|---|
| Transcription | Adding Dutch captions to your original Dutch video for accessibility. | Timed Dutch subtitles (SRT, VTT, etc.) |
| Translation | Reaching an English-speaking audience who prefers reading subtitles. | Timed English subtitles (SRT, VTT, etc.) |
| Dubbing | Creating a seamless viewing experience for documentaries or courses. | A new video file with an English AI audio track. |
As you can see, each option serves a distinct purpose, giving you the flexibility to choose what works best for your audience.
This simple flow just reinforces how important it is to start with great source material. Clean audio and a solid script are the foundation for a flawless translation.
Once you’ve made your choices, just hit go. The platform’s AI models will get to work, and you’ll be notified when it's done. If you're curious about the tech making this possible, you can dive deeper into different AI video translators and how they work.
Next, we'll look at how to review and polish the results.
Refining Your English Subtitles in the Studio Editor
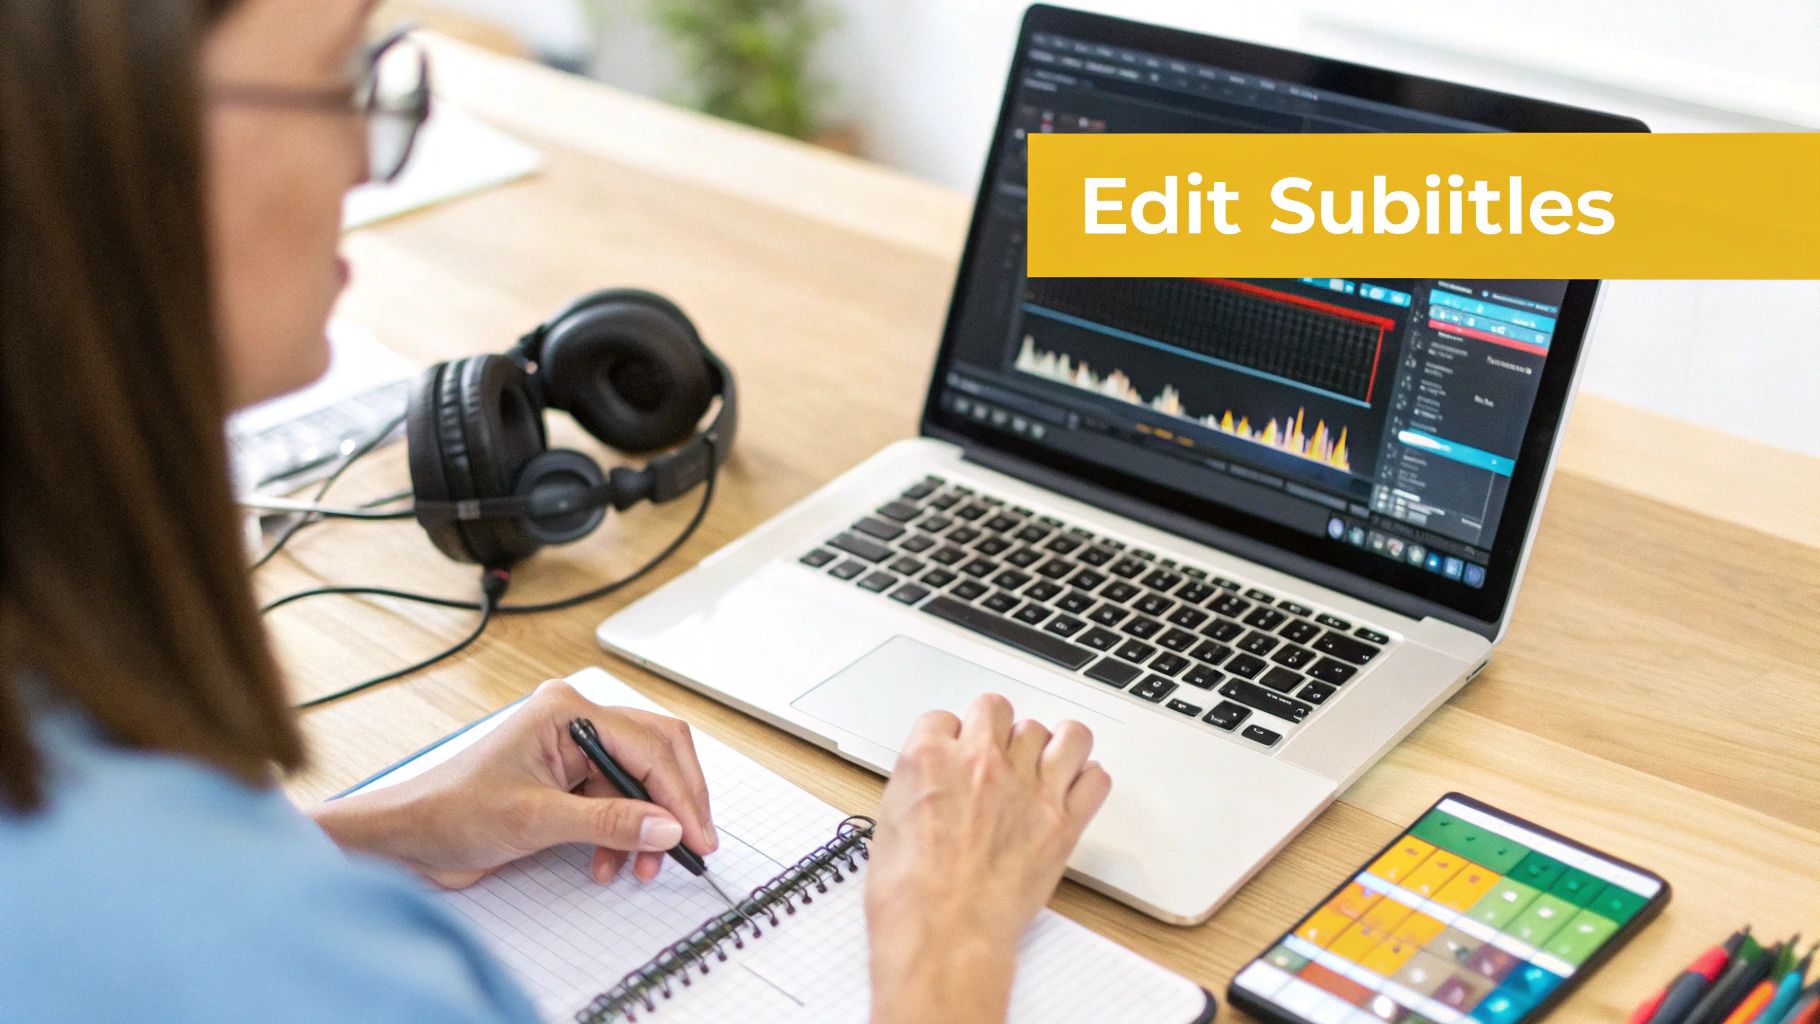
The first pass with AI gets you incredibly close—I've found it often handles 90% of the heavy lifting. But the real magic, the part that makes a translation feel truly professional, is the human touch you add afterwards. This is your chance to turn a good translation into a great one, making sure every line lands perfectly for your English-speaking viewers.
This is exactly what the TranslateMom Studio Editor is for. It’s not just a text box; it’s a full-blown workspace built for precision and creative control. Think of it as your command centre for getting your English subtitles just right.
Navigating the Studio Workspace
The editor layout is smart and keeps things from getting cluttered. On your left, you’ll see the Special Player. This gives you a live preview of how your subtitles will actually look on the final video, rendering all your styling choices—from fonts to animations—as you make them.
Over on the right is where the core editing happens: the Subtitle Editor. It’s a clean, scrolling list of every single subtitle line. Just click on any line to start editing the text. The video will automatically pause when you start typing, which is a neat little feature that lets you focus on nailing the wording without the video playing in the background.
Precision Timing and Bilingual Comparison
For anyone looking to translate Dutch to English, the Split View feature is a must-use. Toggle it on, and you’ll see your original Dutch text right next to your English translation. This side-by-side view is invaluable for checking that you've captured the original intent and nuance, not just the literal meaning.
And below the text? You get a visual audio Waveform. Honestly, this is a game-changer for timing your subtitles.
- You can literally see the pauses and speech patterns in the audio.
- Just drag the start and end points of any subtitle to sync it perfectly with the spoken words.
- This is how you get rid of those awkward captions that show up too early or linger too long.
It’s this mix of visual feedback and text editing that lets you get down to millisecond-level accuracy, which is what separates amateur work from the pros. If you're curious about the technical side of subtitle files, our guide on how to convert a plain text file into a timed SRT format is a great place to start.
The goal is to make the subtitles feel like they belong in the video, not like they were tacked on later. Nailing the timing on the waveform is the secret to getting that professional polish.
Advanced Styling and Branding
Okay, text and timing are sorted. But the Studio Editor also gives you deep control over the look and feel. Head over to the Style tab in the sidebar, and you can really start to customize. Adjust the font, size, colour, or add effects like an outline or drop shadow to make sure your text pops against any background.
One of my favourite features here is the ability to create "Karaoke" style captions. You've probably seen them on social media—they highlight words as they’re spoken. It’s a fantastic way to boost engagement. In the Style tab, you can select presets or manually configure animations where words highlight as they are spoken.
Speaking of branding, the Brand tab lets you upload your logo or watermark directly onto the video. You can easily resize it and drag it anywhere on the frame, making sure your content stays yours as it gets shared around.
For those of us who live by keyboard shortcuts, you can quickly adjust font sizes with the + and - keys or even reorder entire subtitle lines with [ and ]. These little things add up, making the whole editing workflow feel faster and more natural. It's this combination of AI power and detailed human control that really elevates your project.
Creating Immersive Experiences with AI Dubbing
Subtitles are a must-have, but let's be honest—sometimes you need more than just text on a screen to really hook an audience.
If you're creating content like documentaries, e-learning courses, or even punchy social media clips, most viewers would rather listen than read. This is exactly where AI dubbing shines when you need to translate Dutch to English.
Instead of just slapping text over your video, dubbing generates a completely new, natural-sounding English audio track. It lets your audience truly connect with your content without the distraction of reading. Suddenly, your video feels like it was made just for them.
How AI Dubbing Works in Practice
The process is surprisingly simple. When you're in a tool like TranslateMom, you just upload your Dutch video and select the Dubbing service. From there, the platform's AI handles the heavy lifting, creating a new voice track to replace the original Dutch.
But it’s not just about swapping one voice for another. The real magic is in the synchronization.
The technology is smart enough to match the new English audio to the on-screen action and the speaker's timing. The goal is a seamless experience where the audio feels perfectly aligned with the video, giving you a polished, professional final cut.
Meeting a Growing Demand
The need for content in more languages is exploding. Just look at the recent language access data from California—it shows a massive demand for interpretations outside of the usual languages.
While Dutch might not always be at the top of traditional service lists, this points to a huge opportunity for AI tools to fill that gap almost instantly. For creators and agencies, platforms like TranslateMom, with its 29-language AI dubbing feature, are a game-changer. You can meet this demand without the long wait for a human interpreter. You can actually check out the full report on these language access findings to see the numbers yourself.
Choosing AI dubbing isn't just about translating words. It's about creating a more accessible, engaging experience that can seriously expand your content's reach and impact.
This approach ensures your message isn't just understood but actually felt by your new English-speaking audience. It's the perfect choice when you want your content to feel native, breaking down language barriers in a way that subtitles alone never could.
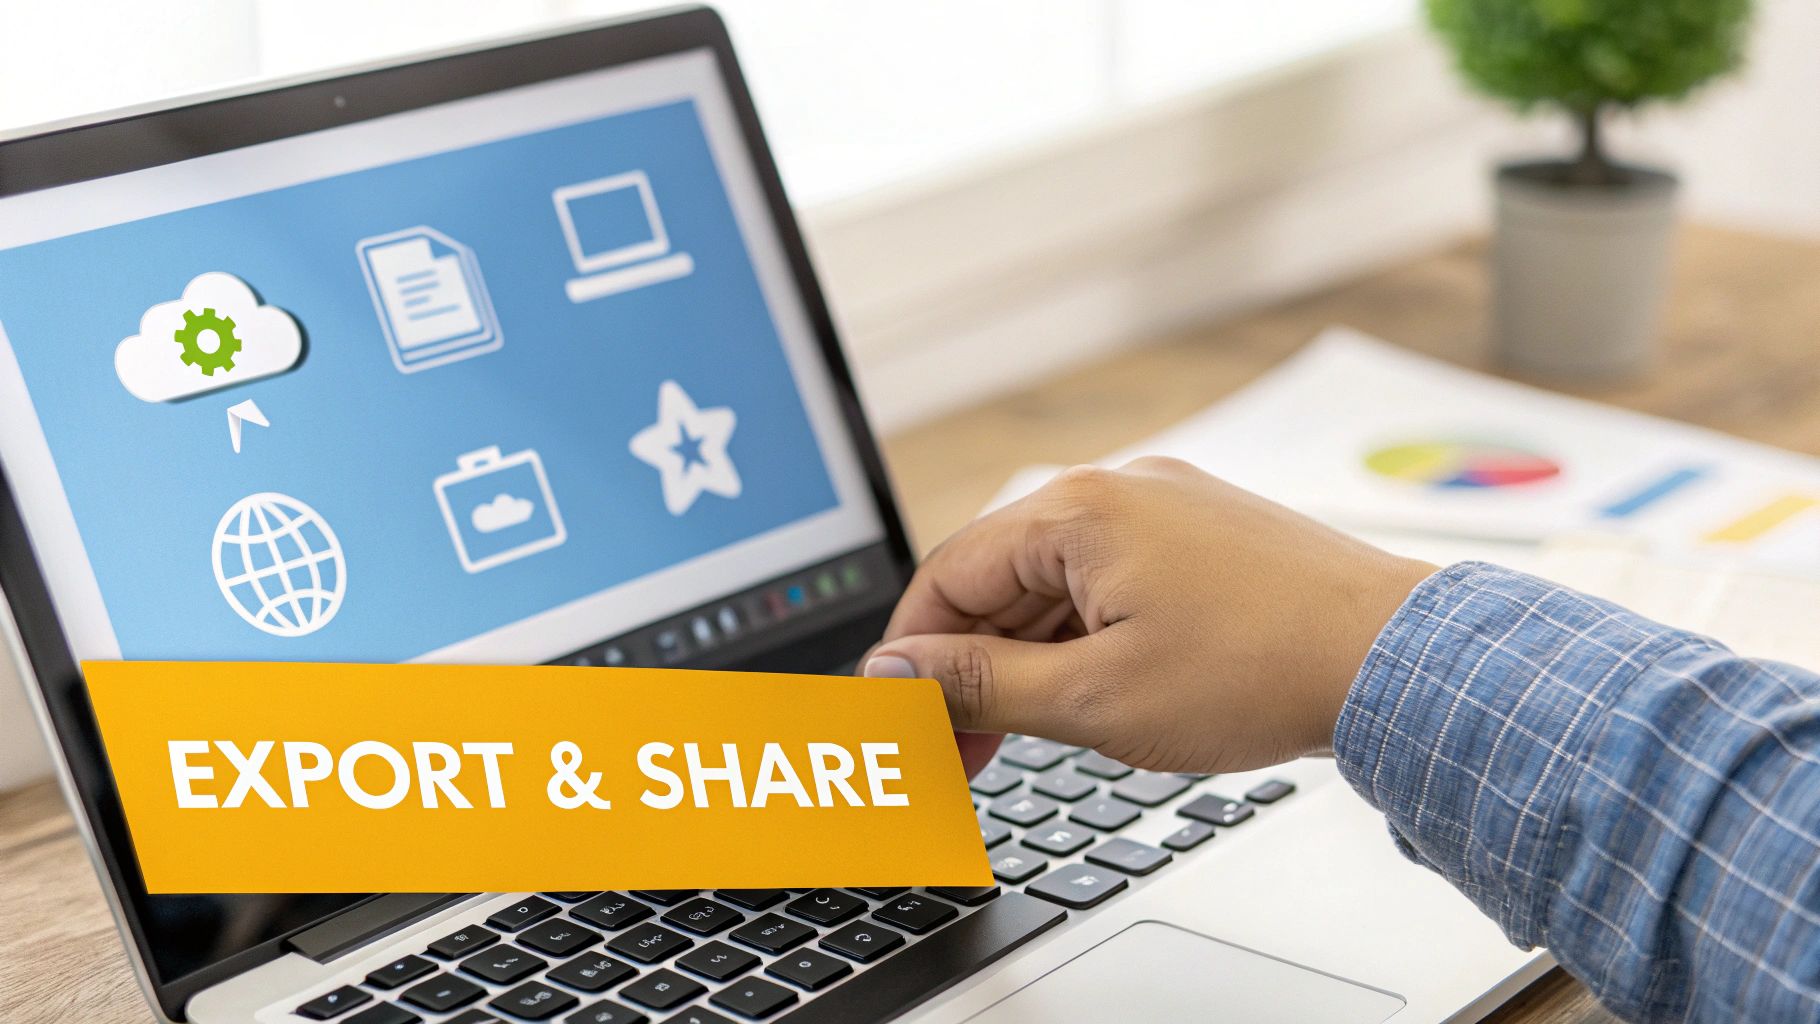
Exporting & Sharing Your Final Project
Alright, once you've polished your Dutch to English translation and everything looks perfect, it's time to get it out into the world. This final step is all about exporting, and a flexible tool like TranslateMom gives you a bunch of options to fit whatever you're working on—from a quick social media clip to a full-blown documentary.
You've really got two main paths here, and they're fundamentally different. You can either "burn-in" the subtitles directly onto your video or download them as separate files.
Choosing Your Export Format
"Burning in" the subtitles just means the app creates a brand new video file with your English text permanently embedded. This is my go-to for platforms like Instagram or TikTok, where I want to guarantee my captions are always visible. It's a simple, one-and-done solution.
The other option is to download the subtitle files separately. This is the professional standard for platforms like YouTube or for when you're working in video editing software like Premiere Pro. TranslateMom supports all the formats you'll ever need:
- SRT: This is the old faithful of subtitle formats. It works pretty much everywhere.
- VTT: A more modern format that lets you add styling and other metadata.
- TXT: A simple, plain text transcript of all the dialogue.
- ASS: A powerful format that's popular for its advanced styling options.
This flexibility is a lifesaver. Let's say you're dubbing a documentary about a historic town like Dutch Flat, CA, aiming it at Dutch tourists. That community is 100% English-primary, so creating accessible Dutch content is key. With a browser-based tool, you can instantly create subtitles, export watermark-free ASS files for styling, and keep your project safely stored.
Keeping Your Work Safe
Every single edit you make is automatically saved to the cloud. You can close your browser tab, grab a coffee, and come back later to pick up right where you left off. No lost work.
Even better, TranslateMom keeps a full version history of your project. If you make a mistake or just decide an older version was better, you can easily roll it back. It’s a great safety net that lets you experiment without fear.
One last tip: when you’re ready to share the final video, it’s a good idea to compress videos for email or other platforms to avoid hitting any size limits.
Got Questions About Translating Dutch to English?
Even with the best tools, you probably have a few questions about getting your Dutch-to-English translations just right. I get these all the time, so let's run through the most common ones.
How Good Is AI for Dutch to English, Really?
Modern AI is surprisingly good. It nails grammar and gets the direct meaning across with impressive accuracy. Where you'll want to keep an eye on it is with the subtleties—think cultural idioms, regional slang, or super-specific technical jargon that doesn't have a clean, one-to-one translation.
This is exactly why having a human touch is key. Inside a tool like TranslateMom, the Split View in the Studio Editor is your best friend. It shows you the original Dutch right next to the AI's English translation. This makes it incredibly easy to scan through and polish any phrases that sound a bit clunky or miss the mark culturally. You get the speed of AI with the nuance of a human expert.
Can I Translate a YouTube Video Without Downloading It First?
Yes! And honestly, it’s a massive time-saver. Don't waste your time downloading massive video files just to re-upload them somewhere else.
This is what modern web-based platforms are built for. With TranslateMom, for instance, you just kick off a New Task and drop in the URL from YouTube, TikTok, X (formerly Twitter), or Instagram. The app pulls the video in directly, so you can jump straight into the important part: the translation.
What’s the Best Subtitle Format to Use?
The "best" format really comes down to where you plan on sharing your video.
- Burn-in Video: This option permanently sticks the subtitles onto your video. It’s perfect for social media platforms like Instagram or TikTok, guaranteeing your captions are always there, no matter what.
- SRT File: This is the universal standard. If you're uploading to YouTube or bringing your video into editing software like Premiere Pro, an SRT file is your safest bet. It just works.
- VTT File: Think of this as a more modern SRT. It gives you more styling options for your captions, which is great if you want more creative control over how they look.
A good tool should let you export in multiple formats (including TXT for a simple transcript or ASS for advanced styling). That way, you’re covered for any scenario.
Is It Possible to Show Both Languages at the Same Time?
Absolutely. This is a game-changer for educational content or for anyone using your videos to learn a language.
In TranslateMom, we call this Dual Language Mode. When you flip it on, it stacks the original Dutch subtitles and the English translation right on top of each other, in the video itself. It gives your viewers an instant, real-time comparison, which is incredibly valuable for language learners.
Ready to get professional, spot-on translations for your Dutch content? Give TranslateMom a try and see how simple it is to reach a global audience with subtitles and AI dubbing. https://translate.mom