If you want to translate your English video into spoken French, you'll need a tool that handles everything in one place: transcription, translation, and creating a new audio track. The best way to do this is with an integrated platform like TranslateMom. It takes your English video, generates French subtitles, and then creates a natural-sounding French AI voice-over, all from a single dashboard. This saves you the headache of juggling multiple apps to get a professional result.
Your Essential Toolkit for French Audio Translation
If you're a video creator, you know the drill. Translating text is one challenge, but making it sound like authentic, spoken French is a whole different ball game. This is especially true if you're trying to connect with audiences in Quebec and other francophone regions where getting the nuance right is everything. For some more general pointers, you can always check out resources like Mindstamp's translation tutorials.
Kicking Off Your Translation Project
The first step is always getting your video into the system. With a tool like TranslateMom, we've made this as simple as possible. You can either drag and drop your English video file right into the browser or just paste a link from YouTube, TikTok, or Instagram. This simple starting point is key to keeping your workflow fast and efficient.
The "New Task" screen is your starting point for any project. It’s designed for quick media import without any fuss.
As you can see, you have two straightforward options: upload a file directly or import using a URL, which can be a huge time-saver. Getting this first step right is crucial, especially when you're targeting a large and specific language community.
Why Regional Accuracy Is a Big Deal
The need for top-notch audio translation really hits home in places like Quebec, Canada's francophone hub. A staggering 84.1% of its residents list French as their first official language spoken, making it a market you can't ignore. This linguistic reality highlights why you need English-to-French translation that includes authentic-sounding audio.
A true all-in-one platform doesn't just swap words; it makes sure the final audio sounds natural and is free from any distracting noise. A clean audio track is the foundation of a good dub. If you're working with source files that aren't perfect, our guide on background noise removal from video has some practical tips to clean things up before you even start translating.
Generating Your Initial French Translation and Captions
Alright, let's get into the nuts and bolts. The first real step in getting your English video to speak French is to build a solid text-based foundation. Think of it as creating a script for your new French audio track. This ensures everything lines up perfectly, avoiding any awkward timing or mismatched phrases in the final dub.
Setting Up Your Translation Project in TranslateMom
With a tool like TranslateMom, you can kick things off by creating a New Task. It’s super flexible—either drag and drop your video file directly or just paste a link from YouTube, TikTok, or wherever your content lives. Once your video is loaded, you enter the setup phase:
- Source Language: Select 'English' (the language spoken in the video).
- Target Language: Select 'French' (the language you want subtitles in).
- Choose a Service: Select Translation. This tells the AI to generate a full French translation complete with precise time codes, listening to the original English speech and creating synced French subtitles.
This whole localization workflow is actually pretty straightforward.
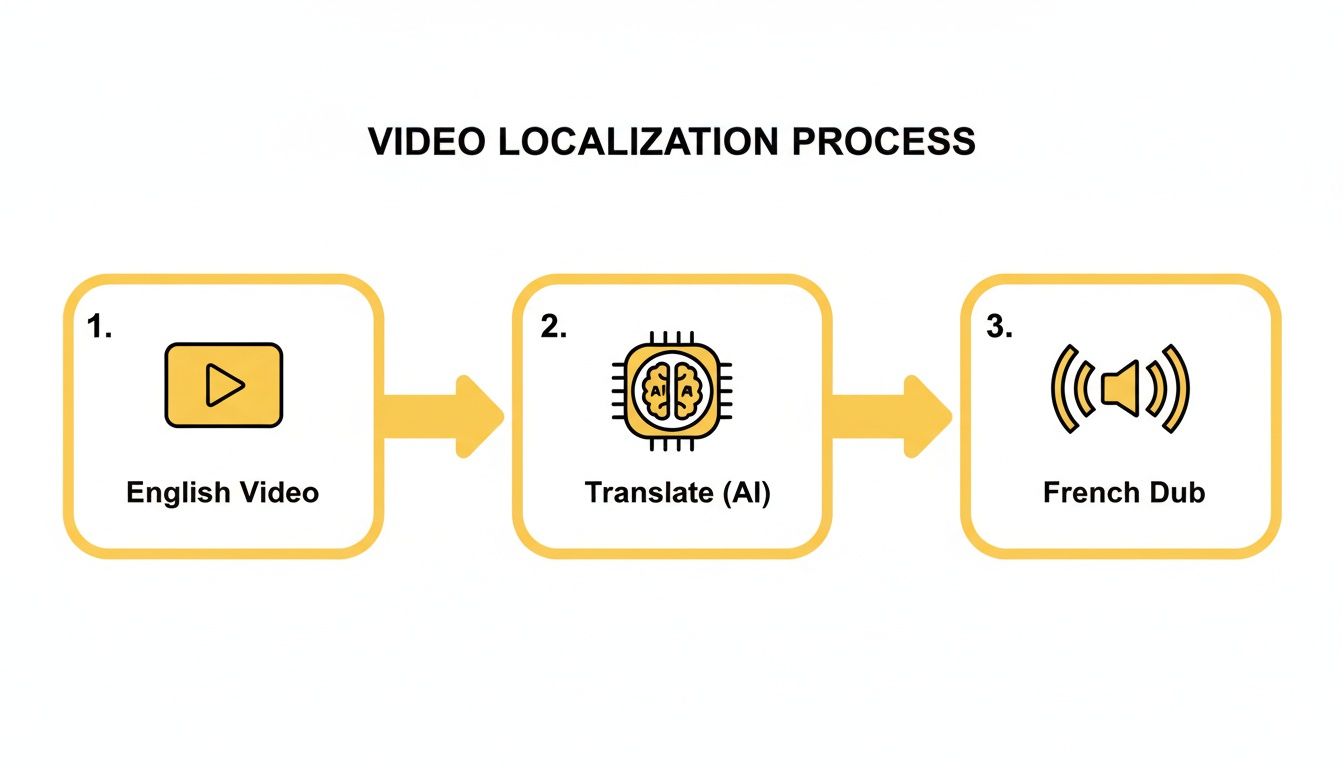
As you can see, the process flows from your original English video, through the AI translation engine, and heads toward the final French audio output.
Reviewing and Refining the Captions
With the first draft of your French captions ready, it’s time for a quick but crucial review. In TranslateMom, this is where you’ll jump into the Studio Workspace. You'll see the video player on one side and the time-coded subtitle editor on the other, designed to let you make edits while seeing the changes in real-time.
From my experience, I always recommend doing a quick pass through the subtitles. You can easily click any text line to edit it, and the video will pause automatically. A really handy tool here is the Split View, which shows you the original English text next to your new French translation. It makes it dead simple to check that the meaning and tone are still on point.
Taking a few minutes to polish the captions here is a game-changer. It ensures the script is flawless before you generate the French audio, leading to a much more professional and natural-sounding final product.
Getting this foundation right is everything—it impacts both accuracy and accessibility. If you want to go deeper on what makes for great captions, you can learn more about the nuances of subtitling and translation in our detailed guide. Trust me, correcting a word now saves a massive headache later on.
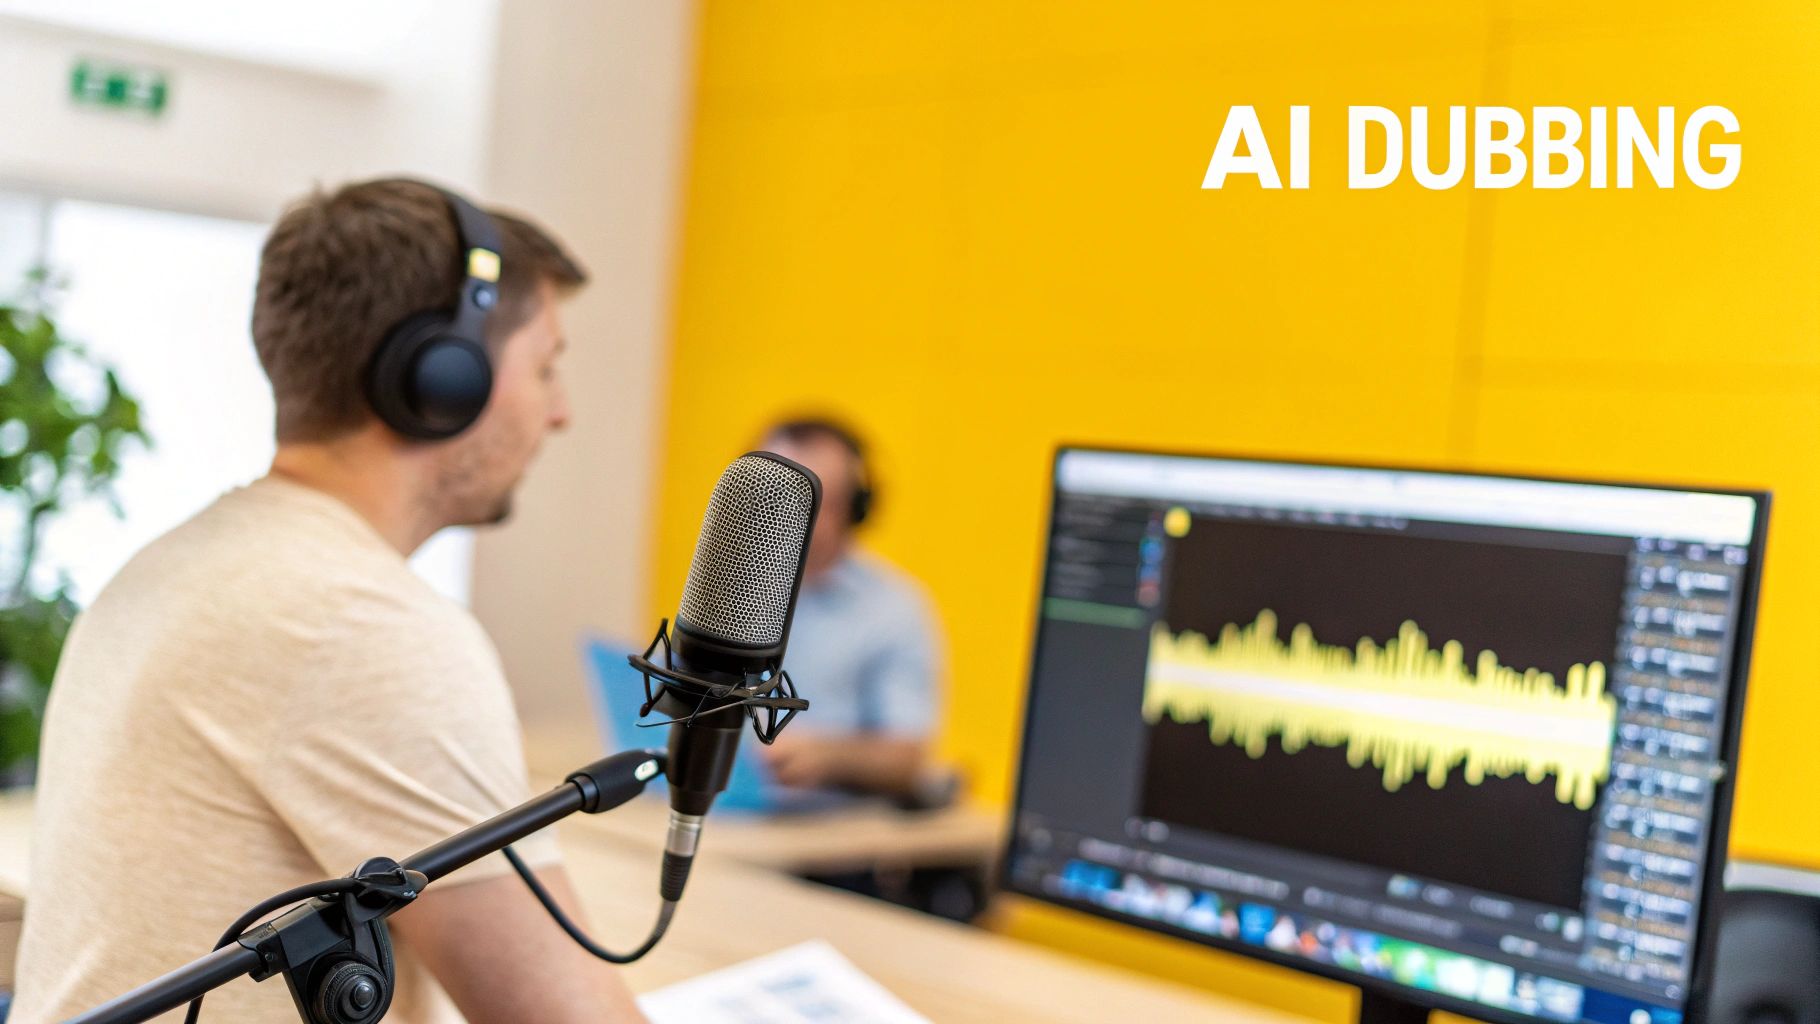
From Captions to Audio: Creating the French Dub
Alright, you've got your French translation looking sharp. Now, let's give it a voice. This is where we move past simple text on a screen and actually translate English to French with sound. AI dubbing is what turns your silent captions into a fully voiced, immersive experience for your French-speaking viewers.
In a tool like TranslateMom, you'll just need to activate the Dubbing service for your project. This is a separate step from the initial translation because it's all about generating the audio. Once you've enabled it, the fun part begins: choosing the perfect AI voice for your content.
Picking the Perfect French AI Voice
Don't just grab the first voice you see. Picking the right one is absolutely essential for making your video feel authentic.
Think about the original speaker. What’s their vibe? Are they super energetic and casual, or are they delivering a more buttoned-up corporate presentation? Most modern platforms give you a solid lineup of French voice profiles to choose from, so take a minute to find a good match for the original tone, gender, and style.
Once you’ve made your choice and let the AI work its magic, you can preview the dubbed video right there in the editor. This is your first chance to see—and hear—how it all comes together. Watch it through and pay close attention to how the new French audio syncs up with the speaker's gestures and lip movements.
A solid AI video translator makes this review a breeze by keeping the audio and video together in one workspace.
Nudging the Audio into Place with the Waveform Editor
Even the smartest AI can sometimes miss the natural rhythm of human speech, leaving awkward pauses or slightly off-sync moments. In the TranslateMom Studio, the visual waveform editor becomes your best friend. It gives you a visual map of the audio, showing you exactly where the words are and where the silence is.
You can literally just drag the start and end points of a subtitle line to line up the French words perfectly with the speaker's mouth. It's this hands-on adjustment that keeps the dub from feeling robotic and truly polishes the final video.
It’s almost like editing a text document, but you're doing it with sound. You can close up gaps, stretch out a word to cover a lingering shot, or shift a phrase just a tiny bit to get the timing just right. For creators looking to really up their game, exploring some of the best AI tools for content creators can open up even more ways to automate and improve your workflow.
Refining and Customizing Your French Audio Visuals
Now that you have your new French audio track, it's time for the fun part: adding the final polish that turns a simple dub into a professional-grade video. This is where we’ll fine-tune both the sound and the visuals to make your content as accessible and engaging as possible.
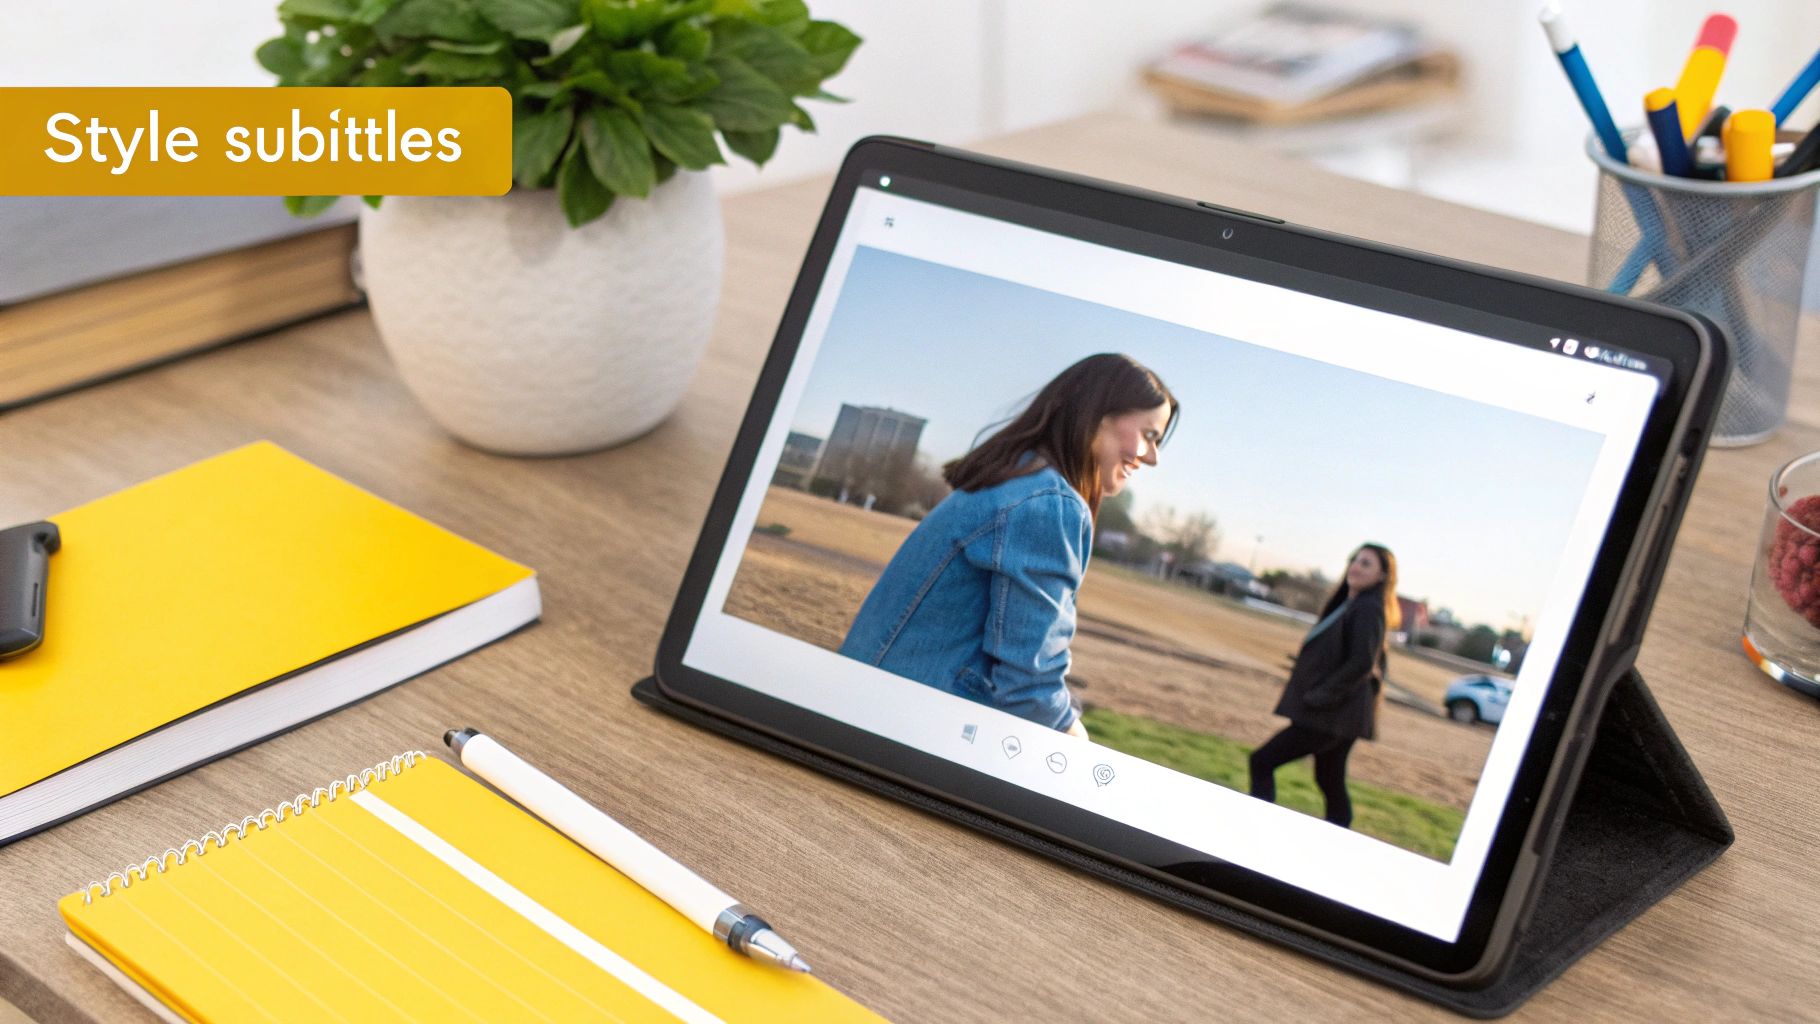
A great first move is to add burned-in French subtitles to go along with the new audio. I know what you’re thinking—isn't that a bit redundant? Not at all. It’s a huge help for people watching in noisy places or for anyone who just prefers to read along.
If you’re using a tool like TranslateMom, you can jump right into the Style tab in the Studio sidebar to get this done.
Fine-Tuning Your Subtitle Appearance
This is where you get full creative control over how your French captions look on screen. You can tweak everything from the font and size to the colours of the text, outline, and even the shadow. It’s all about making sure your subtitles are easy to read while still matching your brand's vibe.
Making clips for social media? The dynamic karaoke-style highlighting is a feature you have to try. In the Style tab, you can select presets where words highlight as they’re spoken, which is a real attention-grabber on platforms like TikTok and Instagram and can seriously boost viewer retention.
Here’s a look at the Style tab in action. You get a real-time preview of all your changes.
This lets you instantly see how different fonts, colours, and animation presets will look in the final cut. No guesswork involved.
Enhancing for Educational Content
If you're creating tutorials or other educational content, there's a feature I always recommend: Dual Language Mode. It displays both the original English and the translated French captions on screen at the same time, usually stacked. This is an absolute game-changer for language learners who want to compare the two directly.
And the demand for these kinds of tools is exploding. In Canada, for example, enrolment in French immersion programs outside of Québec jumped by a massive 41.3% in just a decade. By 2021, over 12.6% of students in English-language schools were participating. These learners often seek out tools that can translate English to French with sound to get a better handle on the native accents they hear in class. You can dig into more of these language education trends in Canada if you're curious.
Pro Tip: When styling dual-language captions, use different colours or font weights for each language. It’s a simple visual cue that makes a huge difference in readability, helping viewers tell English and French apart at a glance.
Finally, for that truly professional touch, head over to the Brand tab. Here, you can upload your logo or a custom watermark, resize it, and drag it anywhere on the video. It’s a quick step that brands your content, protects your work, and gets it ready for distribution on any platform.
Exporting Your Dubbed Video and Subtitle Files
Alright, you’ve put in the work. Your French audio track sounds incredible, and the whole project is polished. Now it's time to get it out there.
With TranslateMom, you've got two main ways to export, and picking the right one depends entirely on where your video is headed next. Figuring this out upfront will save you a ton of hassle.
The All-in-One Export
First up is the "Burn-in" export (Export Video). This is your one-and-done solution. It creates a brand new MP4 video file that bakes everything right in—your new French audio, the styled captions you designed, and even your brand logo if you've added one.
I use this option all the time for content going straight to platforms like TikTok, Instagram Reels, or YouTube Shorts. The final file is a self-contained package, ready to upload immediately. What you see in the editor is exactly what you get. Simple.
Grab the Files Separately
Your other option is to Download Subtitles on their own. This is the way to go if you’re working with other professional tools or if a platform has specific upload rules.
TranslateMom lets you download your French captions in a few key formats:
- SRT (SubRip Text): This is the OG subtitle format. It’s the most common and is supported by pretty much every video player and social platform out there.
- VTT (WebVTT): A more modern choice often used for online video. It gives you a bit more flexibility with styling compared to SRT.
- ASS (Advanced SubStation Alpha): Perfect for creators who need those advanced styling effects, like the slick karaoke-style animations you can create in the Studio.
This flexibility is super important. If your next step is to pull the project into Adobe Premiere Pro or Final Cut Pro for more detailed editing, downloading an SRT or VTT file is the move. It keeps your text and video as separate elements, giving you total control in post-production.
Pro tip: Choosing the right export from the get-go prevents a lot of headaches. A burned-in video is perfect for quick social sharing, while separate SRT files give you the versatility needed for professional editing workflows.
For anyone looking to really speed up their workflow, learning a few keyboard shortcuts can be a game-changer. It makes the whole process, from import to export, feel a lot faster. Here’s a quick cheat sheet for some of the most useful shortcuts inside TranslateMom.
TranslateMom Keyboard Shortcuts for Power Users
| Key | Action |
|---|---|
| N | Start a New Task |
| T | Go to your Tasks list |
| F | File Upload (on New Task page) |
| Space | Play / Pause |
| H / ? | Show Help (Shortcuts list) |
| + / - | Increase / Decrease font size |
| [ / ] | Move subtitle row Up / Down |
Keep these handy, and you'll be flying through your projects in no time.
Pro Tips for Getting That Authentic French Voice
Going beyond a basic translation is what separates the good from the great. If you want your content to really connect, you need to think past the words and consider the regional nuances of your audience. The tiny details are what make a voice sound right instead of just okay.
A perfect example is when you're picking an AI voice. Always check if there are options for Canadian French versus European French. That one choice can completely change how your content lands, especially in a place like Quebec with such a strong linguistic identity.
Fine-Tuning for a Natural Flow
Don't be afraid to get in there and manually tweak phrases that sound a bit too literal. Think of the AI as a seriously talented assistant, not the final boss. A great way to do this is by using the Split View in a tool like TranslateMom. This feature lets you see the original English and the translated French right next to each other.
I find this side-by-side view is a game-changer for catching those little context errors an automated system might miss. It helps you make sure idioms and cultural references are adapted properly, not just translated word-for-word—a classic pitfall.
Another tip from my own experience: spend a little extra time in the waveform editor. I often use it to line up the audio's cadence perfectly with the speaker's on-screen gestures, like a nod or a hand movement. Nailing this sync between sound and action is what makes the final dub feel completely seamless.
Understanding the Canadian Context
This level of detail is especially crucial if you're trying to reach audiences in Canada. In 2021, the English-French bilingualism rate hit 18.0%, which means 6.6 million Canadians can chat in both official languages. A massive 59.2% of them are in Quebec, where the local bilingual rate is a staggering 46.4%.
This unique environment creates a huge demand for tools that can translate English to French with sound and get it right. Professionals and learners are constantly navigating situations that demand precise audio. You can dive deeper into Canada's bilingual landscape over at Statistics Canada.
Still Have Questions?
Got a few more questions floating around about translating your English audio to French? No problem. Here are some of the most common things creators ask, along with some straight-up answers to get you over the finish line.
How Good Is The AI French Audio, Really?
Honestly, modern AI voices have come a long, long way. They can mimic natural-sounding intonation with a surprising amount of accuracy.
Now, will it completely replace a professional voice actor for a big-budget movie? Probably not yet. But for social media content, training videos, and corporate explainers, it’s an absolute game-changer. The key to getting a great result with a tool like TranslateMom is starting with a solid translation. You can tweak this yourself in the Split View before you even think about generating the audio.
Can I Pick Different French Accents?
Absolutely, and you definitely should. Most good platforms give you voice options for specific regional dialects, which is a huge deal for connecting with your audience.
When you're setting up a project, you can usually pick an AI voice that’s been modelled on either Canadian French or Metropolitan (European) French. It’s a small detail that makes a world of difference depending on whether you're targeting viewers in Montreal or Paris.
For creators, choosing the right regional accent is one of those tiny steps that has a massive impact on engagement. It tells your audience you actually get the nuances of their world.
What's the Best Way to Export My Video?
For short-form platforms like Instagram Reels and TikTok, the easiest and most reliable option is to export a video with "burned-in" captions. This creates a single, self-contained MP4 file where the French audio, your styled captions, and any logos are all baked right in.
This way, you know your content will look and sound exactly how you designed it, every single time. There are no separate files for viewers to deal with, making it the perfect choice for quick, direct uploads to social media.
Ready to start creating professionally dubbed videos in just a few minutes? Give TranslateMom a try and get your content in front of a global audience today. Check out all the features at https://www.translate.mom.