If you want to translate Spanish to English with audio, you need more than just text translation. The goal is to generate a natural-sounding English voiceover that syncs perfectly with your original Spanish video.
This approach makes your content feel like it was made for English speakers from the start, which is huge for boosting engagement and watch time. Best of all, it doesn't come with the massive price tag of a traditional dubbing studio. It’s a game-changing move for any creator looking to reach a bigger, more diverse audience.
Why Audio Translation Transforms Your Content Strategy
Going beyond simple subtitles is a massive leap. When you translate your Spanish video into English and add synchronized audio, you’re creating a completely immersive experience.
Viewers can actually focus on your visuals and absorb your message instead of getting distracted by reading subtitles. This builds a much deeper emotional connection and keeps people watching longer. It's especially crucial for platforms like YouTube and TikTok, where so much content is consumed passively.
This strategy is a powerhouse in regions with large bilingual populations. Just look at California, where a staggering 10.5 million residents speak Spanish at home. That's a massive, built-in audience just waiting for content that effortlessly bridges the language gap.
Connecting With a Broader Audience
Modern AI-powered dubbing makes your content feel native, as if it were originally recorded in English. The new audio track isn't just tacked on; it becomes a core part of the viewing experience.
Here’s how that helps:
- Improved Watch Time: People are way more likely to finish a video if they can listen comfortably in their own language.
- Greater Emotional Impact: A great dub preserves the tone, inflection, and emotion of the original Spanish dialogue. This makes your storytelling hit so much harder.
- Enhanced Brand Perception: Offering high-quality dubbed content shows you’re a pro who genuinely cares about your English-speaking audience.
When you make your content feel native to a new audience, you completely remove the friction of translation. The viewer doesn’t feel like they’re watching foreign content—they feel like you made it just for them.
Gaining a Competitive Edge
For content creators, this is more than just a cool feature—it's a real competitive advantage.
Lots of creators stop at subtitles, but providing a full audio translation makes your channel stand out. It opens your work up to people who might skip subtitled videos, like those with visual impairments or anyone who just likes to listen while doing other things.
If you want a solid overview of how it works, check out our guide on how to translate videos. Ultimately, this approach turns what was once a language barrier into a massive opportunity for growth.
Preparing Your Video for Spanish To English Dubbing
Before you can get that perfect English dub, you first need to get your Spanish video into the right environment. This first move, sometimes called ingestion, is all about getting your content from where it lives now into a space where the magic can happen.
Think of it as the first step in turning a local video into a global asset. The process is designed to be super quick, whether you've got a polished video file sitting on your desktop or a link to a clip that's already out there on the web.
Bringing Your Spanish Video into the Workspace
The first thing to figure out is where your video is coming from. If you're using a tool like TranslateMom, you'll start at the New Task screen, which gives you two main ways to get going.
- Direct File Upload: This is your go-to for raw footage or final cuts saved on your computer. You can just drag and drop your video files right into the browser. It handles big files too, up to 5GB. A neat little shortcut is hitting the
Fkey—it pops open the file selector instantly. - Link Import: Is your video already live on YouTube, TikTok, or Instagram? Perfect. No need to download it. Just grab the video’s URL, paste it in, and the platform will pull it in for you.
This flowchart gives you a bird's-eye view of the journey your video is about to take—from its original Spanish form to a dubbed version ready for a worldwide audience.
As you can see, the AI really acts as a bridge, making sure your original message hits home with viewers no matter where they are.
Setting Up Your Project for Success
Once your video is in, it's time to set the ground rules. This is where you tell the AI what you're trying to accomplish. You’ll just need to tweak a few settings to make sure the translation and dubbing come out clean and accurate.
Pro Tip: A really great dub starts with clean source audio. If your original Spanish recording has a lot of background noise, it can throw off the transcription accuracy. It’s almost always worth the effort to clean it up first. You can learn more in our guide on how to remove background noise from audio.
Getting your video ready also means thinking ahead about how to properly sync audio to video for a professional finish. With a clean file ready to go, the next step is to choose your languages and the service you need. That’s what sets the AI in motion to create your brand-new English audio track.
Generating Your English Audio And Subtitles With AI
Okay, your Spanish video is uploaded. Now for the exciting part—where your content actually crosses the language barrier and starts speaking English. This is where you tell the AI exactly what you want it to create.
Our goal is to translate Spanish to English with audio, and getting these initial settings right is the secret to a high-quality, professional-sounding result.
Inside a platform like TranslateMom, we call this the processing phase. It’s all about making a few simple, but critical, choices that guide the entire workflow. You don't need to be a tech wizard; you just need to be clear about your objective.
Configuring Your Translation And Dubbing Settings
The first thing you’ll do is define the start and end points of your language journey. It's really straightforward. You just need to specify two main parameters:
- Source Language: Select the language currently spoken in the video (Spanish).
- Target Language: Select the language you want subtitles and audio in (English).
With the languages set, you have to make the most important choice: the service. This selection tells the AI what to actually do.
Think of this stage as giving the AI its core mission. Being precise here will save you a ton of editing time later. It's the difference between getting a rough first draft and something that's practically ready to publish.
Choosing The Dubbing Service For Audio And Subtitles
For what we're trying to accomplish, the choice is obvious—you need to select the Dubbing service. This one click is incredibly powerful because it kicks off a dual-output process. The AI doesn't just create one asset; it generates two perfectly synchronized ones for you.
First, it produces a brand-new, natural-sounding English audio track. It carefully analyzes the tone, emotion, and pacing of the original Spanish speech to create a voiceover that feels authentic, not robotic. This is a huge leap from the old text-to-speech engines.
At the same time, the system also generates a complete set of English subtitles, timed perfectly to the new English audio. This dual creation is insanely efficient. It gives you both a dubbed video and a captioned one from a single command. You can learn more about the tech making this possible by checking out the best audio translation tool in 2025.
When you're in a tool like TranslateMom, you’ll see a few options for processing your Spanish video. Here’s a quick breakdown of what each one does.
TranslateMom Service Options for Spanish To English Conversion
| Service | Primary Output | Best For |
|---|---|---|
| Transcription | Spanish subtitles | Just caption the original audio in the same language. |
| Translation | English subtitles | Generate subtitles in a new language. |
| Dubbing | English audio track + English subtitles | Generate a new AI audio track in the target language (video dubbing). |
By picking 'Dubbing,' you're doing much more than just translating words. You’re crafting a complete new experience for your English-speaking audience, giving them both audio and text to engage with your content.
Fine-Tuning Your English Dub and Subtitles
AI gives you a fantastic starting point, but the real magic happens in the final polish. After you've generated the English audio and subtitles, it's time to jump into the editor—what we call the Studio Workspace in TranslateMom—and add that crucial human touch.
This is where you graduate from a basic translation to a piece of content that feels genuinely natural and culturally aware. The idea isn't just about catching mistakes; it's about refining the rhythm, timing, and look of your subtitles to perfectly match your creative vision. It’s what turns a good AI output into a truly great final product.
Mastering The Subtitle Editor for Nuance
First up is the Subtitle Editor, which lays out every single caption line in a simple, scrolling list. AI is great at literal translations, but it can stumble over things like idioms, cultural jokes, and specific jargon. This is especially true when you translate Spanish to English with audio, where a word-for-word translation can often sound clunky or just plain weird.
To get started, just click on any line of text. The video will pause instantly, letting you concentrate on your edits. For a deeper dive, you can toggle on the Split View. This puts the original Spanish text right next to your new English translation, which is a lifesaver for making sure you’ve captured the intent behind the words, not just the words themselves.
This kind of refinement is what really connects with an audience. Think about a place like California, where over 1.1 million students are English learners, and 81.90% of them come from Spanish-speaking families. For viewers like them, a nuanced translation isn't just a nice-to-have—it’s the bridge to actually understanding your content. You can explore more on this from the California Department of Education.
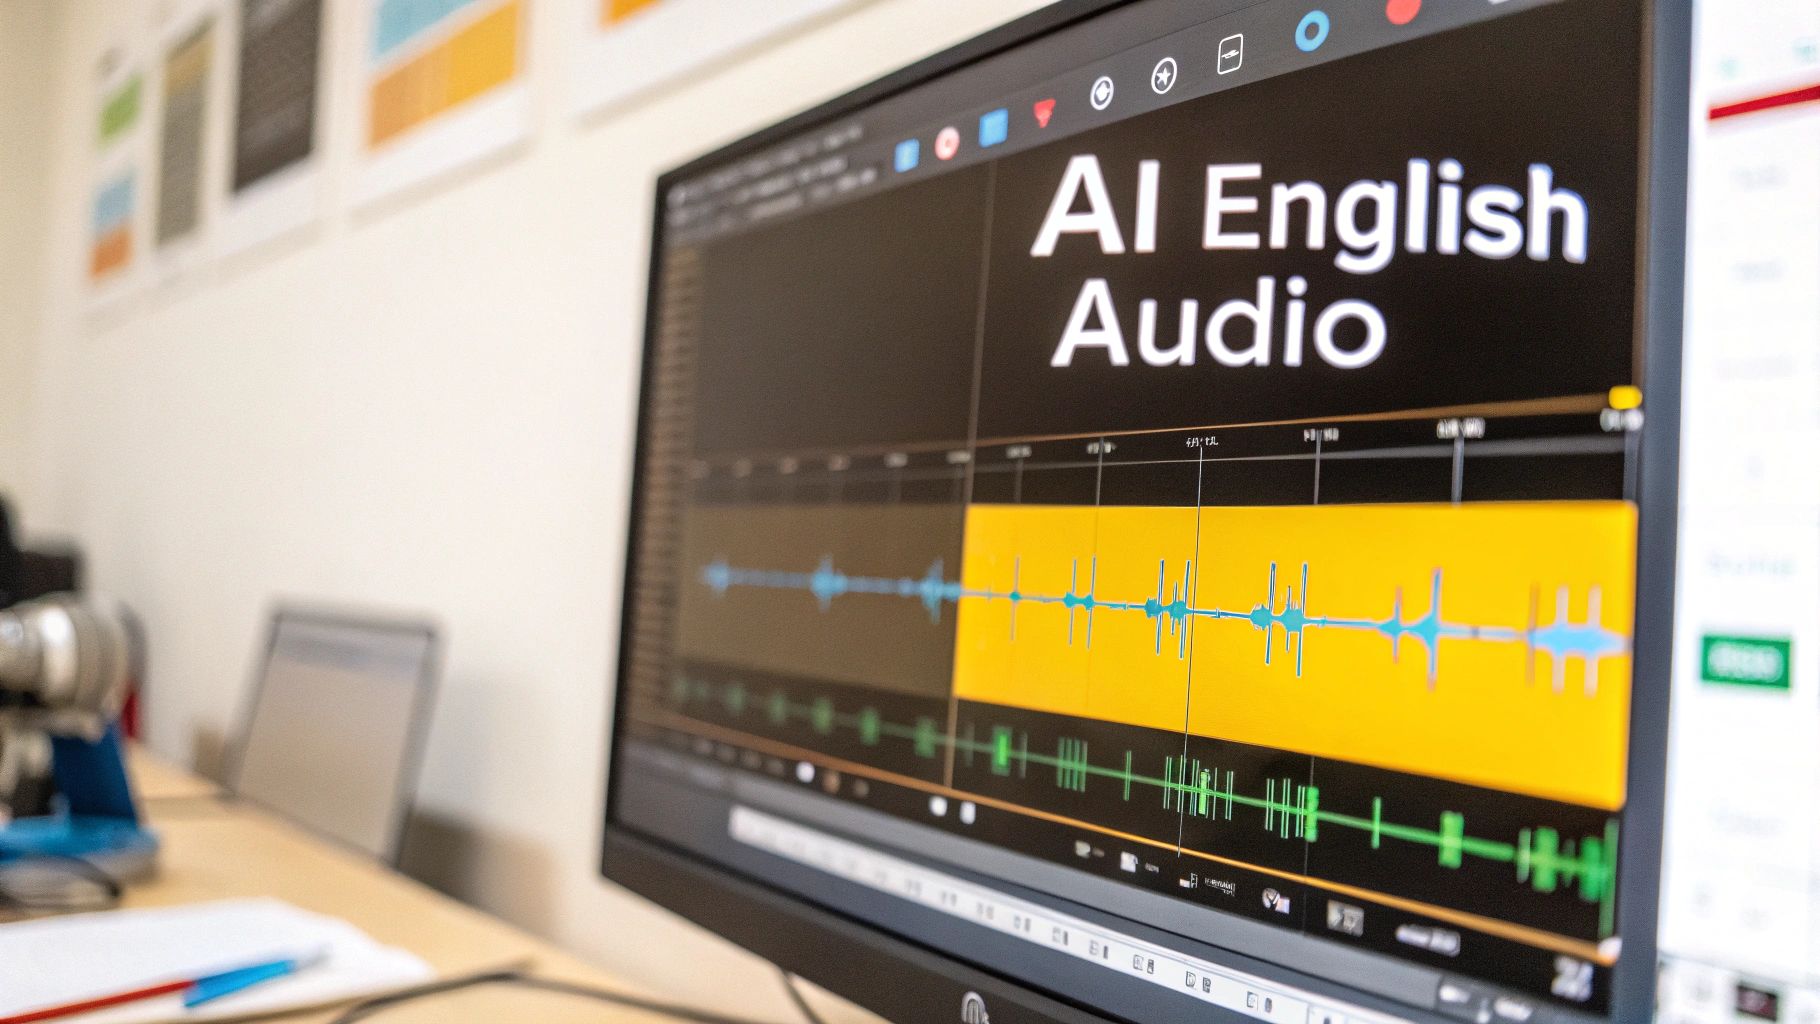
Perfecting Your Timing With The Waveform
Nothing screams "amateur" like subtitles that are out of sync. Inside the Studio, you'll see a visual audio waveform right below the text editor. This is your secret weapon. It shows you the peaks and valleys of the speech, making it incredibly easy to see exactly where words are spoken and where the pauses are.
Instead of just guessing, you can click and drag the start and end points of each subtitle to line them up perfectly with the audio. Make your captions appear the moment someone starts talking and vanish as soon as they're done. It's this precision that creates a seamless viewing experience, making the subtitles feel completely in sync with the new English audio.
Customizing The Look and Feel
Beyond getting the text and timing right, you also have total control over how your subtitles look. Head over to the Style tab, and you can tweak everything to match your brand’s aesthetic or the overall vibe of your video.
- Fonts and Sizing: Pick a font family, size, and color that's clear and easy on the eyes.
- Outlines and Shadows: Make your text pop against any background by adding a simple outline, shadow, or background.
- Karaoke-Style Captions: Want to grab attention on social media? You can turn on animations in the Style tab that highlight words as they’re spoken.
This level of customization makes sure your subtitles feel like a natural part of your video, not just something tacked on at the end. After the AI does its first pass, you'll almost always need to do a little tweaking. If you ever need to work on them outside the platform, you can learn how to edit SRT files for more advanced adjustments.
Exporting Your Final English Video
Alright, you've done the hard work of dubbing and subtitling your video. Now it's time for the final, crucial step: getting it out into the world.
How you export your finished English video really depends on where it's going. Are you throwing it up on social media, or is it part of a bigger professional project? The choice you make here ensures your video looks and sounds exactly how you intended, no matter the platform.
Basically, you have two main paths: creating a single, all-in-one video file, or keeping your subtitles separate for more flexibility. Luckily, a tool like TranslateMom makes both incredibly simple.
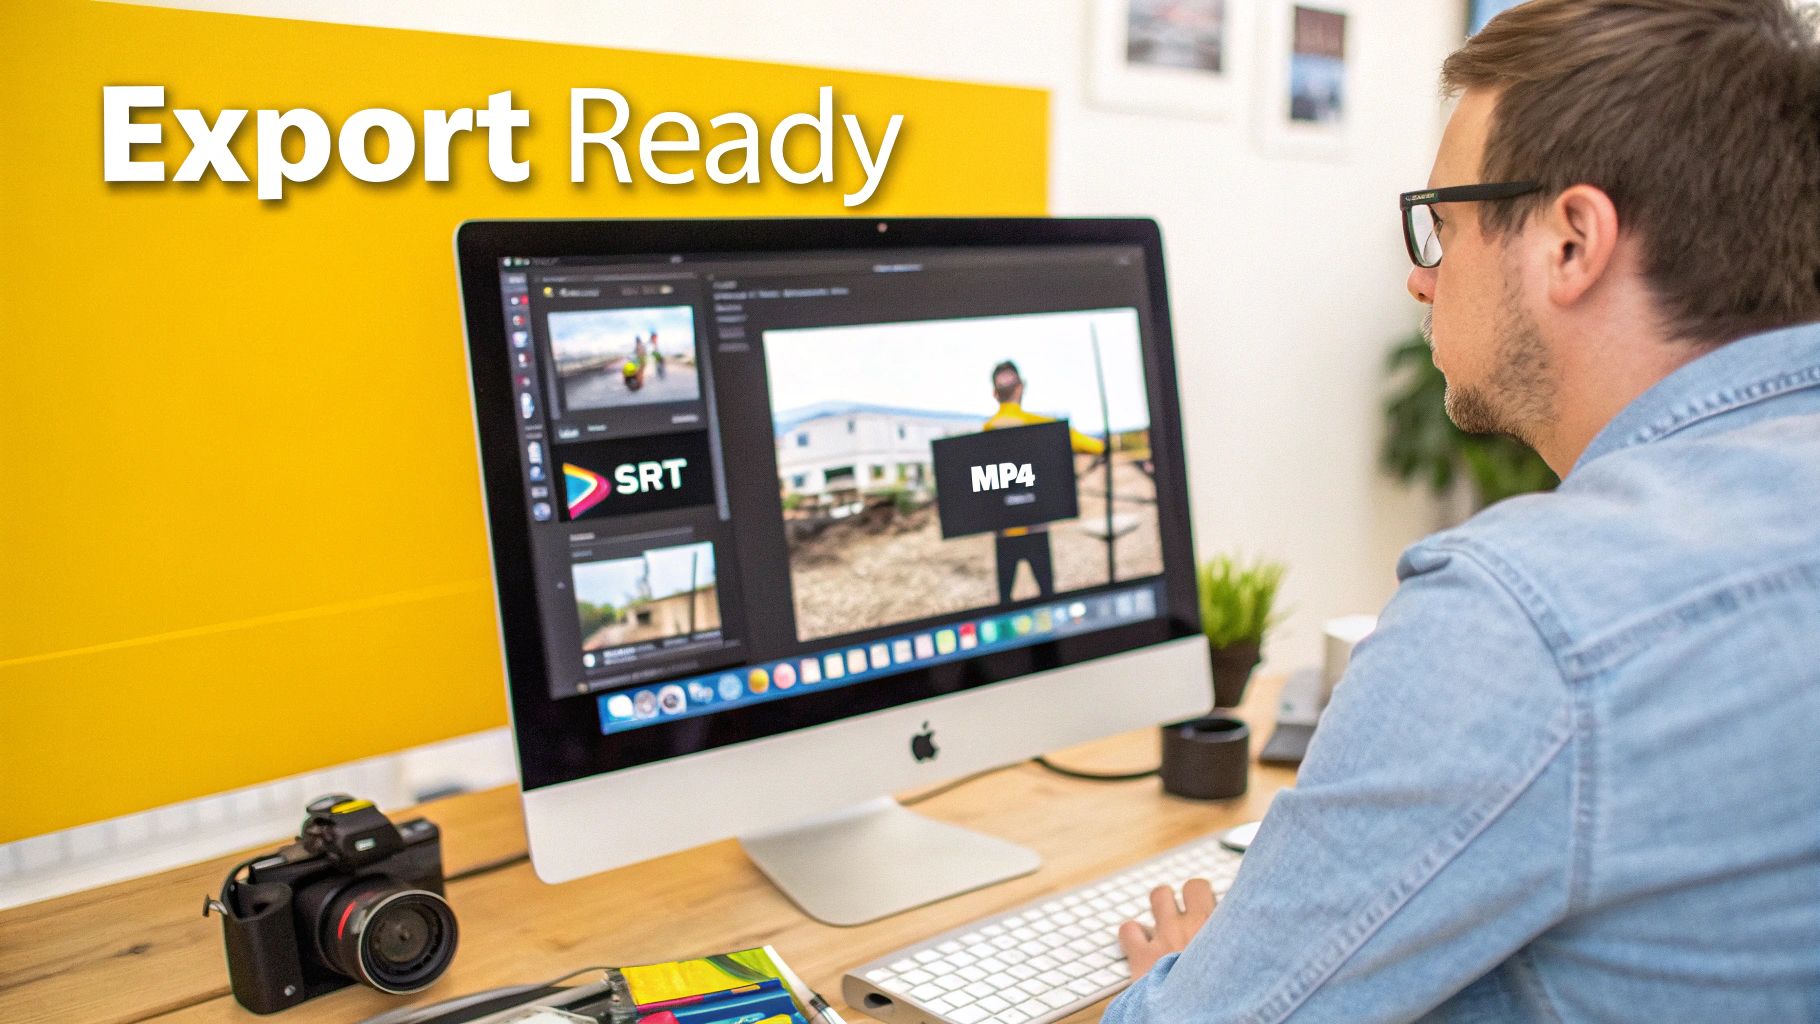
Burn-in Video for Instant Sharing
This is your simplest, no-fuss option. When you choose to Burn-in (Export Video), you’re permanently embedding the new English audio and your styled subtitles directly into the video file itself.
You end up with a single MP4 file that’s ready to go. This is perfect for platforms like Instagram, TikTok, and Twitter (X), where viewers just want to hit play. No messing with separate files or worrying if the platform will even read your captions—everything is baked right in.
Separate Subtitle Files for Flexibility
Sometimes, you need more control. That's where downloading just the subtitle files comes in. TranslateMom lets you grab them in standard formats like SRT or VTT, which is ideal for a few key situations:
- Professional Editing: If you’re working in software like Premiere Pro or Final Cut, you can import an SRT file and have complete control over how the captions look and feel within your project.
- Platform Requirements: Big players like YouTube and Vimeo actually prefer separate subtitle files. It lets viewers turn captions on or off themselves, which is a huge win for accessibility.
- Archiving and Repurposing: Keeping a separate SRT file is just good practice. You can easily archive it or even repurpose the text for a blog post or a full transcript later on.
Picking the right format isn't just a technical detail—it's about serving your audience. For example, in California's public sectors, providing accessible Spanish-to-English translation with audio is essential. Data shows Spanish is a top language among Medi-Cal members, and many residents speak English less than "very well." You can learn more about these language demographics and their impact.
So, what's the bottom line? For quick sharing where you need it to "just work," burn-in is your best friend. For professional workflows that demand control and maximum accessibility, go with a separate subtitle file.
Got Questions About AI Audio Translation?
Even with the best tools, you're bound to have some questions when you first dive into translating Spanish audio into English. Let's tackle some of the most common ones I hear from creators.
Think of this as moving beyond the "how-to" steps and into the real-world details that make a translated video feel polished and professional.
Can The AI Handle Different Spanish Dialects?
Yep, for the most part. Modern AI models are trained on a massive amount of data, so they can easily pick up on everything from Castilian Spanish to various Latin American accents. When you set your source language to Spanish in a tool like TranslateMom, it's pretty good at getting it right.
Where it can get a little tricky is with heavy slang or very specific regional sayings. That’s where the Studio Workspace is your best friend. Just pop open the Split View to see the English translation next to the original Spanish text. It’s the perfect way to make sure the meaning and intent carry over, not just the literal words.
How Good Is AI Dubbing Compared To A Human?
AI dubbing has come a long way. It’s excellent at matching the rhythm and general tone of the original speaker, giving you a clear, natural-sounding voiceover that's way more engaging than old-school robotic text-to-speech. For most social media, e-learning, or corporate content, it's more than good enough.
Of course, a professional human voice actor will always be better at capturing those really subtle emotional moments or high-drama performances that AI might not fully grasp.
I like to think of AI as the world's fastest first draft. It gets 95% of the job done in seconds. You just swoop in, make a few tweaks to the text in the subtitle editor, and you’re golden.
What Are The Best Export Settings For Different Platforms?
This really depends on where you're posting. There's no single "best" setting—just the right tool for the right job.
- TikTok, Instagram Reels, and X (Twitter): Go with the Burn-in (Export Video) option. This gives you a single MP4 file with the English audio and subtitles baked right in. It’s plug-and-play. What you see is what your audience gets, which is perfect for these fast-paced platforms.
- YouTube and Vimeo: You can use the burn-in option here too, but I’d recommend you Download Subtitles as a separate SRT or VTT file. Uploading the subtitle file with your video lets viewers turn captions on or off themselves. It’s a huge plus for accessibility and something these platforms’ algorithms tend to favour.
Can I Add My Own Branding To The Video?
Absolutely. Keeping your brand consistent is key. Inside the TranslateMom Studio, you’ll find a dedicated Brand tab.
From there, you can upload your logo or watermark, resize it, and position it anywhere on the video frame. It's a simple way to make sure your brand stays front and centre as it reflects in real-time on the player.
Ready to create perfectly dubbed videos that connect with a global audience? With TranslateMom, you can go from a Spanish video to a professionally dubbed English version in minutes. Start translating for free today!