For years, the YouTube video transcript was an afterthought—just a block of text hidden behind a few clicks. But I've seen firsthand how it's become one of the most powerful (and most overlooked) assets for growing a channel, improving accessibility, and levelling up your content strategy.
A well-managed transcript isn't just a "nice to have"; it's your key to better SEO and reaching a much wider audience.
Why Your YouTube Video Transcript Is A Hidden Asset
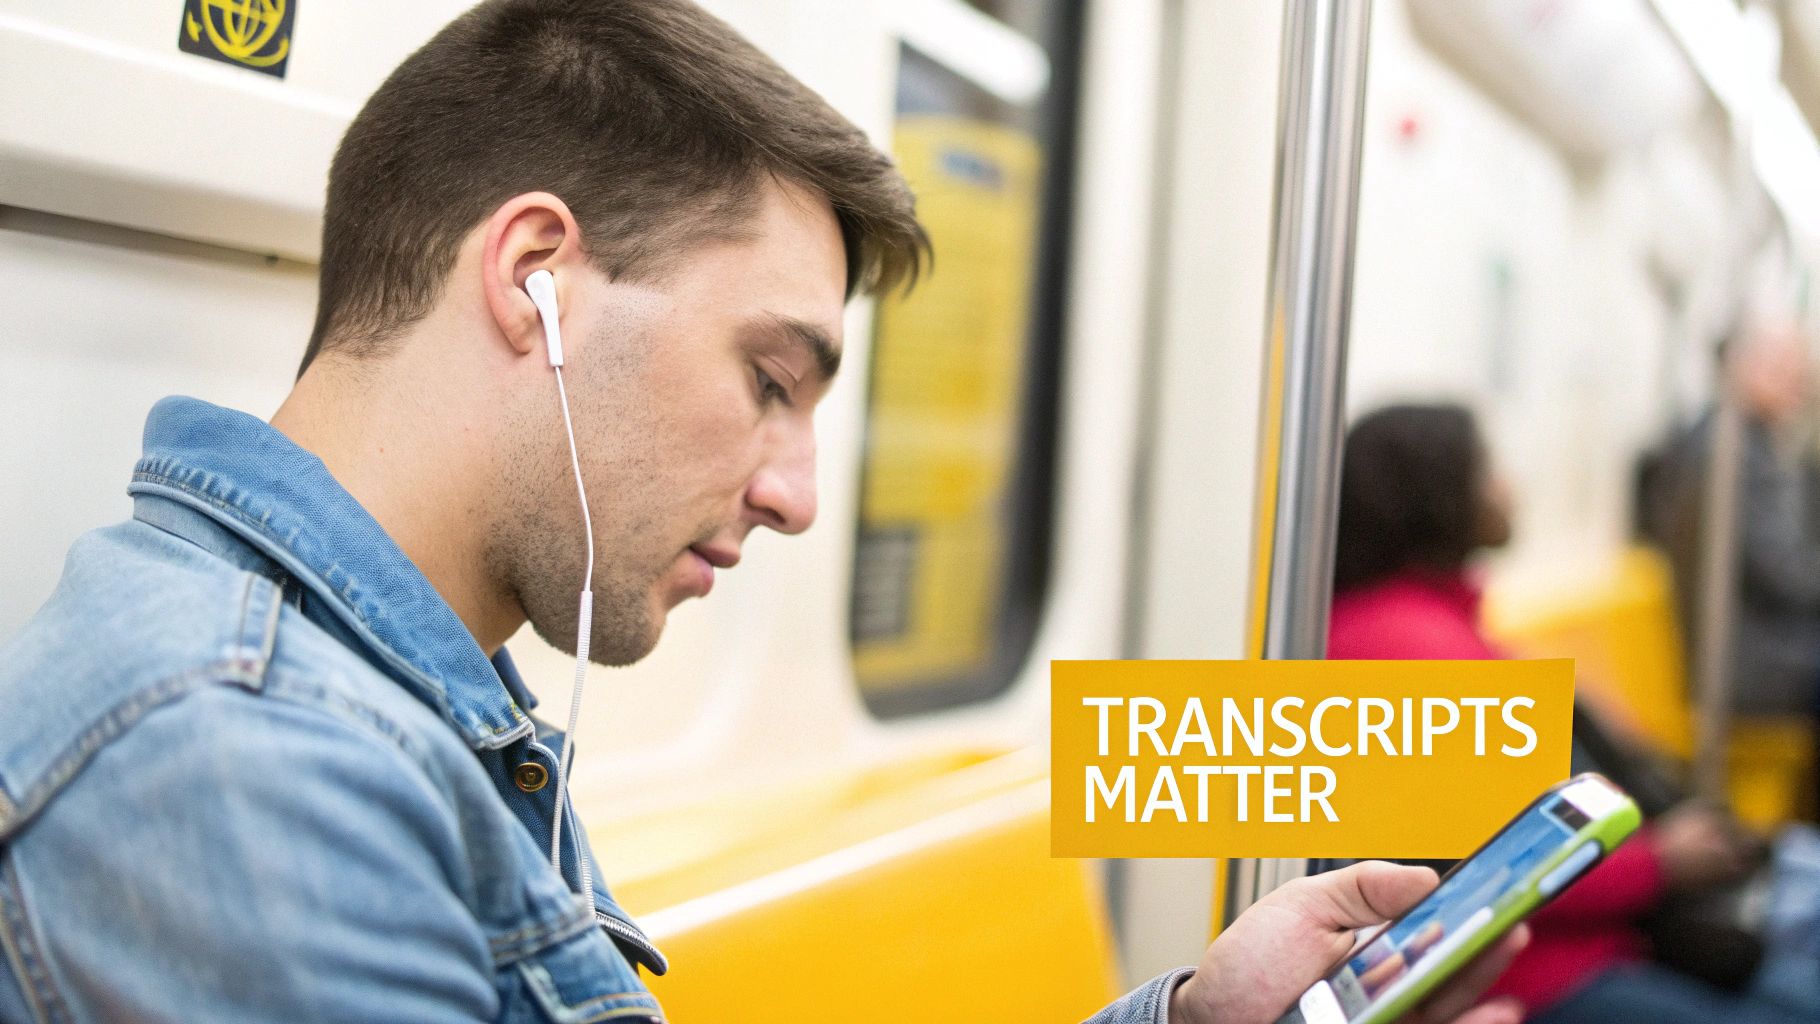
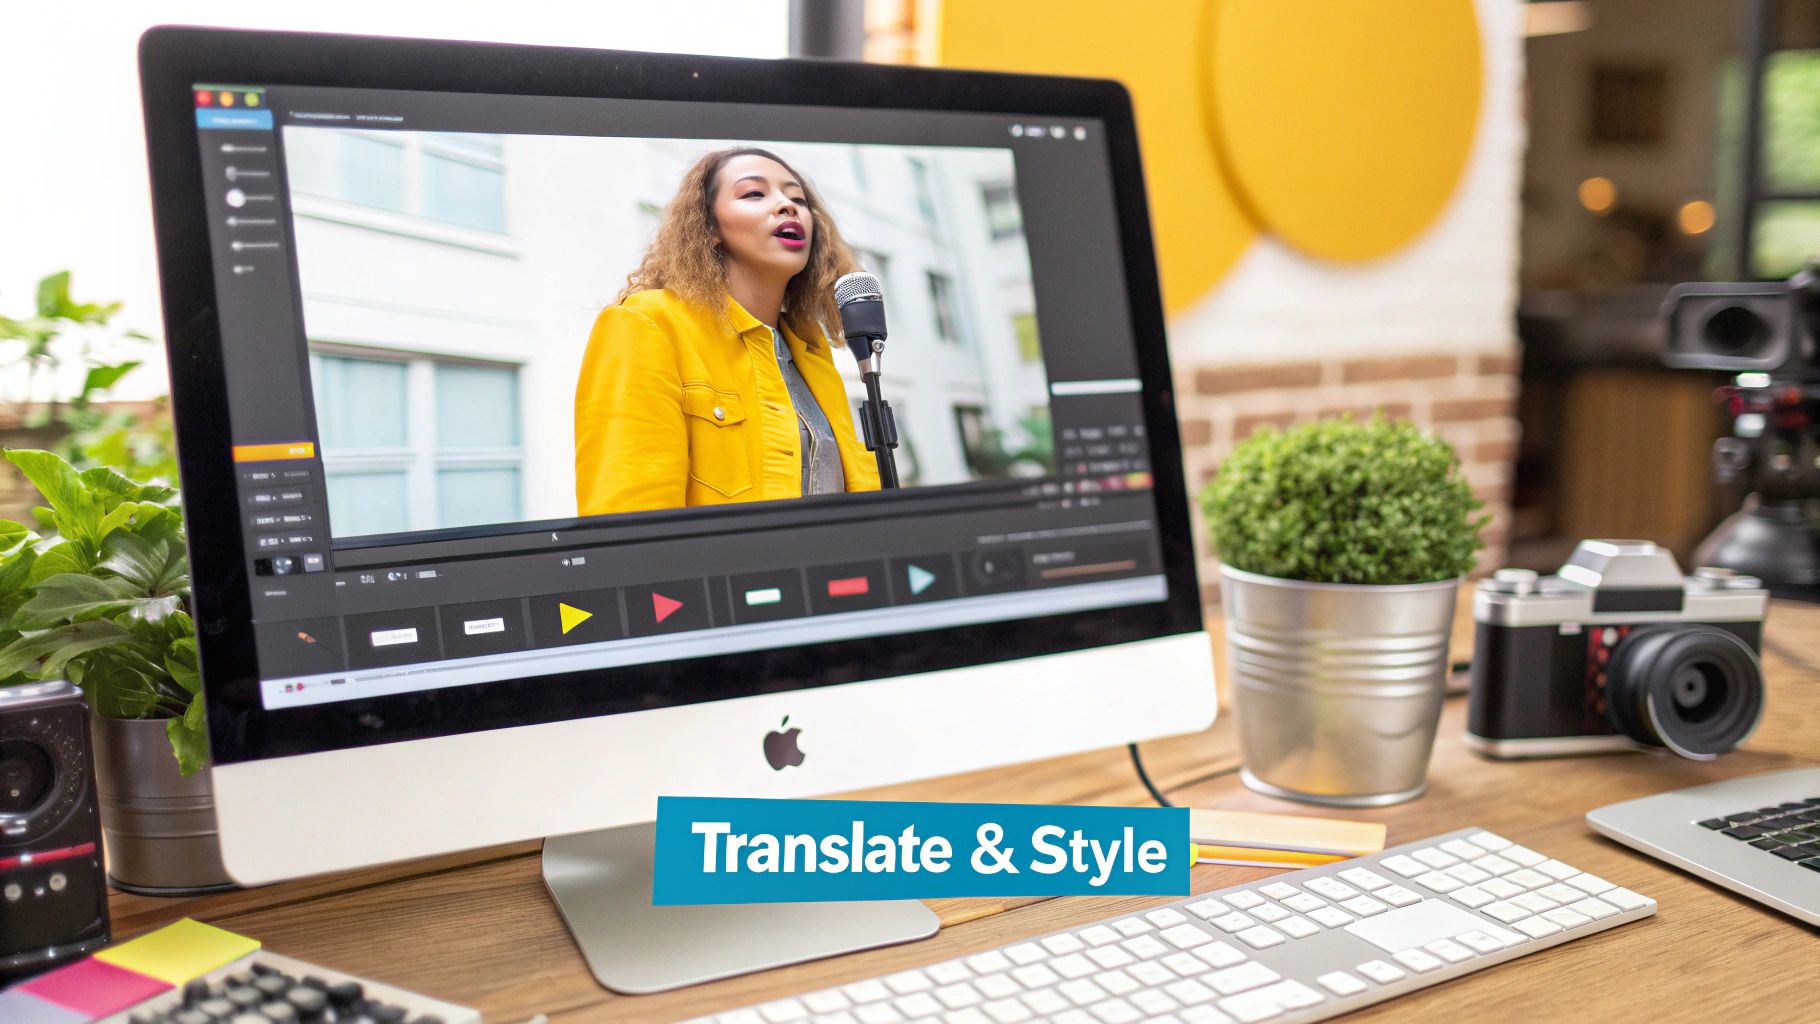
Think about how people watch videos now. The picture above is a perfect example: someone catching up on content in a sound-sensitive environment, relying completely on the text on screen. This isn't a niche habit anymore. It’s exactly why your transcript has morphed from an optional extra into an essential tool.
Unlocking SEO and Discoverability
Here's the thing: search engines can't watch your video, but they are incredibly good at reading text.
Your transcript is a word-for-word account of everything you said, packed with the keywords and phrases that help Google figure out what your video is all about. This lets your content show up for super-specific search queries that you might have mentioned in passing but didn't include in your title or description.
For anyone serious about channel growth, applying these YouTube SEO optimization tips is non-negotiable, and your transcript is at the heart of it. A clean, accurate transcript essentially turns your spoken words into a searchable document, massively boosting your organic reach.
Broadening Your Audience Reach
A transcript immediately opens up your content to a much larger pool of viewers. This isn't a small group, either. We're talking about:
- Viewers with hearing impairments who need a text alternative to engage.
- Non-native speakers who can follow along more easily and grasp complex ideas.
- "Sound-off" viewers watching on the bus, in a quiet office, or while multitasking.
This trend is only getting bigger. In Canada, for instance, a massive 78% of online adults used YouTube in the last month. The demand for captioned content is surging, especially among Canadian youth aged 18-24, where a staggering 18.8% now regularly watch videos with the sound off.
If you're ignoring your transcript, you're not just missing out on an SEO boost. You're deliberately closing the door on entire segments of your potential audience.
Creating A Foundation for Content Repurposing
A high-quality transcript is pure gold for repurposing content. It's the raw material you need to spin your video into countless other formats without having to start from scratch every single time. We actually wrote a whole guide on how to turn your https://www.translate.mom/blog/youtube-video-to-text.
With a good transcript, you can quickly create:
- Blog posts and articles
- Social media captions and threads
- Email newsletters
- E-books or other downloadable guides
At the end of the day, mastering your YouTube transcript is no longer a technical chore—it's a massive strategic advantage. It makes you more visible, connects you with a more diverse audience, and multiplies the value you get from every single video you create.
How To Find And Save Transcripts Natively On YouTube
Sometimes, you just need a quick, no-fuss copy of what's being said in a video. YouTube has a built-in tool for exactly this, and getting to it is pretty simple, as long as the video creator has enabled transcripts.
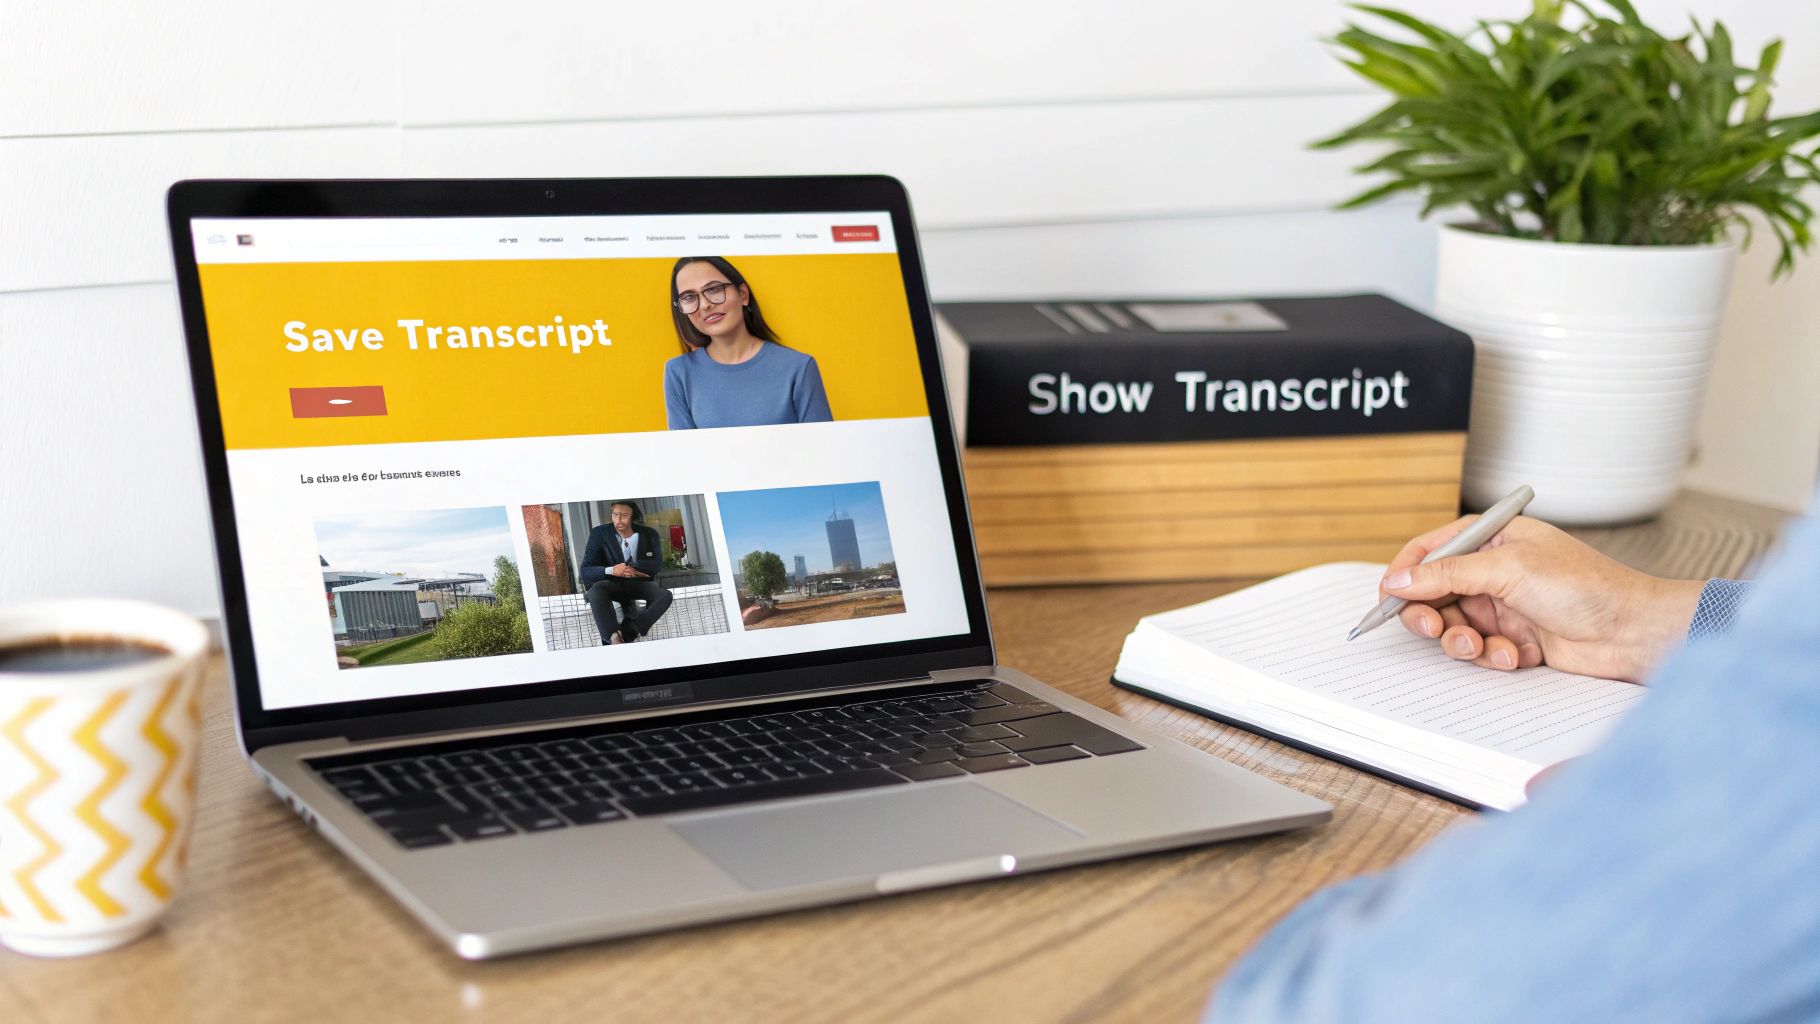
First up, head to the video you want the transcript for. Below the video player, look for the description box. You'll probably need to click "...more" to see the whole thing. If a transcript is available, you’ll spot a "Show transcript" button tucked away at the bottom.
Clicking that button pops open a new panel on the right, showing the full text with timestamps. You can read along with the video, and there’s even a little menu to turn the timestamps off if you want a cleaner copy.
The Limits Of Native Transcripts
This built-in feature is handy for a quick look, but its flaws show up fast when you need it for any real work. The text usually comes out as one long, messy block. Punctuation is often missing, and grammatical mistakes are common, meaning you have to do a lot of editing before it’s usable.
Another big headache is speaker identification—or the lack of it. YouTube’s auto-generated transcripts don't tell you who is speaking. This turns videos with interviews or multiple speakers into a confusing jumble, as all the dialogue gets mashed together.
While YouTube's native transcript is a decent starting point, it's essentially raw data. It lacks the formatting, accuracy, and speaker separation needed for creating blog posts, accurate subtitles, or reliable translations without a ton of manual cleanup.
When To Copy And When To Upgrade
If you're just taking personal notes, grabbing a quick quote, or scanning the video's content, the native tool is perfectly fine. Just highlight the text, copy it, and paste it wherever you need it.
But the second you need a clean, reliable, and properly formatted youtube video transcript for serious content creation, accessibility, or translation work, you’ll hit a wall. Manually fixing all the punctuation, separating speakers, and correcting errors can easily take more time than watching the video itself.
This is the point where a dedicated, purpose-built tool stops being a luxury and becomes essential for an efficient workflow. For a deeper dive, you can learn more about the pros and cons of different methods to download YouTube transcripts in our dedicated guide.
When To Move Beyond YouTube’s Basic Transcription Tools
YouTube’s built-in transcript tool is a decent starting point. It's free, it’s fast, and it gives you a raw text output from your video. If you just need to grab a quick quote or scan the gist of a video, it’ll do the trick.
But the moment your needs get more serious—think professional content creation—its limitations become impossible to ignore.
The auto-generated text is often just a long, unpunctuated block of words, usually peppered with errors and no way to tell who is speaking. This isn't just a small annoyance; it's a massive roadblock if you're trying to create polished, accessible, or multilingual content. Manually cleaning up that kind of mess can take hours, which totally defeats the purpose of a quick process.
Precision Editing In A Professional Studio Environment
This is where a dedicated tool completely changes the game. Instead of copying and pasting raw text into a separate document for a painful manual cleanup, a professional platform like TranslateMom gives you an integrated Studio Workspace. This isn't just a text editor; it's a full command centre for your transcript.
Here’s what that difference feels like in practice:
- Synchronized Playback: When you click on a line of text to edit it, the video player automatically pauses. This lets you focus on typing without constantly losing your place in the audio.
- Visual Waveform Editing: You can actually see the audio waveform, letting you drag the start and end points of a subtitle to perfectly match the speech and cut out dead air.
- Split View for Accuracy: For translation work, you can pop open a Split View to see the original source text right next to your translation, making sure nothing gets lost in the process.
This level of control turns transcription from a clumsy, frustrating chore into a precise and efficient workflow.
Advanced Features YouTube Simply Can’t Match
Once you move past basic text correction, professional tools unlock features that are absolutely essential for today's content creators. YouTube’s tool hands you a simple text file. A platform like TranslateMom, on the other hand, offers a whole suite of features designed for localization, branding, and creating high-impact social media content.
A basic youtube video transcript is just the starting point. Professional tools treat it as the foundation for creating subtitles, translations, and branded video assets ready for global distribution.
The differences really pop when you see them side-by-side.
YouTube Native Transcript vs TranslateMom Comparison
Let's break down exactly what you get with YouTube's default tool versus what a specialized platform like TranslateMom offers. The native tool gives you the raw ingredients, but a professional solution provides the entire kitchen.
| Feature | YouTube Native Transcript | TranslateMom |
|---|---|---|
| Editing Interface | Copy-paste to a text editor | Integrated studio with waveform |
| Translation | Manual copy-paste to a third-party service | Built-in, high-quality AI translation |
| Styling | None | Customizable fonts, colours, and backgrounds |
| Special Effects | None | Karaoke-style word highlighting animations |
| Branding | Not available | Add a custom logo or watermark to the video |
| Export Options | Plain text only | Burned-in video, SRT, VTT, and more |
This distinction is crucial for creators who need to produce high-quality, shareable video assets, not just blocks of text.
You can learn more about what to look for by checking out our guide on the best transcription tools.
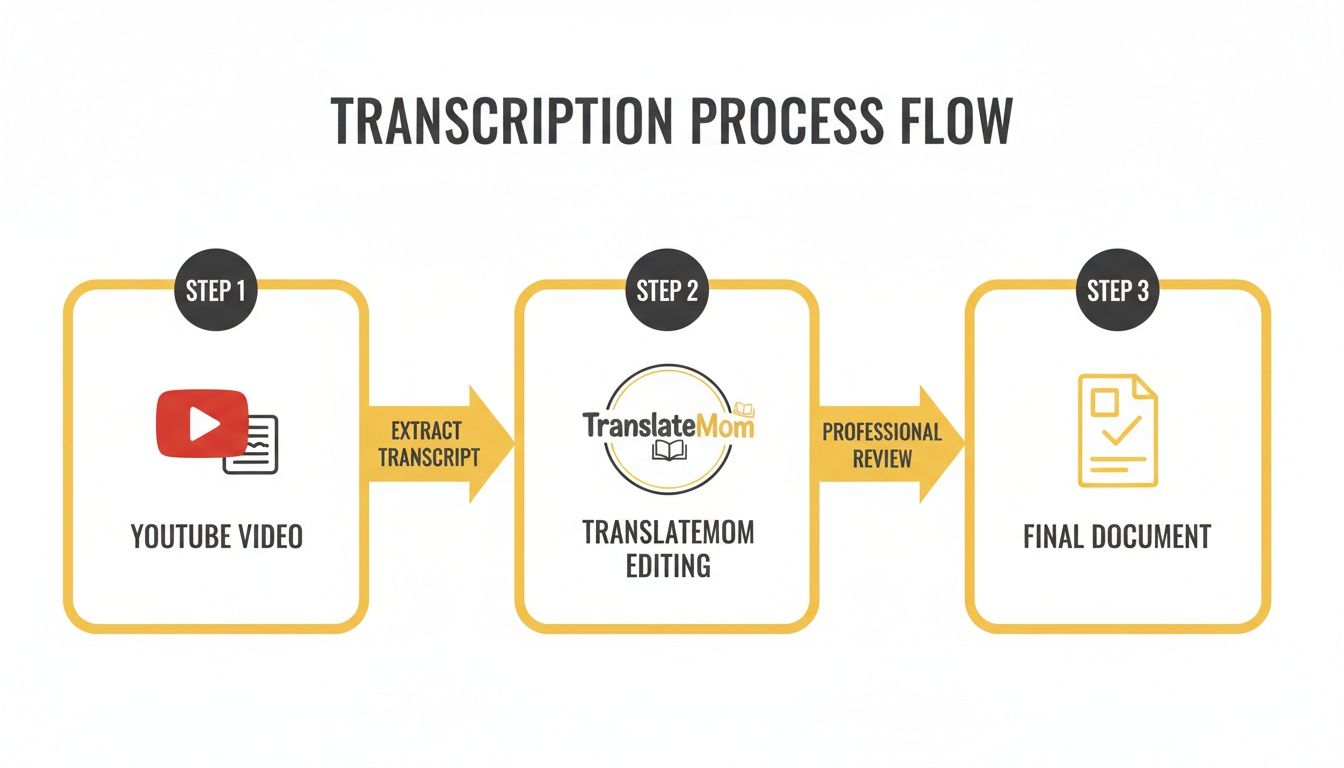
Building A Professional Transcription Workflow
Taking your YouTube video transcript from a raw text file to a polished, professional asset is all about having a solid workflow. Sure, YouTube's built-in tool gets you the basic text, but to do it right, you need a controlled environment built for accuracy and speed.
A professional platform like TranslateMom turns what used to be a tedious chore into a smooth, streamlined process.
The key takeaway here is that a dedicated workflow doesn't add complexity; it brings precision and control, making your final transcript far more valuable. This structured approach is essential for any creator who needs their content to be clear, accessible, and ready to be repurposed.
Kicking Off Your Professional Project
It all starts in a central workspace designed for getting things done. In TranslateMom, this is the New Task screen. Forget about downloading the video first—just paste the URL directly from YouTube. This handy import function also works with videos from major platforms like TikTok and X (formerly Twitter).
Once your video is pulled in, you just need to define the project's scope:
- Select the Source Language: Tell the tool what language is spoken in the video.
- Choose a Service: To get a clean transcript, you'll want to select Transcription. This focuses the tool on captioning the original audio as accurately as possible.
This quick setup ensures the AI model is perfectly calibrated for your video, which is a critical first step for getting a high-quality draft.
Think about major organizations that need to get their message out clearly. In preparation for the 2026 Census, Statistics Canada is hiring thousands of people and uses YouTube to post recruitment videos. For them, having professionally transcribed, accessible content is non-negotiable for reaching diverse audiences across the country. You can check out their recruitment efforts and learn more on Statistics Canada's outreach on their YouTube channel.
Diving Into The Studio Workspace
This is where the real work—and the real magic—happens. A professional tool gives you an integrated "Studio" that combines a video player, text editor, and styling tools all in one place. No more clumsy juggling between a video, a separate text document, and your notes.
This is what a professional editing environment should look like. Everything you need is on one screen, combining the video player with a timeline-based subtitle editor for a much faster, more accurate workflow.
The heart of this workspace is the subtitle editor. Each line of dialogue appears as a separate, editable segment. When you click on a line to fix a word or tweak punctuation, the video player automatically pauses, letting you focus without ever losing your spot.
One of the most game-changing features is the visual audio waveform. It actually lets you see the spoken words, pauses, and silences. You can simply drag the start and end points of a caption to align them perfectly with the audio, ensuring your subtitles pop up at the exact right moment.
For bilingual projects, a Split View feature is a lifesaver. It lets you see the original source text right alongside your work, which is invaluable for maintaining context and accuracy when you're translating. This is the level of precision and control that truly separates a basic transcript from a professional one.
From Transcript to Global Content With Translation and Styling
Okay, so you've got a perfectly polished YouTube video transcript. It's accurate, the timing is spot-on, and it's ready to go. But don't stop there. That transcript is the launchpad for taking a single video and turning it into a piece of content that can reach a global audience.
This is the fun part. With the heavy lifting out of the way, you can now focus on expanding your reach by translating your content and branding it with a unique visual style. Instead of juggling a bunch of different tools, a solid platform like TranslateMom rolls all of this into one smooth workflow.
Taking Your Content Global With Translation
Want to connect with viewers in a new country? You have to speak their language. Since you already have a clean, accurate transcript, generating high-quality subtitles in another language is surprisingly simple.
When I’m setting up a project in TranslateMom, this is one of the first things I do. After pasting in the YouTube URL to import the video, it just takes a few clicks:
- First, confirm the Source Language—this is the original language of your video.
- Next, pick a Target Language for your new subtitles.
- Finally, choose Translation as the service, and you're set.
The platform's AI gets to work, using your accurate transcript as the foundation. This is a huge deal. Because your source text is correct, the nuances and meaning you worked hard to preserve actually get carried over into the new language. You just don't get that level of quality from a simple copy-paste job into a free online translator.
Crafting a Unique Visual Identity
Let’s be honest, standard subtitles get the job done, but they’re boring. Styled captions, on the other hand, grab attention and make your content feel professionally produced, especially on fast-scrolling social feeds.
This is where you can really bake your brand’s personality right into the video. The Style tab in TranslateMom is basically your command centre for this.
You can tweak just about every visual element to move beyond the defaults:
- Font and Colour: Match your brand's specific typography and colour scheme.
- Outlines and Shadows: Add a little pop to make the text readable against busy backgrounds.
- Backgrounds: A semi-transparent background box can make a world of difference for clarity.
I also like to use the Brand tab to add a custom logo or watermark directly onto the video. You can resize it, move it around, and place it exactly where it looks best.
Being able to create visually distinct, branded subtitles turns your video from just another post into a polished, professional asset. That consistency is key for building brand recognition every time someone shares your work.
If you’re creating short-form content, you have to try the Karaoke style. It animates your captions, highlighting each word as it’s spoken. It’s an incredibly engaging effect that keeps viewers locked in, and the tool handles all the syncing automatically based on your edited text and timings.
Exporting Your Finished Masterpiece
Once your video is translated, styled, and ready for the world, you’ve got a couple of easy export options depending on what you need.
- Burn-in (Export Video): This is my go-to for social media. It creates a brand-new MP4 video file with your cool subtitles and logo permanently "burned" into the picture. It’s ready to upload directly to Instagram, TikTok, or X, and you know it will look exactly how you designed it.
- Download Subtitles: If you need more flexibility, you can just download the subtitle files themselves. This gives you an SRT or VTT file that you can use in a video editor like Premiere Pro or upload directly to your YouTube video as a separate caption track.
Got Questions About YouTube Transcripts?
You're not alone. When you start working with video transcripts, a few common questions always pop up. Here are the answers I give most often, based on my own experience helping creators.
Can I Actually Get A Transcript For Any YouTube Video?
For the most part, yes. YouTube automatically generates a transcript for most videos, which is a great starting point. The catch? The creator can turn this feature off.
Even when it's available, the quality of YouTube's auto-generated text can be... let's just say, "unpredictable." Muffled audio, background noise, or strong accents can really throw it off.
If you hit a wall with a bad transcript—or find a video with none at all—you're not stuck. This is where a tool like TranslateMom comes in. Just grab the video URL, pop it into the New Task screen, and it will generate a fresh, highly accurate transcript you can actually work with.
How Does A YouTube Video Transcript Really Help With SEO?
Think of it this way: search engines like Google can't watch your video, but they are incredibly good at reading. An accurate transcript makes every single word you say searchable.
This means your video can start ranking for all the specific, long-tail keywords and detailed phrases you mention, not just the general terms in your title and description. It’s like giving Google a complete script of your content.
A detailed transcript is one of the most effective ways to tell search engines exactly what your video is about, turning spoken dialogue into powerful SEO content.
What's The Real Difference Between A Transcript And Subtitles?
This one trips people up all the time. A transcript is simply the full dialogue written out as a block of text. It's the "what."
Subtitles, on the other hand, are all about the "when." They are time-coded, breaking that dialogue into small, digestible chunks (think SRT or VTT files) that are synchronized to pop up on screen at the exact moment the words are spoken.
The best workflow always starts with a perfect transcript. In TranslateMom, for example, you first nail down the text in the Studio editor. Once it's perfect, you can export it as a precisely timed subtitle file that's ready to go on any platform.
Can I Just Edit The Transcript Directly On YouTube?
If you're just watching a video, the answer is no. That transcript panel you see on a YouTube video page is strictly read-only.
Creators have the ability to edit their own captions inside their YouTube Studio dashboard, but viewers have no way to fix typos or mistakes. To make any changes, you have to copy the text into another program or, better yet, import the video into a dedicated editor.
Ready to stop wrestling with clunky transcripts and start creating professional, global content? Give TranslateMom a try and see what a smooth workflow feels like. Create your first video transcript now.