
How to Grade Trading Setups from C to A+
2 min
2 min
If you can't grade your setup before you enter, you're taking trades that were never meant to work. I'm gonna show you how I grade every setup from C to A+ before I risk a single dollar.
Step one: After I identify a potential trade, I count my confirmations.
The confirmation model has four: liquidity sweep, higher timeframe fair value gap delivery, inversion of a fair value gap on a lower timeframe, and a change in the state of delivery.
Every setup gets graded based on how many of those are present.
Step two: Four confirmations is an A setup.
That's my bread and butter. Three confirmations is a B. I can take a B, but I know the risk is higher, and I size down.
Two confirmations or fewer is a C. I don't touch it, ever.
Step three: An A+ is all four confirmations plus a bonus filter, SMT divergence, internal sweep, or an OTE zone confluence.
When I see those on top of the four confirmations, I know the setup is as clean as it gets.
Most traders don't grade anything. They see something that looks like a setup, and they enter.
That's how you end up taking C-graded trades all week and wondering why your win rate is stuck. A+ is all four confirmations plus a bonus.
A is four, B is three, C is two or less. Here's how it looks.
This setup has a sweep, higher timeframe delivery, inversion on the lower timeframe, and a change in the state of delivery.
That's an A. I enter, stop at the swing high, targeting opposing liquidity.
Now, here's a C from the same week. Sweep and an inversion, but no higher timeframe delivery and no change in the state.
Chop, straight into a loss. I built a free setup grading guide that shows you exactly how to score every trade.
Comment "rating," and I'll send it to you for free.
End of transcript · 325 words
 1:56 Emergency Air Traffic Communication
 1:26 Interview on Voting and International Impact
 1:56 Discussion on Language Barriers in Media
 3:50 Personal Testimony of Faith Journey
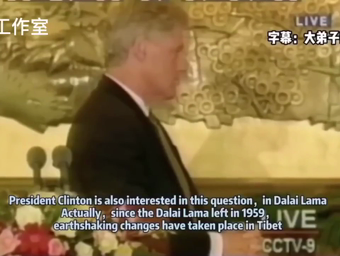 2:00 Discussion on Dalai Lama and Tibet
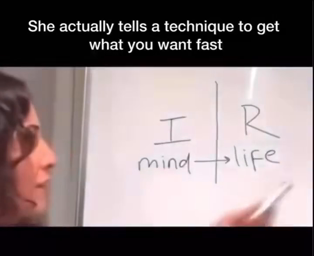 2:52 Understanding the Mirror Principle
 1:26 Community Response to Door-to-Door Outreach
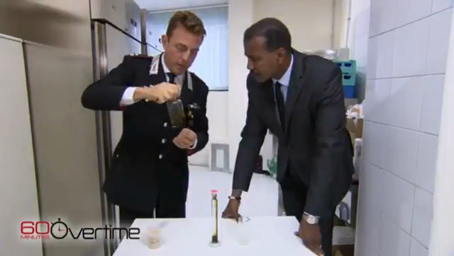 1:45 Identifying Fake Extra Virgin Olive Oil
 4:49 Teaching on the Second Coming of Jesus
 1:10 Discussion on Military Operations and War Plans
 2:34 Creating a Castor Oil Pack for Pain Relief
 1:21 Claims Against COVID-19 Vaccines and Policies
 iPhone app Translate videos on your iPhone Paste a TikTok, Instagram or X link, add subtitles in your language and save the video to Photos.

TranslateMom transcribes and translates videos from X, TikTok, YouTube and Instagram. Paste a link and you get a page like this one, in your language.