Let’s get one thing straight: bad audio will absolutely tank an otherwise amazing video. If you’re not making background noise removal video editing a priority, you're losing viewers. It’s that simple. But here’s the good news—the tools we have today are incredible, putting pro-level audio cleanup within reach for every single creator.
Why Clear Audio Is Your Video’s Secret Weapon
Have you ever clicked off a video just because the sound was awful? I know I have. We all have.
Creators can get so caught up in shooting 4K footage and perfecting the colour grade, but the truth is, your audience will put up with a slightly grainy video. What they won't tolerate is muffled, distracting, or downright painful audio. Bad sound doesn’t just make your video hard to watch; it shreds your credibility and buries your message.
Think of it this way: your audio is the foundation. If it's solid, your story, visuals, and calls to action all have a stable base to stand on. If it's shaky, the whole thing comes crashing down.
The Usual Suspects: Common Audio Problems
Pesky background noises have a knack for creeping into your recordings, often going completely unnoticed until you sit down to edit. Pinpointing what you're up against is the first step to fixing it.
Here’s a quick rundown of the noise types that can wreak havoc on your video's audio and why they're so detrimental to the final product.
Common Types of Background Noise and Their Impact
| Noise Type | Common Sources | Impact on Video |
|---|---|---|
| Environmental Noise | Sirens, barking dogs, traffic, construction | Instantly pulls viewers out of the experience and makes your content feel amateurish. It's distracting and unprofessional. |
| Ambient Hum | Air conditioners, refrigerators, computer fans | Creates a constant, low-frequency drone that muddies the entire audio track and can cause listener fatigue. |
| Wind & Weather | Recording outdoors, even with a slight breeze | Overwhelms the microphone, causing distorted, rumbling sounds that can make speech completely unintelligible. |
| Electrical Interference | Poor cabling, ground loops, nearby electronics | Results in a persistent hiss or buzz that makes the audio sound cheap and poorly produced. It’s a subtle but constant irritant. |
Even your phone can be a source of electrical hum. If you're using your iPhone to capture footage, you've got to be extra careful. We've actually put together a whole guide with tips on how to improve your https://www.translate.mom/blog/audio-recording-with-iphone.
When your message is competing with a humming air conditioner, the air conditioner usually wins. Clean audio ensures your voice is the only thing the audience needs to focus on.
Of course, for absolute pristine sound, nothing beats professional recording studios where the environment is perfectly controlled.
But for the rest of us, mastering background noise removal video techniques is the real game-changer. It gives you the power to rescue flawed recordings and turn them into polished, professional content that actually holds your audience's attention.
How to Diagnose Audio Problems in Your Footage
Before you jump into fixing background noise, you need to play detective. Figuring out what’s wrong with your audio isn't about having superhuman hearing; it's about knowing what to listen for. Just slapping a generic "denoise" filter on your clip is a total shot in the dark. You might get lucky, but you'll probably just make it sound worse.
First thing's first: grab a good pair of over-ear headphones (not earbuds!) and listen to your raw footage from start to finish. Don't just focus on the dialogue. The most revealing moments are often the silences between words. That’s where the noise lives.
Identifying Noise Types
Audio issues typically come in two flavours, and each needs a completely different game plan. Nailing this part down is key to picking the right tool for the job.
- Consistent Noise: This is your steady, predictable hum or hiss. Think of the low drone from an air conditioner, the buzz of a nearby fridge, or that faint static from a cheap microphone. Because it’s constant, this type of noise is usually the easiest to clean up.
- Intermittent Noise: These are the random, unexpected sounds that crash your audio party. A dog barking, a car horn blaring, a door slamming shut—these are the real troublemakers. They're much harder to remove cleanly because they’re unpredictable and often overlap with the dialogue you want to keep.
Knowing the difference is everything. You'll tackle a constant hum very differently than you would a sudden bang.
Using Your Eyes to Hear
Believe it or not, your video editor's audio waveform is one of your best diagnostic tools. It’s a visual map of the sound, showing you exactly what your ears are hearing.
A clean dialogue track should have clear peaks (when someone is talking) and valleys that drop almost to zero (silence). If you see a thick, fuzzy line in those "silent" valleys, you've found your noise floor. The thicker and higher that line, the more background noise you're dealing with.
Key Takeaway: The difference between your main audio (the peaks) and the noise floor (the valleys) is called the signal-to-noise ratio (SNR). A high SNR means your dialogue is way louder than the noise—an easy fix. A low SNR means the noise is almost as loud as the dialogue, and you've got a serious challenge on your hands.
This flowchart really drives home how critical good audio is. Bad audio is a direct path to an unwatchable video.
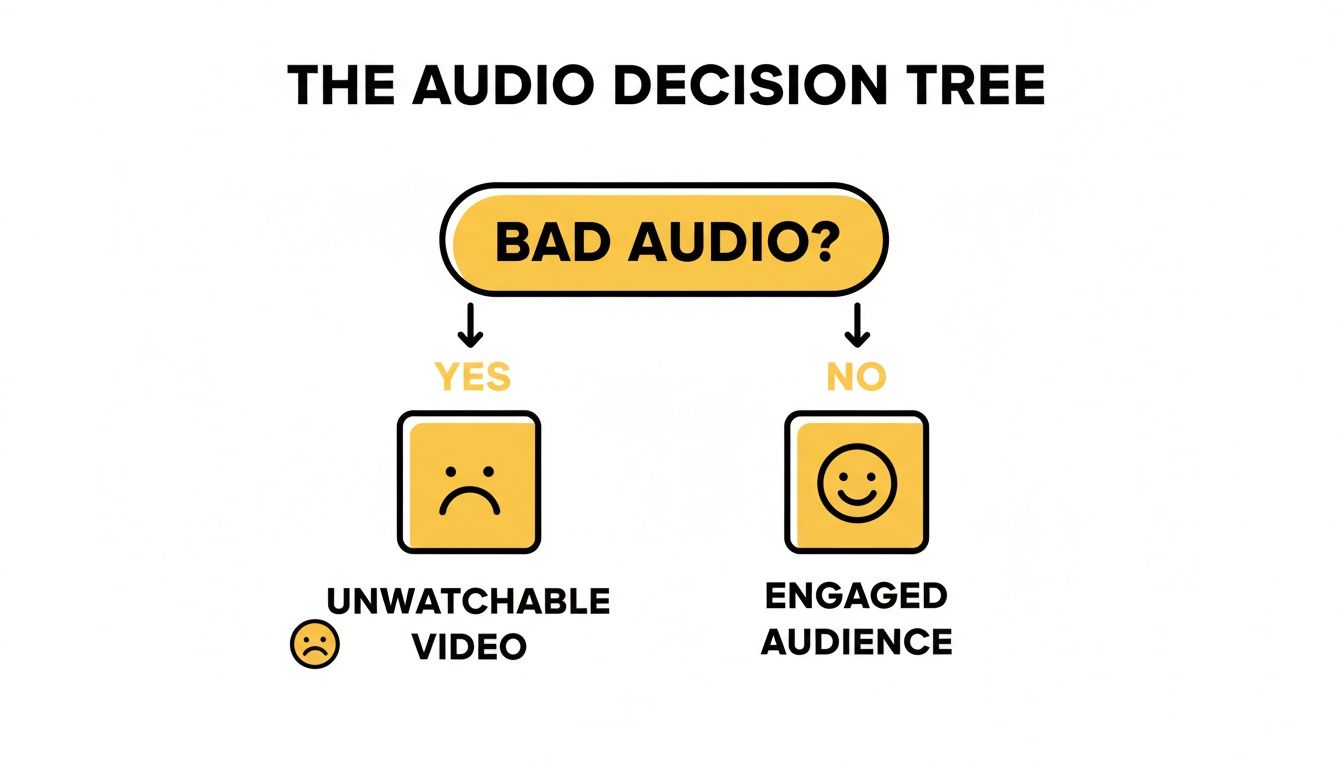
As you can see, there's no middle ground. Poor audio will make viewers click away in a heartbeat, which is why this diagnostic step is so important.
Once you know exactly what kind of noise you're up against and how bad it is, you can make a smart decision. Can you get away with a simple filter, or do you need to bring out the heavy-duty tools? Taking a few minutes to diagnose the problem saves you a ton of time and frustration later, setting you up for a successful background noise removal video workflow.
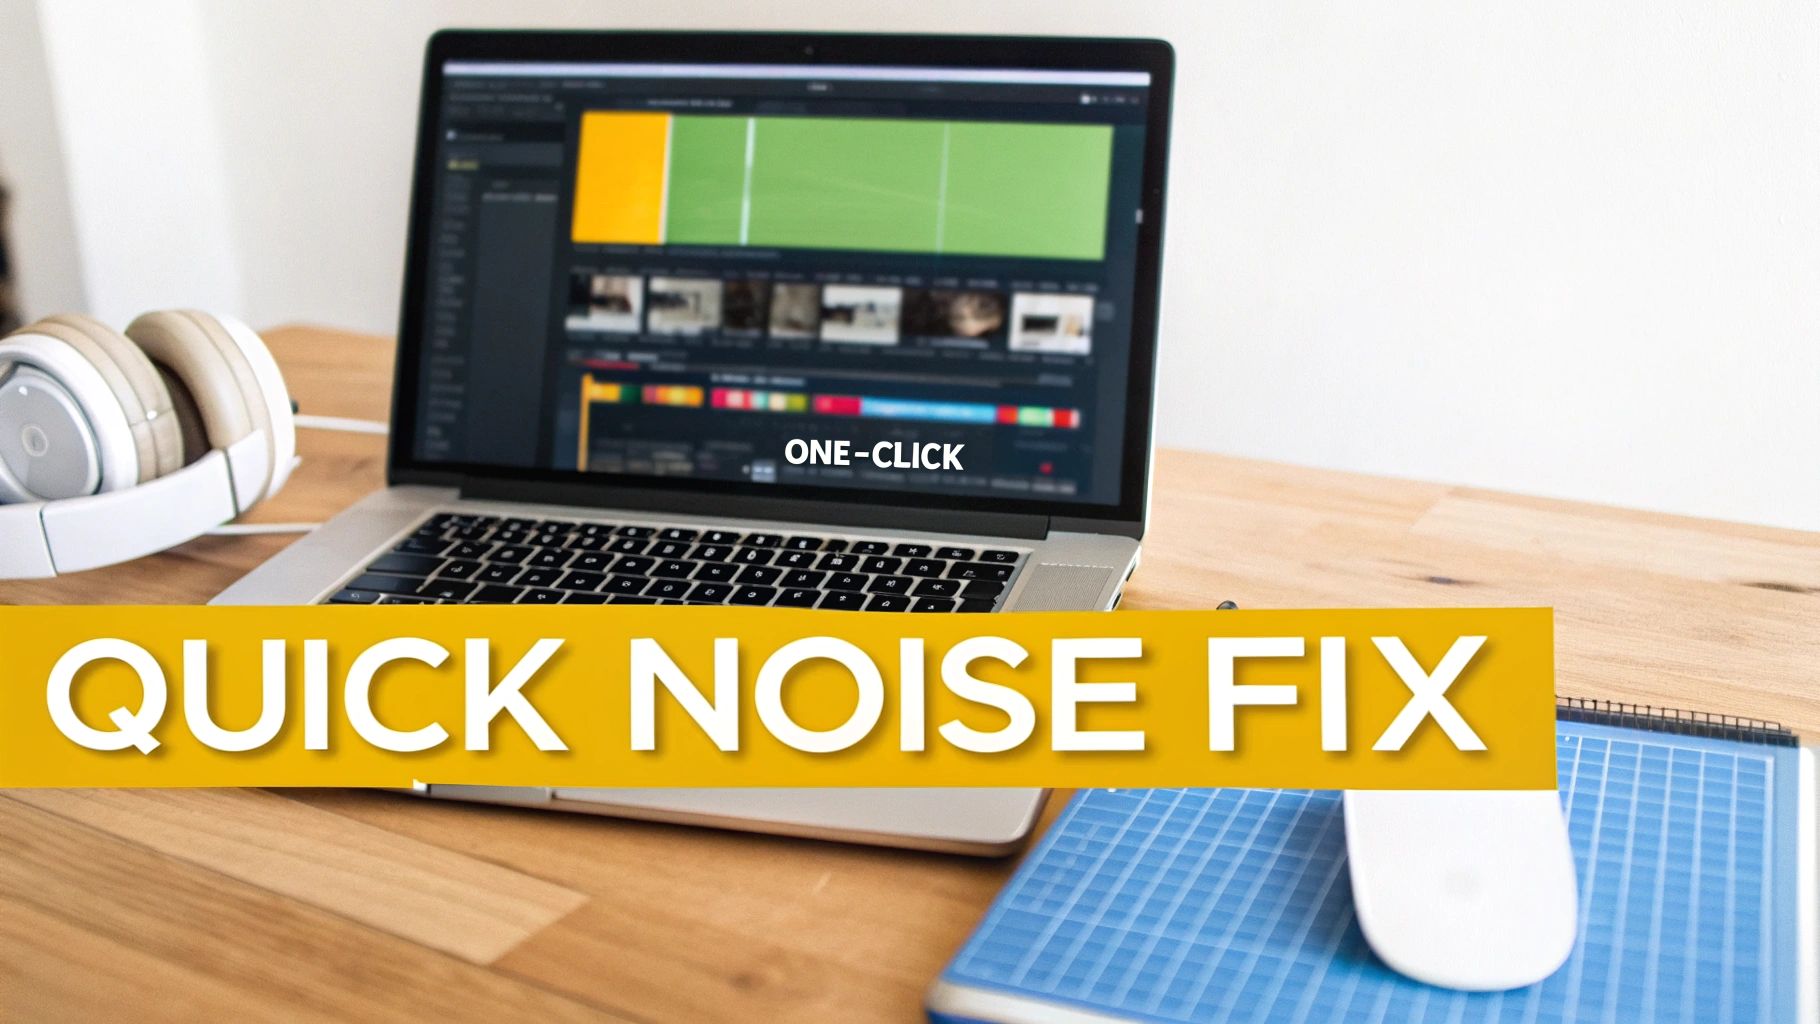
Easy Fixes with Editor Filters and One-Click AI
You don’t always need to fire up a specialized audio program to get great-sounding video. Sometimes, the best tools are the ones already built into your favourite video editor, letting you achieve a massive improvement with just a few clicks. This is the perfect route when you're on a tight deadline or just dealing with some minor, annoying background sounds.
Most of the big-name Non-Linear Editors (NLEs)—think Adobe Premiere Pro, Final Cut Pro, and DaVinci Resolve—come packed with a solid set of basic audio filters. These should be your first line of defence.
Your Editor's Built-In Toolkit
Think of these built-in filters as a small but mighty toolkit. Each one has a specific job, and using them is often as easy as dragging the effect onto your audio clip and playing with a slider.
- DeNoiser: This is your best friend for getting rid of consistent, droning sounds like an air conditioner hum, a computer fan, or camera hiss. It works by figuring out the "noise floor" and then turning it down.
- DeHummer: Got a low, persistent buzz in your audio? That's probably electrical hum. This filter is designed specifically to target those frequencies, which usually sit at 50Hz or 60Hz.
- Audio Gate (or Expander): This one is a gem for cleaning up the silent gaps in your audio. You set a volume level, and any sound that falls below it gets muted. It's fantastic for killing faint background chatter or room echo between spoken sentences.
Pro Tip: Go easy on the DeNoiser. If you push it too hard, you can get a weird, "underwater" effect that sucks all the natural warmth out of a person's voice. A light touch is almost always better.
Don't underestimate how much these simple tools can do. A recent Canadian analysis showed that even basic background noise removal video techniques can boost perceived audio quality by 25-40% in less-than-ideal recording spots. The algorithms in these filters are smart; they can reduce broadband noise by up to 20 dB without making dialogue sound completely flat.
The Rise of One-Click AI Audio Tools
Lately, we've seen a new wave of AI-powered tools that deliver incredible results with practically zero effort. Platforms like Descript, CapCut, and the "Voice Enhance" features popping up in various editors use machine learning to intelligently separate speech from everything else.
These tools don't just reduce noise; they analyze the audio, lock onto the vocal frequencies, and then work to strip away the rest. The results can feel like magic, turning a windy outdoor recording into something that sounds like it was done in a quiet room.
If you’re looking into platforms that simplify the whole video creation process, you'll find that many, like shortgenius, are integrating this kind of AI to make tough jobs like audio cleanup much easier.
This one-click approach is a lifesaver for creators who need to work fast. It takes the guesswork out of tweaking filter settings and gives you consistently clean audio every time.
Ultimately, getting your audio right is a crucial first step before you even think about localization. If you plan to add subtitles or dub your video for a global audience, starting with a clean track is non-negotiable.
Once your audio is pristine, you can bring it into a tool like TranslateMom. Just upload your final video file from the New Task screen. Its AI will generate a super-accurate transcript, which you can then polish in the Studio Workspace or translate into over 100 languages. Clean audio in means clean subtitles out—and that saves you from hours of painful corrections down the line.
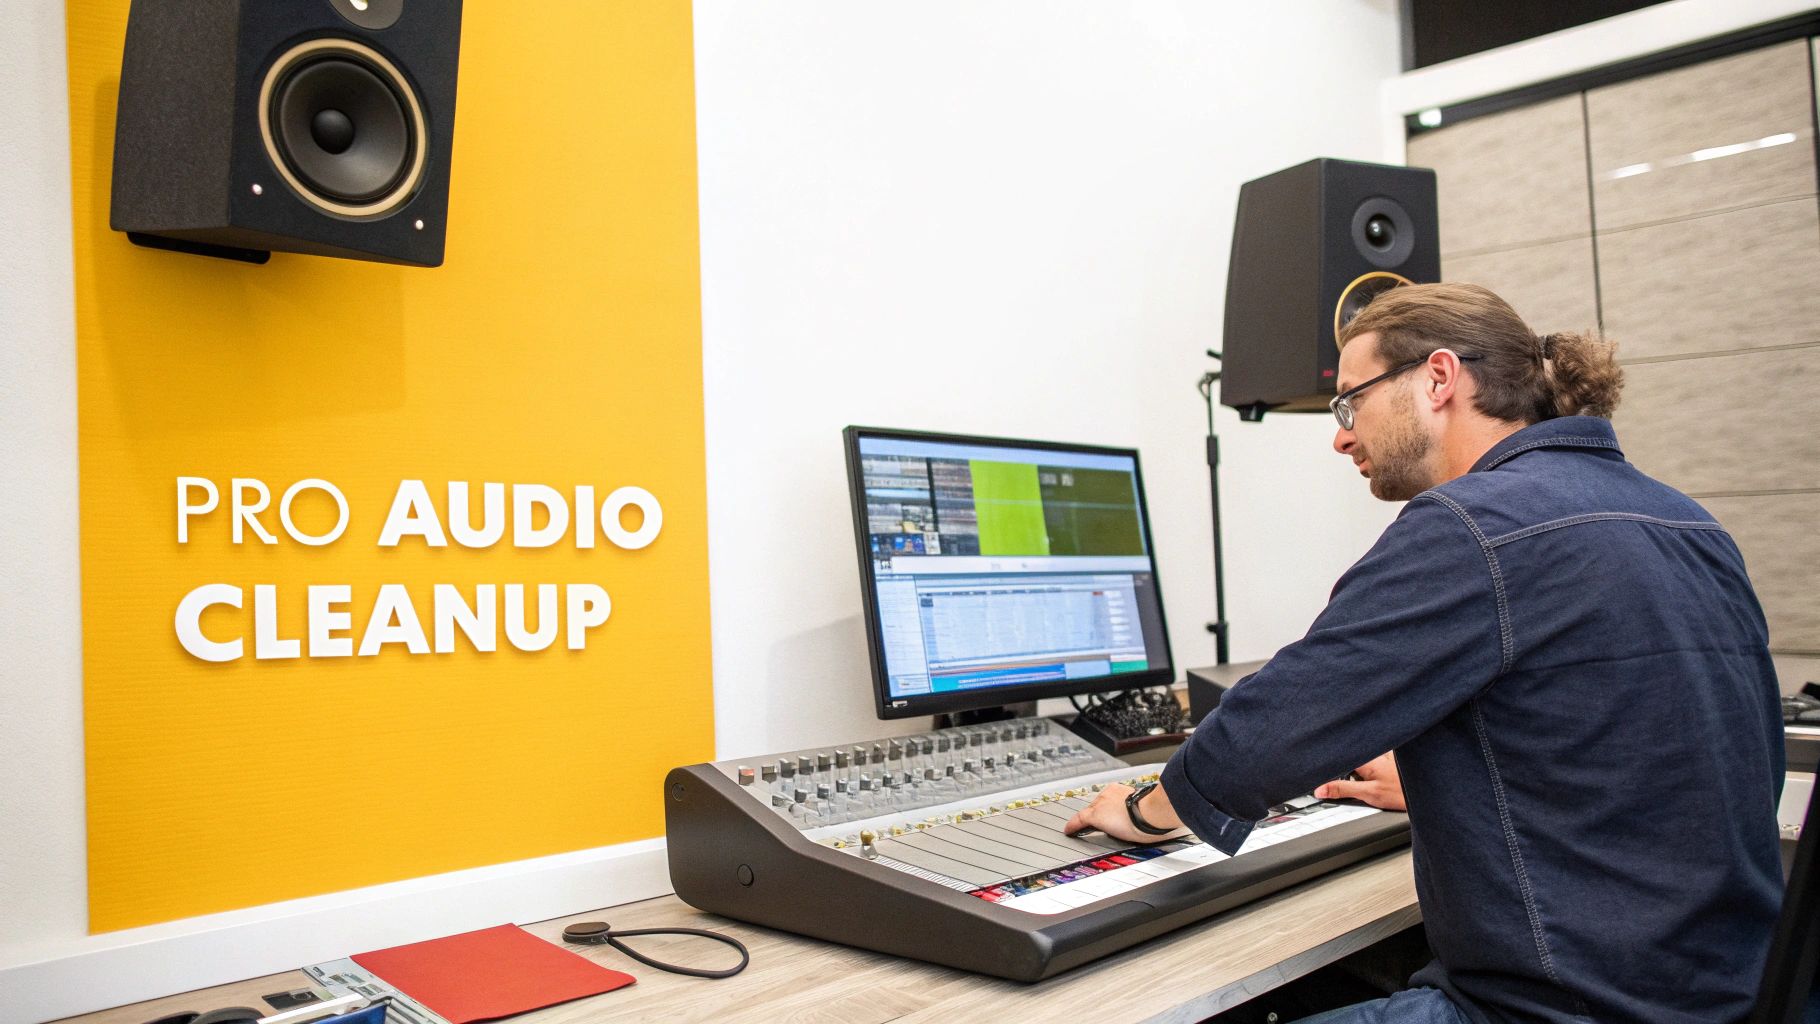
Advanced Workflows for Professional Audio Cleanup
When those simple, one-click filters just can't save your audio, it’s time to bring in the heavy hitters. Moving your audio into a dedicated Digital Audio Workstation (DAW) or an advanced editor gives you the surgical precision you need to fix the toughest noise problems—from howling wind to that awful cavernous reverb.
It takes a bit more effort, but the results are often night and day.
This is where you can isolate and eliminate specific audio gremlins without making the main dialogue sound muffled or robotic. Think of it as the difference between using a sledgehammer and a scalpel.
The Audacity Two-Step Noise Reduction
Audacity, the free and open-source audio editor, has a surprisingly good two-step process for background noise removal video projects. Its real strength is its ability to "learn" the specific noise you want to get rid of.
- Capture the Noise Profile: First, you need to find a few seconds of your recording that has only the background noise. This could be the hum from an AC unit or the hiss from your mic. Highlight this section, go to
Effect > Noise Reduction, and click "Get Noise Profile." Audacity now has a sonic fingerprint of that unwanted sound. - Apply the Reduction: Now, select your entire audio track. Go back to
Effect > Noise Reduction, but this time, you’ll adjust the sliders for Noise Reduction (dB), Sensitivity, and Frequency Smoothing. Click "OK" and listen to the magic happen.
It’s a simple but powerful way to attack consistent background hums and hisses. This method is a fantastic starting point for anyone new to serious audio work. For a deeper dive, check out our complete guide on how to remove background noise from audio.
Levelling Up with DaVinci Resolve and Adobe Audition
For creators who need more power, both DaVinci Resolve's Fairlight page and Adobe Audition offer a full suite of pro tools. These are industry standards for a reason.
DaVinci Resolve's Fairlight page is basically a full-fledged DAW built right into your video editor. It has a powerful "Noise Reduction" effect in the Fairlight FX library. You can use its "Learn" function on a noisy segment to create a precise noise print, allowing for aggressive reduction with very few artifacts.
Adobe Audition is a dedicated audio powerhouse. Its "Noise Reduction (process)" effect is legendary for its clarity and control. You can capture a noise print and then visually adjust the reduction across the entire frequency spectrum. This is incredibly useful for removing complex noises without making the speaker sound like they're talking through a tin can.
Tackling noise from heavy traffic is a huge challenge for outdoor shoots. Research from California's Department of Transportation shows that freeway noise can easily top 70 dB(A), destroying the ideal speech-to-noise ratio. Using a tool like Audition can restore that balance, often boosting the signal by 5-20 dB while keeping the voice clear.
The Ultimate Weapon: iZotope RX
When audio pros face a seemingly impossible problem, they turn to iZotope RX. This isn't just a plugin; it's a complete audio restoration suite that's considered the gold standard in the industry.
RX can do things that feel like actual magic. Its "Spectral De-noise" module lets you visually see and erase unwanted sounds—it’s like Photoshop for your audio. You can literally paint away a cough, a siren, or a phone ringing without touching the dialogue. Other tools like "De-wind," "De-reverb," and "De-rustle" are lifesavers for on-location recording nightmares.
While it comes with a pro price tag and a steeper learning curve, iZotope RX is the definitive tool for anyone serious about getting flawless audio.
Choosing the right tool depends on your project's needs and your comfort level. Here's a quick breakdown to help you decide.
Comparing Advanced Audio Cleanup Tools
| Tool | Best For | Key Feature | Learning Curve |
|---|---|---|---|
| Audacity | Beginners and budget-conscious creators needing to fix consistent hum or hiss. | Simple two-step "Noise Profile" workflow. | Low |
| DaVinci Resolve (Fairlight) | Video editors who want powerful, integrated audio tools without leaving their timeline. | "Learn" function for creating precise noise prints. | Medium |
| Adobe Audition | Audio producers and podcasters who require deep control and spectral editing capabilities. | Advanced spectral frequency editor for surgical noise removal. | Medium-High |
| iZotope RX | Professionals facing extreme audio challenges like wind, reverb, and intermittent noises. | Specialized modules like Spectral De-noise and De-wind. | High |
Mastering these advanced workflows empowers you to rescue audio you might have once considered unusable. This skill not only elevates your content quality but also preps your audio for the next critical step: getting accurate subtitles and dubs with tools like TranslateMom, where clean audio is the key to perfect results.
Preparing Audio for Accurate Transcripts and Dubbing
Clean, crisp audio isn’t just a nice-to-have; it's the foundation for taking your content global. After all that hard work you put into **background noise removal video** editing, this is where you cash in on your efforts by creating perfect subtitles and natural-sounding dubs.Let's be real: automated transcription engines are amazing, but they aren't magic. They work by interpreting sound. When your main dialogue has to fight against a background hum, traffic noise, or even a bit of room echo, the AI has to guess what's being said. That guesswork leads to typos, weird punctuation, and a long, tedious editing session for you.
Key Takeaway: A noisy audio track forces transcription AI to guess, often resulting in errors that can misrepresent your message. Every minute spent cleaning your audio upfront saves you ten minutes of frustrating text corrections later.
When you start with a clean audio source, you give the AI a clear signal to lock onto. The difference in accuracy is night and day.
The Clean Audio to Localization Workflow
Once you've exported your final video with that polished audio, the journey to localization gets a whole lot smoother. This is where a tool like TranslateMom really shines, connecting your audio cleanup directly to a worldwide audience.
Here’s how it usually goes:
- Get Your Media In: Head over to the New Task screen in TranslateMom. You can just drag and drop your finished video file (up to 5GB) or paste a URL from a site like YouTube. Simple.
- Pick Your Service: Tell it your video's Source Language. From there, you can choose Transcription for captions in the original language, or Translation for subtitles in a new one. Feeling ambitious? You can even opt for Dubbing to generate a whole new AI audio track.
- Generate with Confidence: Because your audio is clean, the AI transcript comes back incredibly accurate right from the get-go. This solid foundation makes the rest of the process so much faster.
This workflow makes sure the effort you put into post-production pays off with better, more reliable results. For a more detailed look, check out our guide on how to transcribe a YouTube video to text.
Fine-Tuning in the Studio Workspace
Even with a nearly perfect transcript, you'll want to give it a final polish. That’s what TranslateMom's Studio Workspace is for. The Subtitle Editor is pretty slick—it lays out every line of text right over a visual audio waveform, so you can literally see where the words start and stop.
Spot a mistake? Just click the text to edit. The video automatically pauses so you can focus. If you're translating, the Split View is a lifesaver, showing your original and translated text side-by-side to keep your meaning and context intact. After that, you can jump into the Style tab to tweak how your captions look, apply karaoke-style effects, or even add your own logo using the Brand tab.
This is especially critical for things like educational content. For instance, in California, building codes say classroom background noise shouldn't top 35 dBA. But in real-world recordings, an HVAC system can easily blow past that. If an educator cleans up that distracting hum, they can then use AI dubbing to create clear, professional lectures for students in any language. Learn more about these acoustic standards in the CA building code. By starting with clean audio, creators can make their content accessible and professional for a global audience, no distracting noise included.
Common Questions About Removing Noise from Videos
Even with the best tools, you're bound to run into some tricky situations when cleaning up audio. Let's tackle some of the most common questions I get about getting that perfect, clean sound for your background noise removal video projects.
Can I Really Remove Noise Without Ruining the Voice?
This is the big one, right? It’s a balancing act. If you get too aggressive with noise reduction, you can easily end up with dialogue that sounds thin, robotic, or like it was recorded underwater. The trick is to be subtle.
- For a simple, steady hum: A basic DeNoiser filter at a gentle setting (try a reduction of -6dB to -9dB) usually does the job. It’s just enough to quiet the noise floor without messing with the vocal frequencies.
- For more complicated noise: This is where AI-powered tools, like the ones in Descript or dedicated plugins, really shine. They're smart enough to tell the difference between a human voice and other sounds, which means they can remove the bad stuff while keeping the dialogue sounding natural.
My golden rule: always listen back with a good pair of headphones. The second the voice starts to sound weird, you've gone too far. It's almost always better to leave a tiny hint of room tone than to have distorted, unnatural speech.
What's the Difference Between a Gate and a DeNoiser?
They sound similar, but they fix two totally different problems. Think of it this way: a DeNoiser cleans up noise during the talking, while a Gate cleans up the quiet parts between the talking.
A Noise Gate is like a bouncer for your audio. You set a volume level (the threshold), and anything quieter than that gets muted. It's a lifesaver for getting rid of low-level hiss or room echo in the pauses between sentences. But it won't do a thing for the noise happening underneath the dialogue.
A DeNoiser, on the other hand, is much smarter. It listens to the whole track to find a consistent "noise fingerprint" (like that annoying air conditioner hum) and then subtracts it from everything, even when someone is speaking.
Is It Possible to Get Rid of Sudden Noises, Like a Dog Barking?
Yes, but it's a lot tougher than dealing with a steady hum. Your standard one-click filters just aren't built for this. For sudden, sharp sounds, you need to bring out the big guns: spectral editing.
Tools like Adobe Audition or iZotope RX let you see your audio as a spectrogram—a visual map of frequencies over time. A dog bark or a door slam shows up as a very obvious visual blob on this map.
From there, you can use a "healing brush" or "spectral repair" tool to literally select the blob that represents the bark and delete it. The software is clever enough to fill in the blank space using the surrounding audio, making the unwanted sound vanish as if it were never there.
Should I Bother Recording Room Tone?
Yes. 100% yes. Always, always try to record at least 15-30 seconds of just the sound of the empty room. This is your secret weapon for professional-level background noise removal video editing.
Why? Because that clean sample of the room's ambient noise gives tools in Audacity, Audition, or DaVinci Resolve a perfect "noise print." It tells the software exactly what to look for and remove, which gives you incredibly clean and natural-sounding results. It's also fantastic for filling in any tiny gaps you create during your edit.
Can I Fix Bad Audio After It's Already Mixed and Exported?
This is the nightmare scenario. Trying to fix audio after it's been mixed down with music and sound effects is incredibly hard, and often, it's just not possible. The background noise is effectively "baked in" with everything else.
Some new AI tools can try to separate the dialogue from the rest of the mix, but the results can be pretty messy. The noise reduction might end up grabbing bits of the music or sound effects by mistake.
Your best bet is to always clean your dialogue track before you start adding any other audio layers. Think of a clean vocal track as the foundation of your entire sound mix.
Once your audio is crystal clear, you're ready to share it with the world. With TranslateMom, you can upload your clean video and choose to Burn-in your subtitles and branding directly into a new video file, or just Download Subtitles in SRT or VTT format for other editors. Don’t let language be a barrier. Start localizing your videos today.