Nothing kills a video faster than bad audio. If you want to remove background noise from video, you've got a few solid options. You can use your video editor's built-in tools for a quick touch-up, pull the audio out for a deep clean in software like Audacity, or let modern AI tools do the heavy lifting by isolating your voice from all the junk. Which path you take really just depends on your project and how much noise you're fighting against.
Why Clean Audio Is Your Most Important Asset
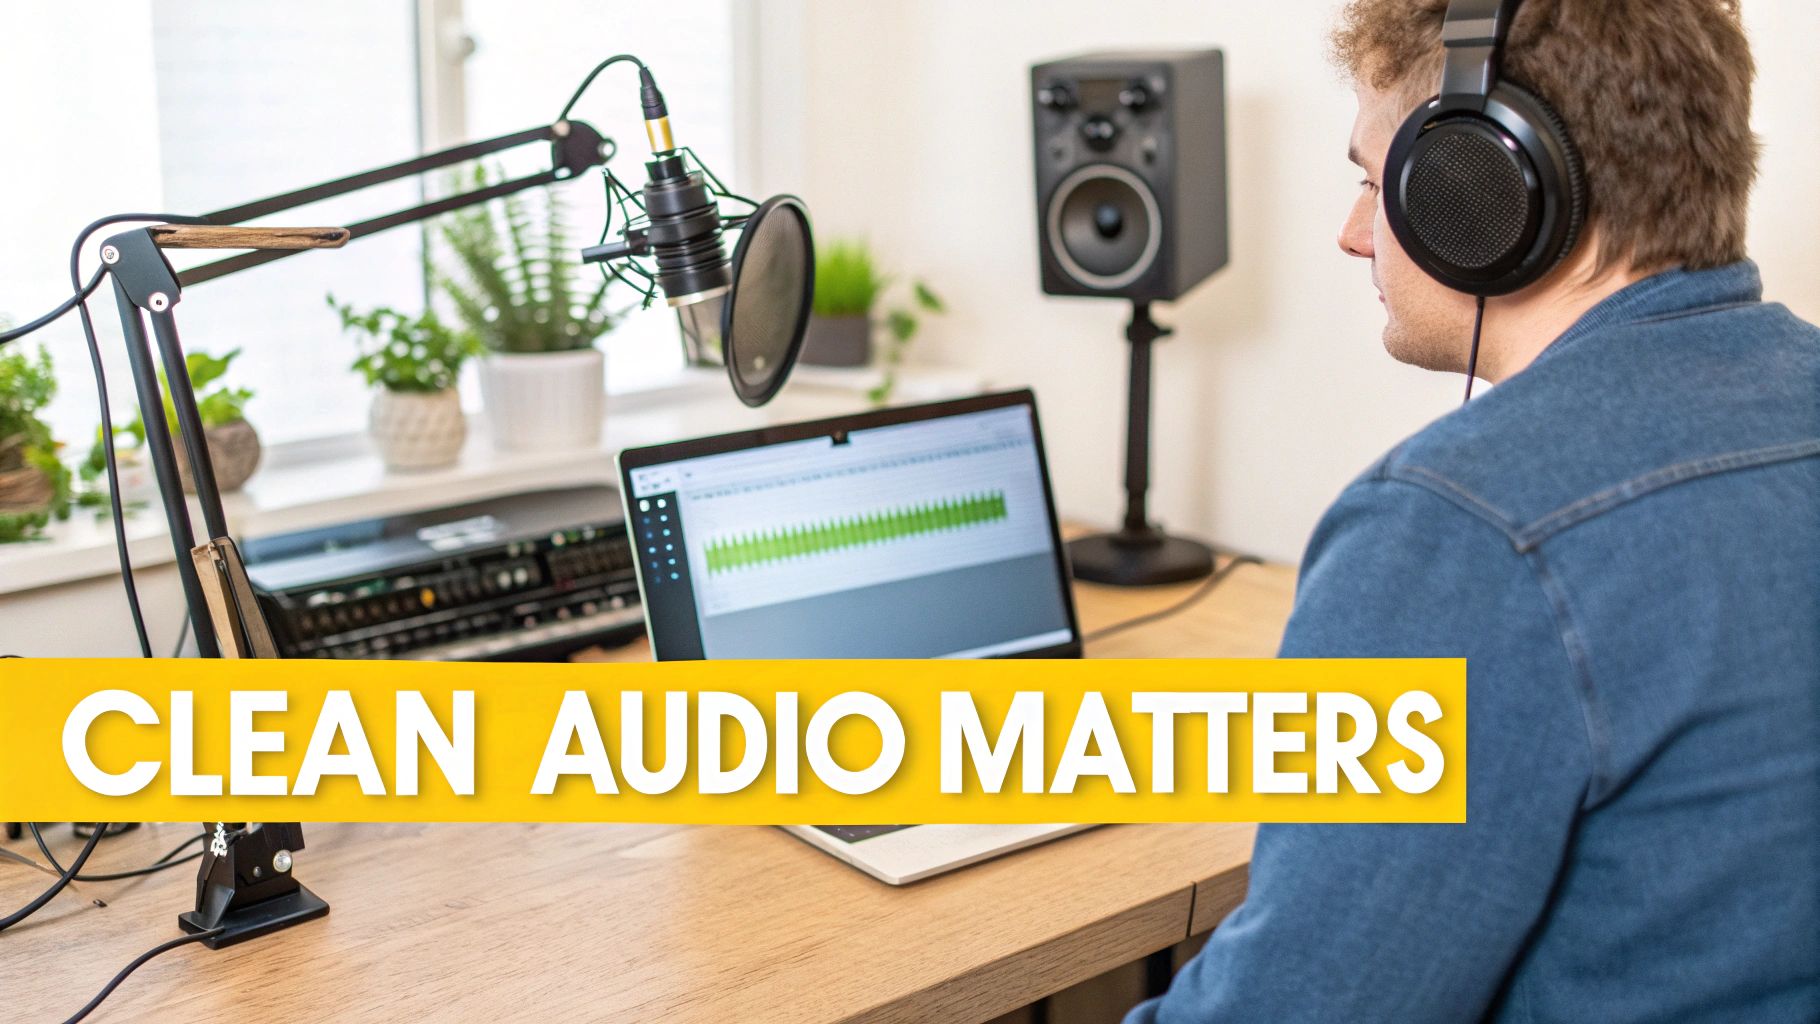
You could shoot in stunning 4K, but if your audio is a muddy mess of hums and distractions, your message is dead on arrival. Viewers just don't have the patience for poor sound. It creates an instant feeling of unprofessionalism and makes your content hard to trust.
Every unwanted sound, whether it's the whir of an air conditioner or traffic in the distance, forces your audience's brain to work overtime just to follow along. That leads to viewer fatigue, and before you know it, they've clicked away.
The Foundation of Professional Content
Think of clean audio as the foundation your video is built on. A shaky foundation means the whole thing comes crumbling down, no matter how great the visuals are. For us creators, this isn't just a nice-to-have; it's everything.
Some studies suggest that audio makes up 50% of a video's perceived quality, which directly hits your engagement and how people see your brand. When your audio is crisp and clear, your message lands with confidence.
This becomes non-negotiable when you're preparing content for a global audience. Tools designed for video localization, like TranslateMom, are only as good as the audio you feed them.
Background noise is the number one enemy of AI transcription and dubbing. When an AI model has to fight through a hiss or a buzz, accuracy plummets. Clean audio, on the other hand, delivers near-perfect results, saving you hours of painful manual edits.
Unlocking Global Reach and Accuracy
The goal here is simple: give the AI the cleanest possible audio to get the best possible output. For instance, when you upload a video to TranslateMom for subtitling, its AI is listening intently to every word. If it also has to listen to your refrigerator buzzing or your keyboard clacking, the transcription is going to be a mess.
By taking a few minutes to remove background noise from your video before you start the translation process, you set off a chain reaction of quality.
It’s a straightforward workflow:
- Record: Start with the best sound you can possibly get. If you’re often recording on the move, our guide on audio recording with an iPhone has some great pointers.
- Clean: Use the techniques we'll dive into to get rid of any distracting noise.
- Localize: In TranslateMom, go to the New Task screen and either upload your clean video file or paste its URL. Select your service (Transcription, Translation, or Dubbing) to generate flawless subtitles or dubs.
This isn't just about making things sound good; it's about being efficient. Cleaner audio means less time wasted correcting text and timings in the Studio Workspace, which means you can get your content in front of a worldwide audience that much faster.
Choosing Your Noise Reduction Toolkit

Before you can scrub that annoying background noise from your video, you need to pick the right weapon for the job. Your choice really boils down to what you're up against, your budget, and how much time you're willing to invest. Generally, the options fall into three buckets.
For those minor distractions—think a faint computer fan whirring away or a persistent electronic hum—the tools built right into your video editor are often more than enough. They’re quick, convenient, and let you get the job done without ever leaving your project timeline.
But when you're dealing with more serious audio problems, you'll need to bring in the specialists. Getting a handle on how to remove background noise from audio in different scenarios is key to making the right call here.
Comparing Noise Reduction Methods
Making the right choice upfront will save you a ton of headaches later. A quick video for social media has a very different audio quality bar than a professional course you plan on selling.
The best tool is always the one that fits your workflow. For many creators, especially those using localization platforms, the real goal is to get the audio as clean as possible before uploading it. This dramatically improves the accuracy of AI transcription and dubbing.
Think about how each approach fits your project. If your audio has a constant, predictable noise, a free tool might be all you need. But if you’re fighting unpredictable sounds like a passing siren or a barking dog, an AI-powered solution is probably your best bet.
Here’s a quick breakdown of the main methods to help you decide.
| Method | Best For | Pros | Cons |
|---|---|---|---|
| In-Editor Effects | Quick fixes for low-level, consistent noise (e.g., HVAC hum, camera hiss). | Fast and convenient; no extra software needed. | Limited power; can create artifacts if overused. |
| Dedicated Software | Moderate to severe consistent noise and specific frequency issues. | Powerful, precise control over the noise profile. | Requires exporting audio; has a steeper learning curve. |
| AI Web Tools | Variable and complex background noise (e.g., street traffic, crowds, wind). | Extremely effective with one-click solutions; preserves voice quality. | Often requires a subscription; processes in the cloud. |
As you can see, the trade-off is usually between convenience, control, and cost. Pick the one that makes the most sense for your current project's needs.
The TranslateMom Workflow Consideration
Don't forget that your choice of toolkit has a direct impact on downstream tasks like translation and dubbing. Clean audio is the foundation for accurate AI performance.
For instance, if you're planning to use TranslateMom to generate subtitles, feeding it audio that has been cleaned up by a dedicated AI tool will give you much better results. A clean track lets the transcription engine do its job with maximum precision.
This minimizes the time you'll spend fixing errors. Inside the app’s editor, you can click any text line to edit it, but with a clean source file, you'll find the initial transcription is nearly perfect, saving you from tedious manual corrections.
Quick Fixes Inside Your Video Editor
Sometimes, you just need a fast fix. You don't need studio-perfect audio; you just need to get that annoying hum out of your clip without derailing your entire editing session.
For those moments, the tools built right into your video editor are your best friend. They're perfect for social media clips or internal company videos where getting it done is more important than getting it perfect.
Most serious video editing software—think Premiere Pro, Final Cut Pro, and DaVinci Resolve—has some basic noise reduction built in. These effects are designed to tackle constant background noise like an air conditioner hum, a buzzing fridge, or the hiss from your camera's electronics.
You’ll usually find these in the audio effects library under a name like "Noise Reduction" or "DeNoiser." Just drag it onto your audio clip and start with a very light touch. The biggest mistake people make is cranking these settings way too high, which leaves the dialogue sounding thin, watery, or metallic. Be subtle.
Using an Equalizer to Target Hums
If the main problem is a specific, consistent hum, an equalizer (EQ) is often a much better tool for the job. It's like using a scalpel instead of a sledgehammer.
This kind of noise is often caused by electrical interference from your power grid, which creates a buzz at a very specific frequency (usually 50 Hz or 60 Hz, depending on where you live).
Here’s the trick:
- Apply a parametric EQ to your clip.
- Create a very narrow cut (this is often called the "Q" or bandwidth).
- Sweep that cut back and forth along the low-frequency range until you hear the hum just disappear.
You’ll be surprised how effectively this can remove the offending noise without touching the quality of the person's voice.
Silencing Gaps With an Audio Gate
An audio gate is another go-to tool for instant cleanup. It won't remove noise while someone is talking, but it works wonders on the silence between their words.
Think of it as an automated mute switch. You set a volume threshold, and any sound that's quieter than that level gets completely silenced. When someone speaks, their voice is louder than the threshold, so the "gate" opens and lets the sound through.
This is a fantastic way to get rid of that low-level room tone or background hiss that pops up in every pause. It makes the entire track feel much tighter and more professional.
An audio gate is one of my favourite tricks for making audio sound instantly more polished. It cleans up all the dead air, making the dialogue pop and giving the final video a much cleaner, professional feel.
Using these in-editor tools lets you quickly remove background noise from your video without exporting your audio to a separate program. While they won't save a truly disastrous recording, they are often more than enough to significantly improve your sound for most projects.
Advanced Audio Cleanup With Dedicated Software
When your video editor’s built-in tools just can't get the job done, it's time to call in the specialists.
For those stubborn audio problems that go beyond a simple background hum, exporting your audio track to a dedicated program gives you the precision you need for a truly professional sound. This is the route you take when audio quality is non-negotiable.
The process involves splitting the audio from your video, cleaning it up in a specialized tool, and then re-syncing it with your visuals. It might sound like a few extra steps, but the payoff in clarity is huge—especially for dialogue-heavy content like podcasts, online courses, or short films.
The Power of a Noise Print in Audacity
One of the slickest tricks for getting rid of consistent background noise is using a noise print. This is where you grab a small, clean sample of the unwanted sound—like the drone of an air conditioner or the whir of a computer fan—and essentially tell the software, "Get rid of this."
Audacity, a free and surprisingly powerful audio editor, is perfect for this. The process is pretty straightforward:
- Isolate the Noise: Hunt down a two-to-three-second clip in your audio where nobody's talking, and all you can hear is that background noise.
- Get Noise Profile: Highlight that section and head over to the "Noise Reduction" effect. Use the "Get Noise Profile" button to teach Audacity what sound you want to target.
- Apply to the Track: Now, select your entire audio track and apply the Noise Reduction effect again. Audacity will intelligently subtract that noise print from the whole file, making the voice pop.
A word of advice: start with a gentle touch. Applying too much noise reduction can leave your voice sounding thin, robotic, or like it's underwater. Always trust your ears and start with a low setting.
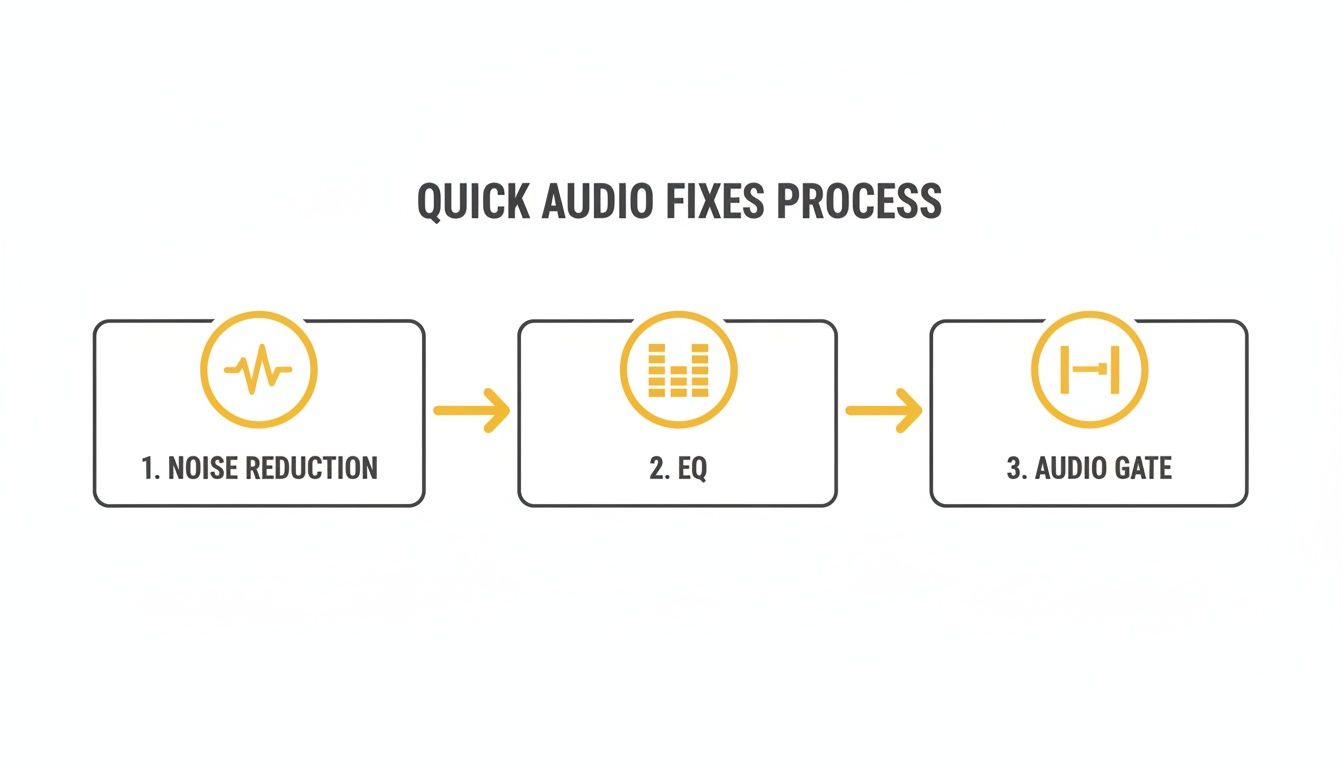
The basic steps of in-editor cleanup—Noise Reduction, EQ, and Gating—are your first line of defence before you even need to think about exporting.
If you want to get a better handle on these fundamentals, we've got a whole guide on how to remove background noise from audio.
Surgical Removal With Spectral Repair
But what about those sudden, one-off sounds? A random cough, a door slamming, or a dog barking can completely ruin an otherwise perfect take.
This is where a pro tool like iZotope RX comes into its own with a feature called spectral repair.
Instead of just looking at the audio as a simple waveform (volume over time), spectral repair lets you see it as a spectrogram, which maps out frequencies. You can literally see the dog bark as a distinct shape on the screen and just paint it away without touching the dialogue around it. It’s basically Photoshop for your audio.
Preparing Audio for Localization
For anyone using a service like TranslateMom to reach a global audience, this level of audio cleanup is a game-changer. Once your audio is pristine, you can upload it and use the Studio Workspace to fine-tune your subtitles. The visual waveform in the editor allows you to drag the start and end points of each subtitle to perfectly match the cleaned-up speech patterns.
Think about it: urban noise pollution is a real problem. In many cities, background noise from traffic or construction can easily exceed 70 dBA. This can wreak havoc on e-learning content, where clarity is everything.
When you're localizing your videos, the AI's accuracy hinges on being able to isolate the speaker's voice. Clean audio allows our GPT-4o models at TranslateMom to achieve up to 90% noise reduction, which means you get incredibly precise transcriptions and translations.
If you don't want to get into the nitty-gritty of audio restoration yourself, you can always consider investing in a professional audio editing service.
The Easiest Way to Kill Noise: AI to the Rescue
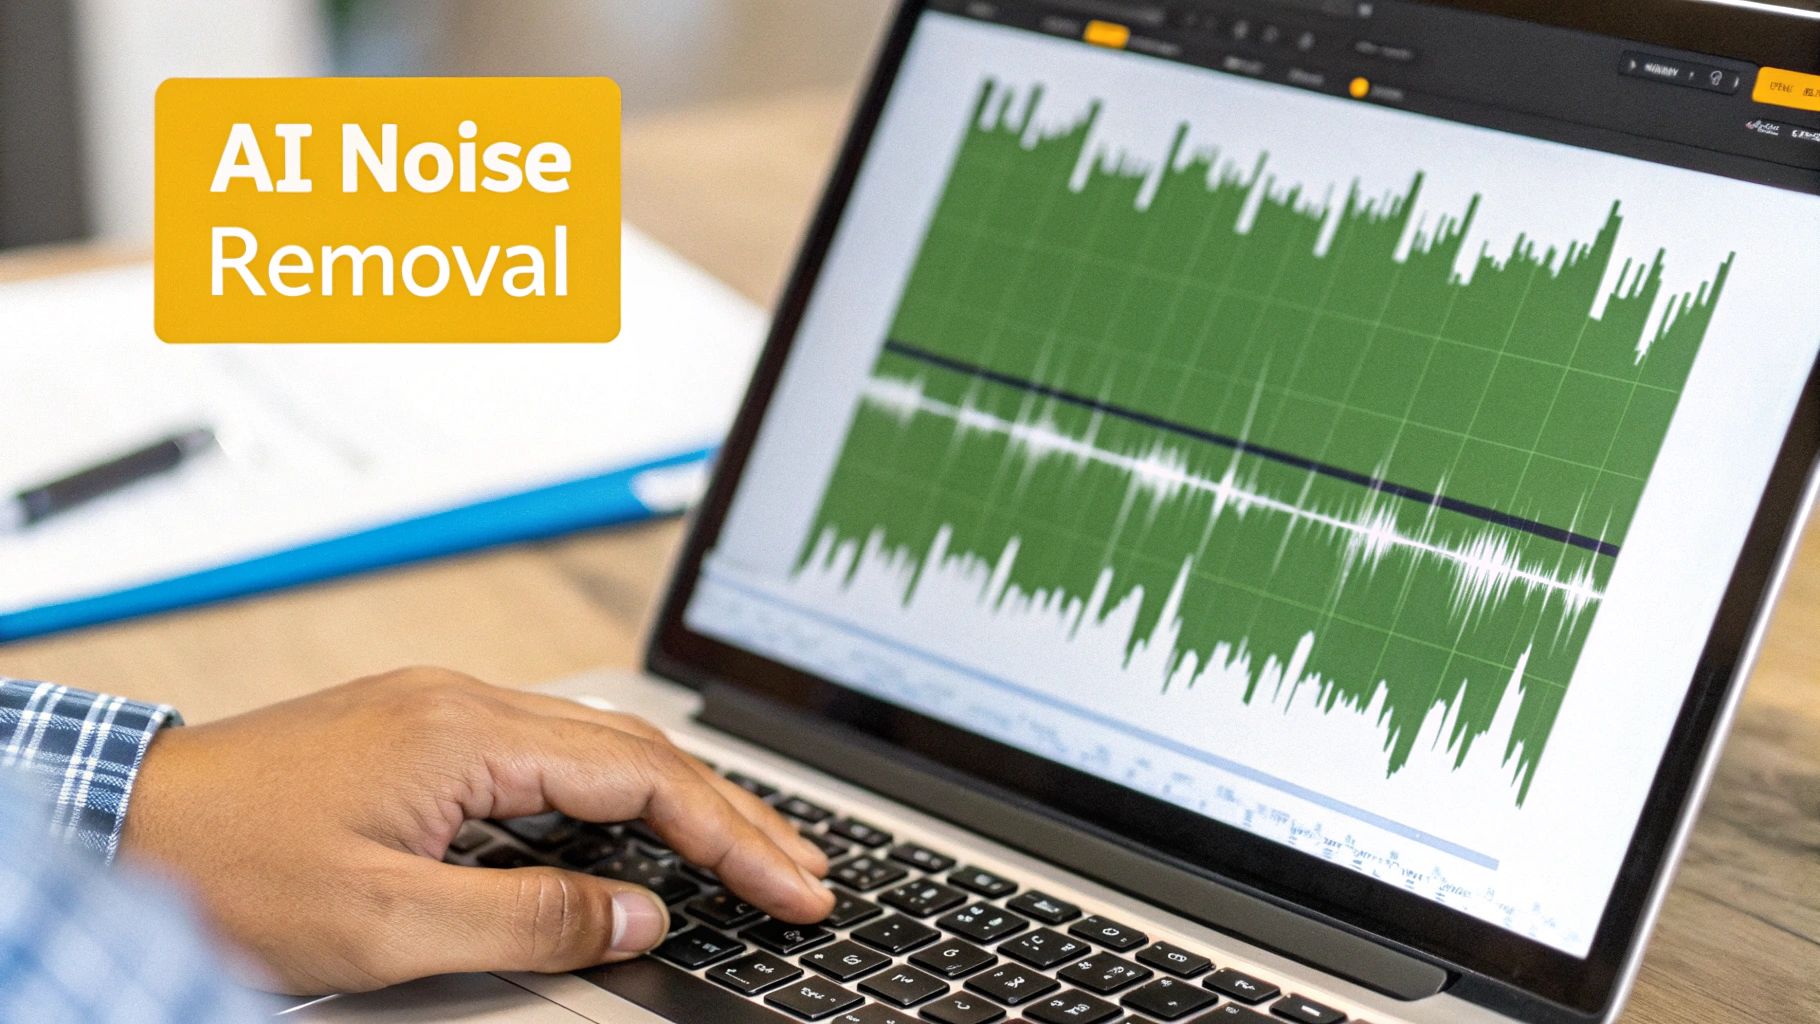
While you can clean up audio manually, why would you want to? The modern approach is way faster, way smarter, and gives you incredible results with almost zero effort. This is where AI-powered noise removal tools come in.
These tools are game-changers. Most are simple browser-based services or plugins that have been trained on countless hours of audio. They’ve learned to perfectly separate the sound of a human voice from pretty much everything else—traffic hum, wind, echoey rooms, you name it.
The best part? You don't need to be an audio engineer to use them. Seriously. You just upload your file, click a button, and the AI works its magic. It isolates the dialogue and surgically removes all the distracting junk, leaving you with a clean track that sounds like it was recorded in a proper studio.
A Smarter Workflow for Translation and Dubbing
For anyone looking to subtitle, translate, or dub their content for a global audience, this AI cleanup step is non-negotiable. If you're using a platform like TranslateMom, feeding it a clean audio file is the secret to getting the absolute best results from its AI.
Think about it: giving the AI a crystal-clear audio track lets it work with maximum accuracy. This one simple step upfront will save you a ton of time on manual corrections later.
Here’s the workflow I recommend:
- Clean First: Run your original video file through a dedicated AI noise removal tool before you do anything else.
- Upload to TranslateMom: Start a New Task by uploading the clean video file or pasting a link from YouTube, X, or TikTok.
- Process: In the setup phase, choose your Source Language, Target Language, and select a service: Transcription, Translation, or Dubbing.
- Review & Export: You'll spend less time fixing mistakes in the Studio Workspace. Once you're happy, you can burn-in the subtitles to a new video file or download the SRT/VTT files.
This proactive approach can save you hours of painful editing, making sure your subtitles and AI-generated dubs are on point from the get-go.
The Real Impact of Clean Audio
High-quality sound isn't just a "nice-to-have" anymore; viewers expect it. In California's crowded live streaming scene, for example, a massive 75% of viewers say high-quality audio is a top priority.
This is where AI shines. AI voice isolation in modern tools can slash background noise by up to 90%—a lifesaver for creators dealing with city noise like a constant 60 dBA freeway hum. Cleaning up your audio first with AI can lead to a 75% gain in streamer engagement because you're delivering the crisp, clear sound audiences want, even before you start adding subtitles. For more on the data, you can explore the full report on sound enforcement technology.
By adding an AI noise removal step before using a platform like TranslateMom, you’re not just making your video sound better. You’re fundamentally improving the accuracy of your global content, saving time, and creating a far more professional final product.
Ultimately, using an AI tool to remove background noise from video isn’t just about fixing a problem; it’s about creating a smarter, more efficient production pipeline.
A Few Common Questions I Get Asked
Once you start cleaning up your own audio, you'll inevitably run into some specific challenges. Let's tackle a few of the most common questions that come up so you can troubleshoot like a pro.
One of the biggest culprits is wind. People always ask, "Can I really get rid of wind noise?" The answer is yes, but it’s tricky. For a light rumble, a simple high-pass filter in your editor can work wonders by cutting out those low frequencies. But for anything more aggressive, you’ll want to reach for an AI-powered tool. They’re just so much better at separating a voice from that chaotic whooshing sound.
In-Editor vs. Dedicated Software?
This is a big one. Should you just fix the audio in your video editor, or is it worth exporting it to another program?
Honestly, for simple, consistent hums—like an air conditioner or a computer fan—your editor’s built-in effects are usually more than enough. They’re quick, easy, and get the job done.
But when the noise is more complex, like a dynamic background that changes, sudden loud bangs, or when you just need pristine clarity for a flagship project, taking that extra step to export is a game-changer. A dedicated program like Audacity or a specialized AI tool will give you a far more professional result every single time. It's an extra step, but well worth the payoff.
The biggest fear I hear from creators is this: "Will noise reduction make my voice sound bad?" Yes, it absolutely can—if you overdo it. Pushing the effect too hard is what creates that thin, robotic, "underwater" sound we all hate.
The secret is to be subtle. Apply the effect gently and always flip back and forth between the original and the corrected version to make sure the dialogue still sounds natural. Modern AI tools are a massive improvement here, as they do a much better job of preserving the original voice quality.
Getting this right is especially important before you send your video for transcription. Clean audio makes a world of difference, something we cover in our guide on converting YouTube videos to text.
Ready to turn that crystal-clear audio into flawless subtitles and dubs? TranslateMom takes your polished video and helps you connect with a global audience in minutes. Give it a try for free and see just how easy it is. Start your first project today.