When you're looking to bring your Spanish content to an English-speaking audience, a direct translation from Spanish to English with audio is about much more than just words on a screen. It's about crafting a full experience. High-quality AI dubbing and perfectly timed subtitles are the keys to boosting engagement, making sure your message lands, and opening up your content to millions of new viewers.
Why Audio Translation Is a Game Changer
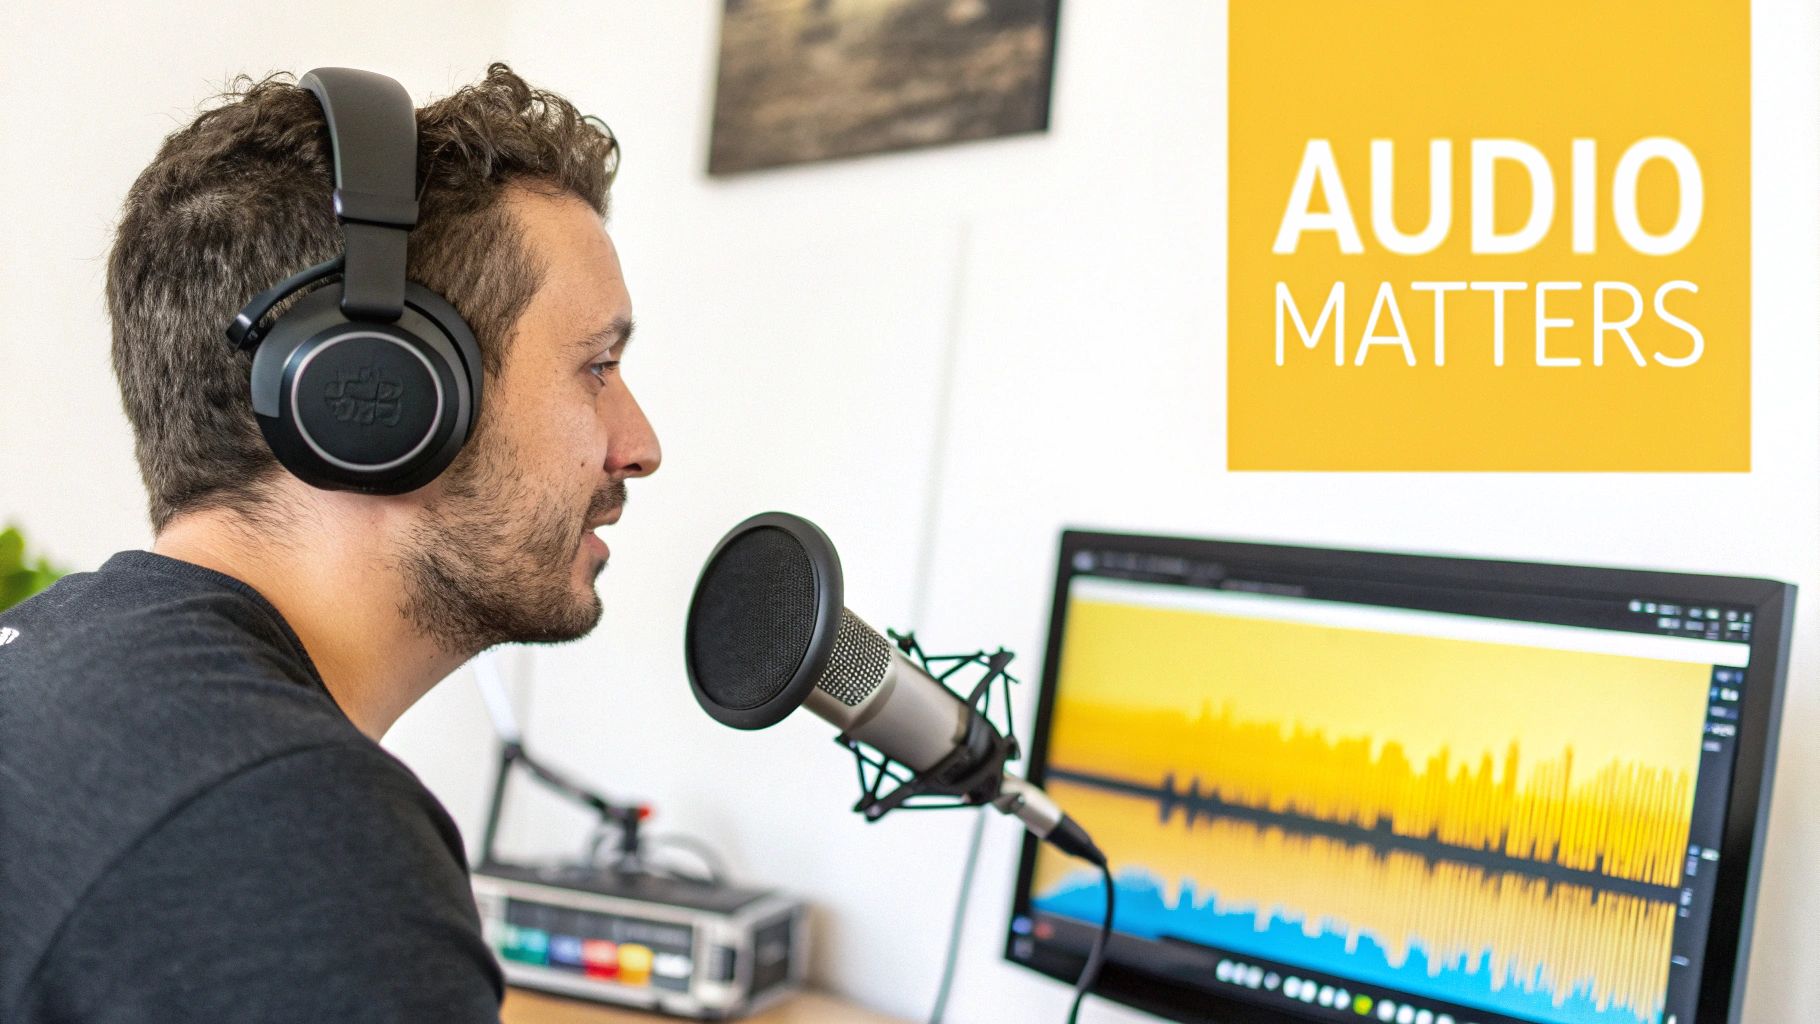
Slapping subtitles under a Spanish video just isn't enough anymore. Think about it—how many people listen to content while they're driving, working out, or cooking? An audio translation makes sure your message is actually heard, not just skimmed over, which is a massive win for retention and impact.
Expanding Beyond Entertainment
Of course, YouTubers and social media creators see huge benefits from going global, but the need for clear audio translation goes far deeper. In sectors like education and healthcare, precise communication isn't just a nice-to-have; it's absolutely critical.
Take a look at the classroom. In California's 2022–23 school year, Spanish was the home language for a staggering 81.90% of the state's 1.1 million English Learners. That’s over 910,000 students who often need spoken support, not just text, for their learning. It's a huge real-world demand for reliable Spanish-to-English audio tools.
The Power of Professional-Grade Tools
Getting professional results used to mean hiring a studio or wrestling with complicated software. Thankfully, that's changed. Modern tools like TranslateMom put high-quality localization right at your fingertips. Instead of juggling separate files and platforms, you can manage the entire audio-visual experience in one place.
Our integrated "Studio" environment lets you:
- Generate natural-sounding AI dubbing in English.
- Nail the subtitle timing down to the millisecond with a visual waveform.
- Add eye-catching styles, like karaoke effects, to keep viewers hooked.
The real goal is to move past a simple word-for-word translation. You want to deliver a localized experience that feels completely natural to an English-speaking viewer. That means matching the tone, timing, and intent of the original Spanish audio perfectly.
This is how you turn a simple video into a powerful communication tool. To see how the tech behind this works, check out our guide on the best AI video translator options out there. By giving both the audio and visuals the attention they deserve, you can ensure your message hits home, whether you're creating a viral short or a crucial training video.
Getting Your Spanish to English Translation Project Started
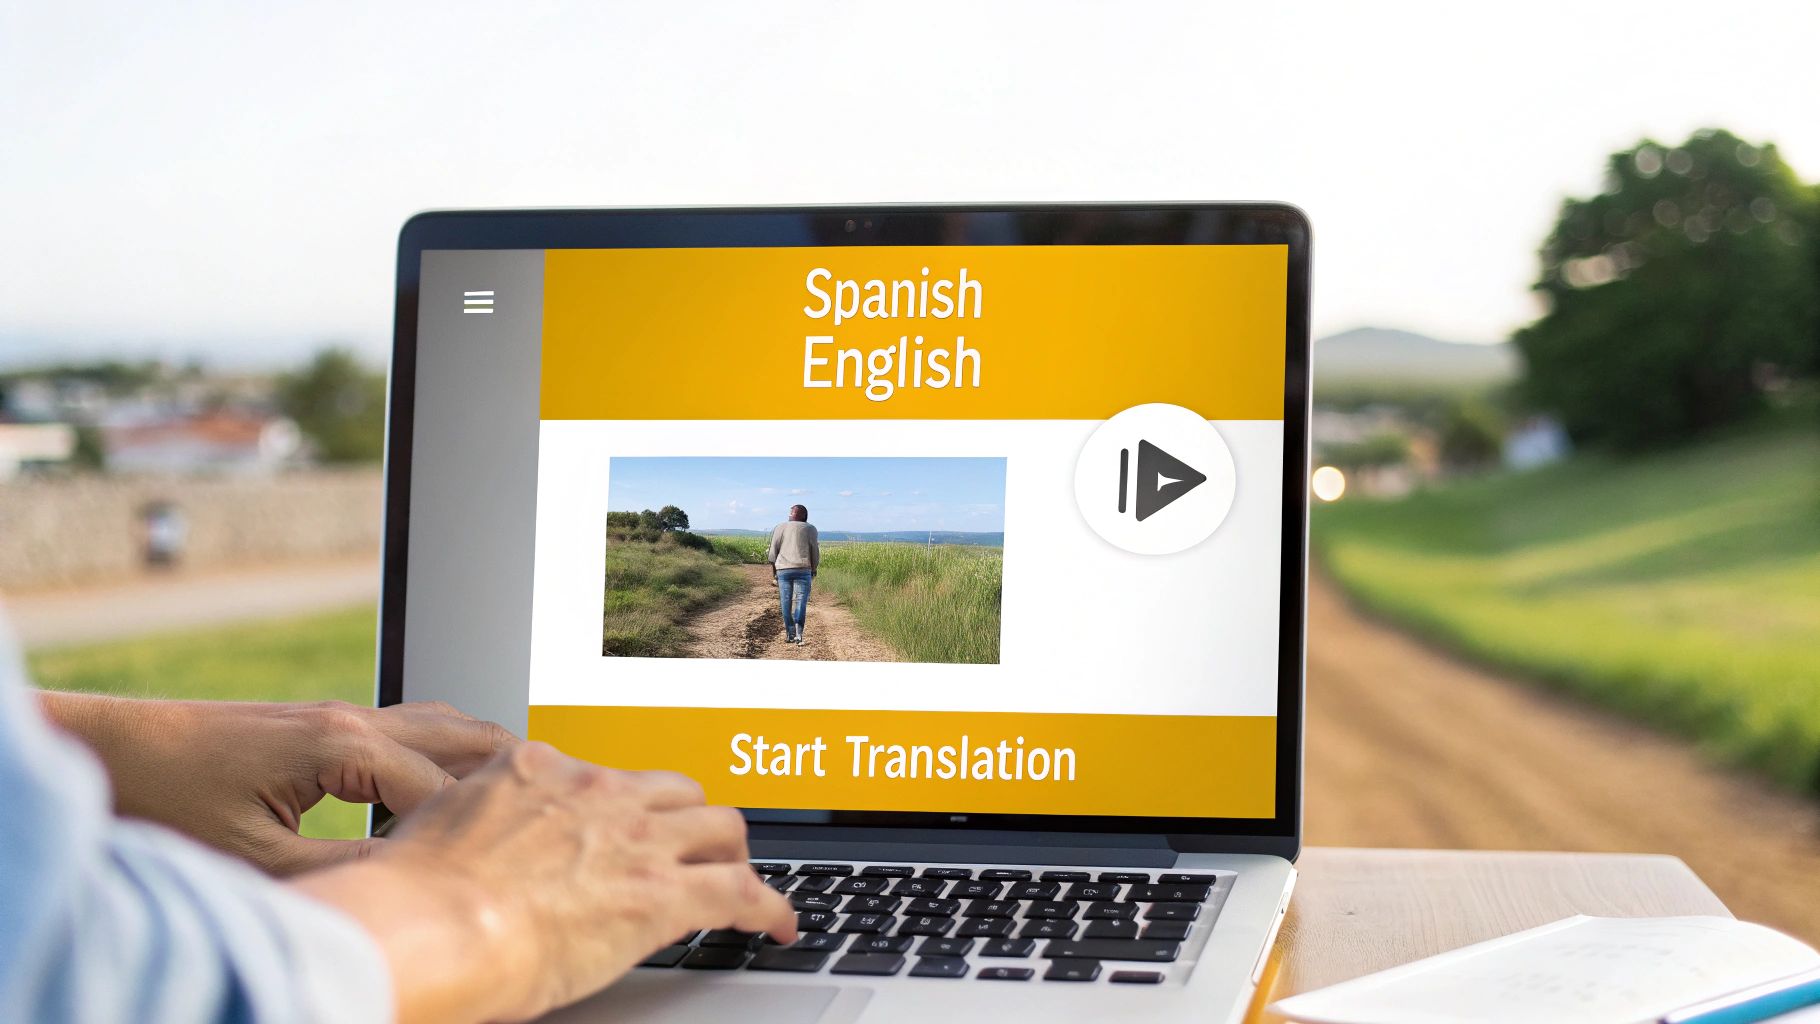
Alright, let's dive in. Kicking off a translation from Spanish to English with audio is all about getting your video into the right workspace. The good news is that modern tools are built to make this step super easy, so you can forget about clunky software installs or tedious file conversions.
With TranslateMom, the process starts at the New Task screen. You've got two main ways to bring media in. The first is the classic File Upload. You can just drag and drop your Spanish video right into your browser. It handles big files (up to 5GB), so don't sweat it if you're working with high-res footage. Pro tip: just hit the F key on your keyboard to pop open the file picker instantly.
The second route is even slicker: Link Import. This is a lifesaver for any content that's already living online. Instead of downloading a video just to re-upload it, you can paste the URL from platforms like YouTube, TikTok, or X (formerly Twitter). The app just grabs the video for you, which saves a ton of time and data.
Setting Up Your Project for Success
Once your video is in, you'll land on the setup screen. This is where you tell the AI exactly what you need it to do. Getting these details right from the get-go is the secret to a great result.
You'll see a few simple options:
- Source Language: You’ll want to pick Spanish here. This tells the system what language is being spoken in your video.
- Target Language: This is your destination, so choose English. It’s the language you want for your new subtitles or audio.
- Choose a Service: This is the big one. Your choice here determines the final output of your entire project.
Think carefully about what you want the final product to be. Are you adding subtitles for accessibility, or are you creating a completely dubbed version for a seamless viewing experience? Making this call now directs the entire AI workflow.
Understanding Your Service Options
You'll need to pick one of three core services. Each one does something different, so your choice really depends on what you're trying to accomplish.
Here’s a quick breakdown to help you decide:
Transcription: This option is for creating captions in the original language. So, if you set both the source and target to Spanish, you'll get a perfectly timed Spanish subtitle file. This is fantastic for making your original content accessible to Spanish-speaking viewers who might be deaf or hard of hearing.
Translation: This is your go-to for creating English subtitles from Spanish audio. The AI first transcribes the Spanish dialogue, then translates that text into English, and finally creates a new set of timed captions. It's perfect for things like social media clips, online courses, or interviews where people often watch without sound.
Dubbing: This is the most immersive option. It takes things a step further by generating a brand-new AI audio track in English. It goes through the same transcription and translation process, but then uses that English text to create a synthetic voiceover. If you want your content to feel like it was originally made for an English-speaking audience, this is the way to go.
Editing and Refining Your Translation
Once the AI has done its initial pass, your project lands in the "Studio." This is where the magic really happens—where you add the human touch that turns a good translation from Spanish to English with audio into a great one.
Think of the AI's first draft as a massive time-saver. It gets the bulk of the work done, but it's your expertise that will catch the nuances, fix cultural missteps, and polish the final product until it shines.
Inside TranslateMom's Studio, the layout is designed for speed. You’ve got a special video player in the centre, showing a live preview of how your subtitles and effects will appear. To the side is the scrolling subtitle editor, which is where you'll do most of your refining.
The Power of Dual View
One of the most powerful tools in your arsenal is the Split View in the subtitle editor. With one click, you can see the original Spanish transcription sitting right next to your new English translation.
This side-by-side view is crucial for catching the subtle mistakes that automated tools almost always miss. We're talking about idioms, regional slang, or cultural references that just don't have a direct, word-for-word equivalent.
Here’s how to get the most out of it:
- Check for Intent: Read the Spanish and English lines together. Is the tone the same? Does it feel the same? You're translating the meaning, not just the words.
- Hunt for Idioms: If the original Spanish says "estar en la luna" (literally "to be on the moon"), the AI might give you that exact translation. It's your job to step in and change it to the English equivalent, like "to be daydreaming" or "to have your head in the clouds."
- Edit Instantly: Just click on any English line to start typing. The video player automatically pauses, so you can focus on getting the text perfect without any distractions.
Nailing the Timing with the Audio Waveform
Getting the text right is only half the job. For a professional-grade result, the timing has to be perfect.
Below the subtitle editor, you'll see a visual audio waveform that maps out every spoken word. This is your secret weapon for syncing your subtitles or dubs with absolute precision. You can see the pauses, the breaths, and the exact moment a sentence begins.
By simply dragging the start and end points of a subtitle block on the waveform, you can line it up perfectly with the audio. This gets rid of those awkward delays or captions that appear too early, which instantly makes a translation feel clunky and unprofessional. A quick tip: use the Space bar to play and pause the video as you make these tiny adjustments.
A classic AI mistake is letting captions hang on screen during a long pause. Use the waveform to spot this "dead air." You can tighten your captions so they appear the instant the speaker starts and disappear the moment they stop.
The need for this kind of precision is huge. Take California's court system, for instance. Spanish-to-English interpretations are essential, and in 2020 alone, they performed roughly 665,415 of them—that's about 85% of all interpretations statewide. This shows just how much every millisecond of timing can matter in high-stakes situations.
As you work on the audio side, getting the vocal delivery to sound natural is key. For more in-depth advice, you can find some fantastic tips for Spanish speakers to achieve clear English pronunciation. And remember, if your original recording has some background hiss or noise, it's always a good idea to remove background noise from audio before you even start translating. A clean source file makes everything that follows much easier.
Polishing the Look and Feel of Your Video
You've nailed the translation, but making your video look professional is just as important. The way your subtitles appear on screen can be the difference between a polished final product and something that feels rushed. Customizing them is key to matching your brand, grabbing attention, and just making them easier to read.
This is where you shift from translator to creator. Using a tool like TranslateMom, you can jump into the Style tab in the Studio and really take control. It's more than just picking a font; you can tweak the font family, size, color, and even add an outline or shadow so your words stand out against any background.
Crafting Engaging Visuals
Here’s a simple trick I use all the time: adjust the background opacity of your captions. Adding a semi-transparent background makes sure the text is readable, whether it’s over a bright, blown-out sky or a dark, moody scene.
Once you’re happy with the look, pop over to the Brand tab. You can upload your own logo or watermark and place it anywhere on the screen. It’s a small touch, but it’s huge for reinforcing your brand and protecting your work.
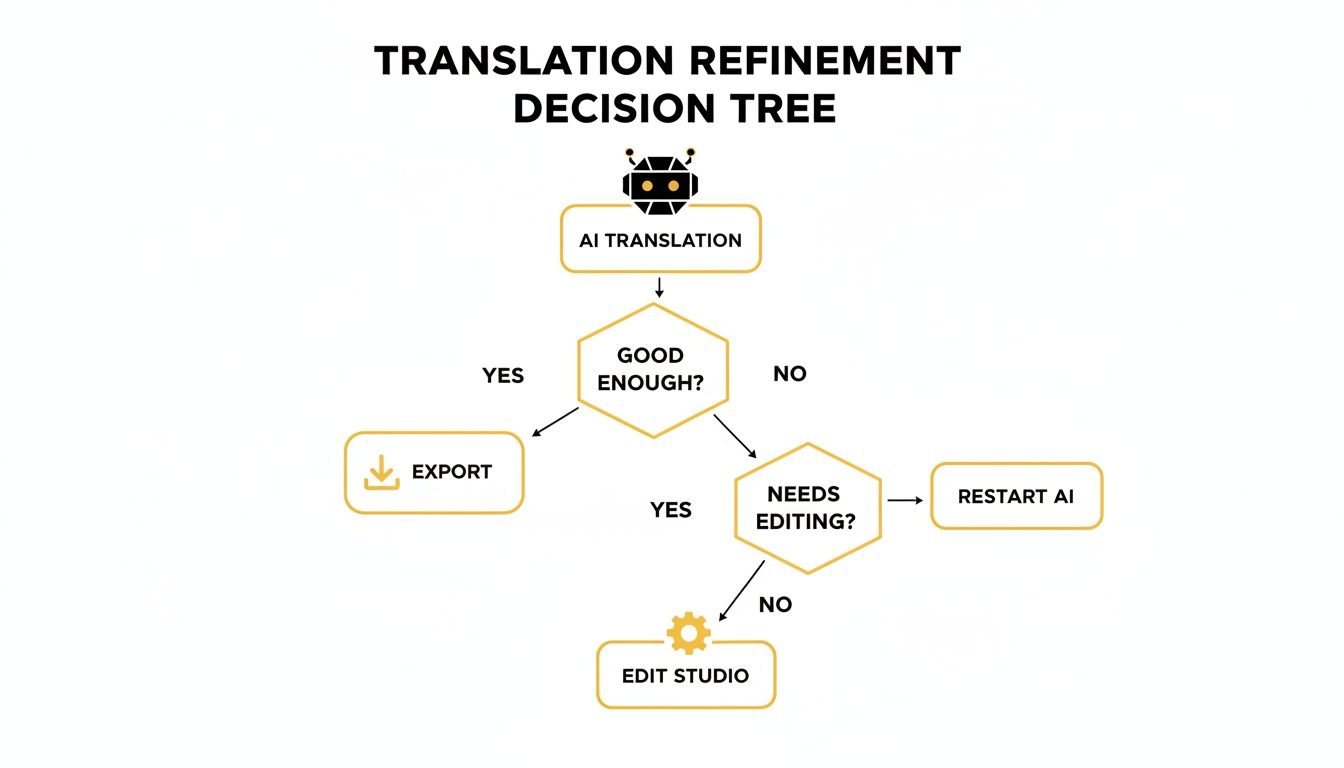
This whole refinement process is pretty straightforward. You either take the initial AI pass and export, or you jump into the editor to fine-tune everything yourself. You’re always in the driver’s seat.
Unleashing Dynamic Karaoke Captions
If your video is heading to social media, static subtitles often don't cut it anymore. You need something more dynamic to stop the scroll. That's where Karaoke style captions are a game-changer. They highlight words as they’re spoken, pulling the viewer's eye along and seriously boosting engagement.
Turning this on in TranslateMom is easy. In the Style tab, you can pick from a few animation presets. The app's smart sync tech handles the timing automatically, so the animation always matches the audio, even if you go back and edit the text. For a full rundown on the nuts and bolts of captioning, check out our guide on how to add subtitles to a video.
The karaoke effect isn't just a gimmick. It’s a proven way to keep people watching. By guiding their focus word-by-word, you make your content stickier and way more memorable.
Powering Language Learning with Dual Mode
For all the educators and language-focused creators out there, the Dual Language Mode is a fantastic tool. This feature stacks the original Spanish and the translated English captions right on top of each other in the video.
It instantly turns your content into a powerful language-learning resource. Viewers can see the sentence structures and vocabulary side-by-side, which is incredibly helpful for picking up a new language.
Getting Your Translated Video Out There
Okay, you've put in the work. You've tweaked the translation, styled your captions, and now your translation from Spanish to English with audio is ready for the world. The final step is exporting, and you've got two main ways to go about it.
Your choice really boils down to one question: are you posting this directly, or is it just one piece of a bigger editing project?
The "Burn-in" Option for a Ready-to-Go File
The most straightforward route is to Burn-in your subtitles. This literally bakes your styled captions and any branding right onto the video frames. TranslateMom will render a brand new MP4 file for you with everything locked in place.
This is my go-to method for videos heading straight to Instagram, TikTok, or LinkedIn. It's a lifesaver because it guarantees that every single person who watches will see the subtitles exactly as I designed them—custom fonts, karaoke effects, and all. No fussing with platform settings.
Downloading Subtitle Files for More Control
On the other hand, what if you're not done editing? Maybe you're working in a program like Adobe Premiere Pro or Final Cut and need more flexibility. In that case, you’ll want to Download Subtitles as a separate file.
This gives you an industry-standard SRT or VTT file. Think of it as the raw data—just the text and the timing. You can then import this file into your video editor as its own layer, giving you total control over how and when the captions appear.
Here’s a quick cheat sheet to help you decide:
- Choose Burn-in if: You need a single, polished video file that's ready to upload to social media right now.
- Choose Download Subtitles if: The video is going to another editor or you need to do more complex post-production work yourself.
It's a classic trade-off: permanence versus flexibility. Burning in gives you a consistent, foolproof result. Downloading an SRT file gives you the raw parts for more advanced editing.
Getting your video seen is the whole point, right? Once you've picked your export option, don't forget to give your video the best chance of being discovered. Using the best tags for YouTube helps the algorithm understand your content and show it to people searching for exactly what you've created. It’s the last piece of the puzzle in getting your translated work to a wider audience.
Common Questions About Spanish Audio Translation
When you start localizing your videos, a few questions pop up time and time again. I get it. You want to make sure you’re choosing the right approach for your translation spanish to english with audio project and get a professional result.
Let's break down some of the most common ones I hear from creators.
How Accurate Is AI Translation and Dubbing Anyway?
This is the big one. Modern AI translation for Spanish to English is surprisingly good at nailing the general meaning, but let's be real—it isn't flawless. It can trip up on cultural nuances, slang, or specific industry jargon that really needs a human eye to get just right.
That’s exactly why a tool like TranslateMom is so powerful. It gives you a full editing "Studio" where the AI's output is treated as a really solid first draft. From there, it's incredibly easy to polish the text until it's 100% accurate and sounds completely natural. The same goes for AI dubbing; the voice quality is fantastic, but having the ability to tweak the translated text underneath gives you total control over the final audio.
Can I Translate a Video Straight from a YouTube Link?
Yes, absolutely. Gone are the days of downloading a video, only to re-upload it somewhere else for translation. Modern tools are built to handle this workflow directly, which saves a ton of time and hassle.
With a tool like TranslateMom, you can forget about downloading altogether.
- Just head to the New Task screen.
- Choose the Link Import option.
- Paste in the URL from YouTube, TikTok, X (Twitter), or Instagram.
The platform fetches the video for you and takes you straight to the setup page where you can pick your languages and decide between a translation or a full dub. Simple.
What’s the Difference Between Burning In Subtitles and an SRT File?
This decision really boils down to permanence versus flexibility. Each format has a specific, important job.
"Burning in" subtitles means they become a permanent part of the video image, almost like a graphic. When you select Burn-in (Export Video) in TranslateMom, the app creates a brand new video file with your styled subtitles literally embedded into the picture. This is perfect for social media because it guarantees your captions will show up exactly as you designed them, no matter the device or platform.
An SRT file, on the other hand, is a simple text file that contains your subtitles and their timecodes. It's all about flexibility. This format lets viewers on platforms like YouTube turn captions on or off themselves, and it’s a must-have if you’re planning to bring your subtitles into professional editing software like Adobe Premiere Pro.
Here's an easy way to think about it: Burn-in is for a "what you see is what you get" final product, ready for immediate sharing. An SRT file is a component piece you can use for more advanced editing or to meet specific accessibility standards.
How Do I Sync My Audio and Subtitles Perfectly?
Getting the timing right is what separates an amateur video from a professional one. The best way to nail this is by using a visual audio waveform. Inside the TranslateMom Studio, you'll see the waveform right in the subtitle editor, showing you the exact peaks and valleys of the spoken words.
You can literally just drag the start and end points of any subtitle block to line them up perfectly with the audio. This lets you get down to millisecond-level precision, making sure your captions pop up the instant someone speaks and vanish the moment they finish. It creates that seamless, polished experience you’re looking for.
Ready to create perfectly translated and dubbed videos? TranslateMom gives you the professional-grade tools to subtitle, translate, and generate high-quality AI audio in minutes. Start your first project for free at https://www.translate.mom.