Your iPhone is already a surprisingly powerful voice-to-text machine, packed with a few different tools right out of the box. The quickest way to dive in is with the standard Dictation feature. You've probably seen it a million times—it's that little microphone icon on your keyboard. Tap it in almost any app, and you can start talking instead of typing. It’s perfect for firing off a quick text or jotting down a note without getting your thumbs involved.
Finding the Right Built-In Transcription Tool for the Job
Beyond that simple keyboard mic, Apple has baked in a few other native tools for different scenarios. Need a hands-free command while you're driving? Or maybe you want to transcribe a long voice memo from a meeting? There’s a built-in solution for that. Getting to know these options is the key to making your iPhone work a lot smarter for you.
You don’t need to hit the App Store or sign up for a subscription for most day-to-day tasks. These features are already there, waiting to be used.
Native iPhone Voice-to-Text Features at a Glance
To help you get a quick handle on what's what, I've put together a simple table comparing the main built-in options on your iPhone.
| Feature | Best For | How to Access | Hands-Free |
|---|---|---|---|
| Dictation | Short text entry (emails, messages, notes) where you can hold the phone. | Tap the microphone icon on the keyboard. | No |
| Siri | Hands-free commands, sending messages, setting reminders, or quick questions. | Say "Hey Siri" or press and hold the side/home button. | Yes |
| Voice Memos | Transcribing longer audio recordings like lectures, meetings, or interviews. | Record in the Voice Memos app, then use the transcribe feature. | No |
| Live Speech | Speaking aloud in person or on calls for those who have difficulty speaking. | Enable in Settings > Accessibility > Live Speech. | No |
This little cheat sheet should help you match the right tool to the task at hand, whether you're multitasking or just need to capture a thought quickly.
Deciding Which Tool to Use
So, how do you pick? It really comes down to what you’re trying to accomplish. If your hands are full and you need to send a message, that's a job for Siri. If you've just sat through an hour-long lecture and want a text version of your recording, the Voice Memos app is your best bet.
This flowchart breaks it down visually, guiding you to the right feature based on what you need to do at that moment.
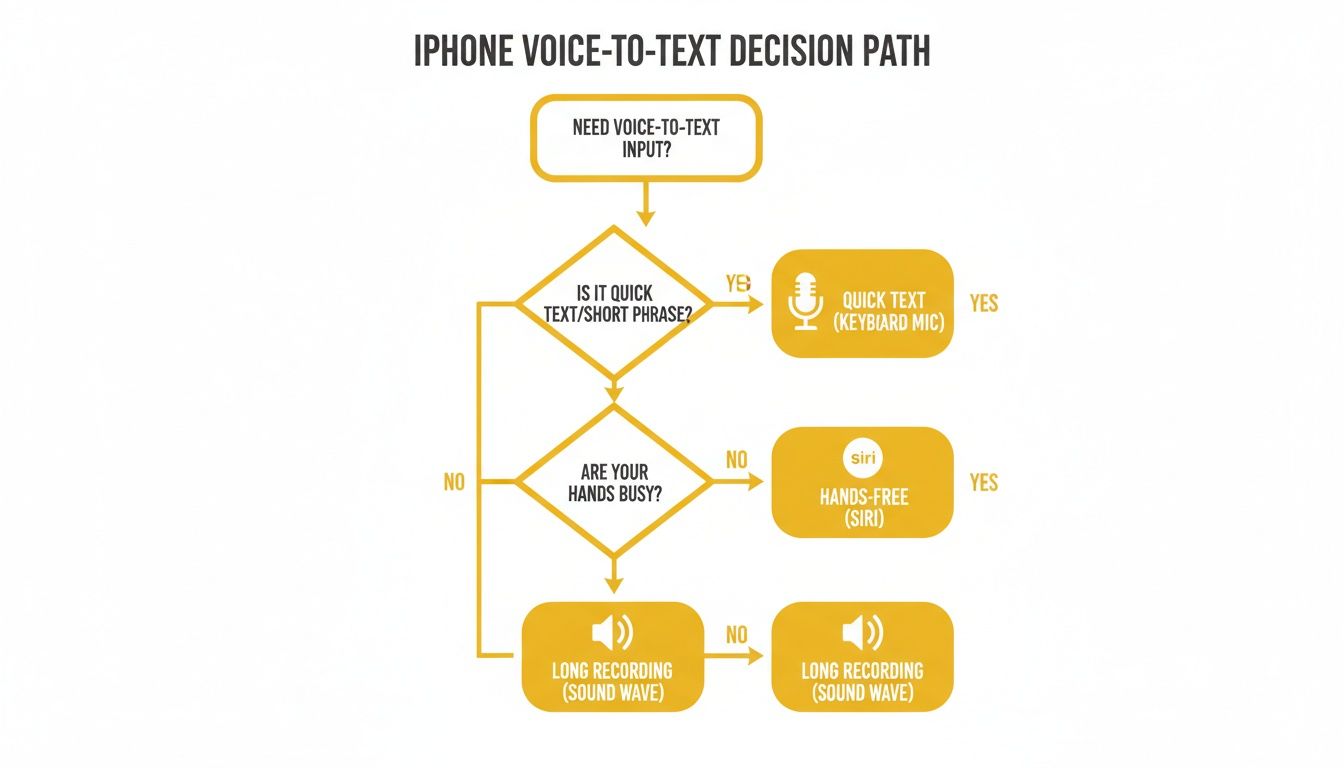
Think of it as a simple decision tree: need it quick and hands-free? Or are you capturing something longer? Just follow the path.
When to Go Beyond the Basics
These native tools are fantastic for everyday use, but sometimes you hit a wall. Let's say you’ve recorded a video interview on your iPhone and now you need perfectly timed, accurate subtitles for an Instagram Reel or a LinkedIn post. That’s where the built-in stuff starts to fall short.
For that next level of precision, a dedicated, browser-based tool like TranslateMom is the way to go. You can just drop in your video file or paste a link from YouTube or TikTok. Once you select the Transcription service, it opens a full "Studio" where you can see the audio waveform and edit every word to make sure your captions are flawless before you export them. It’s the perfect way to bridge the gap between casual dictation and creating professional-grade content.
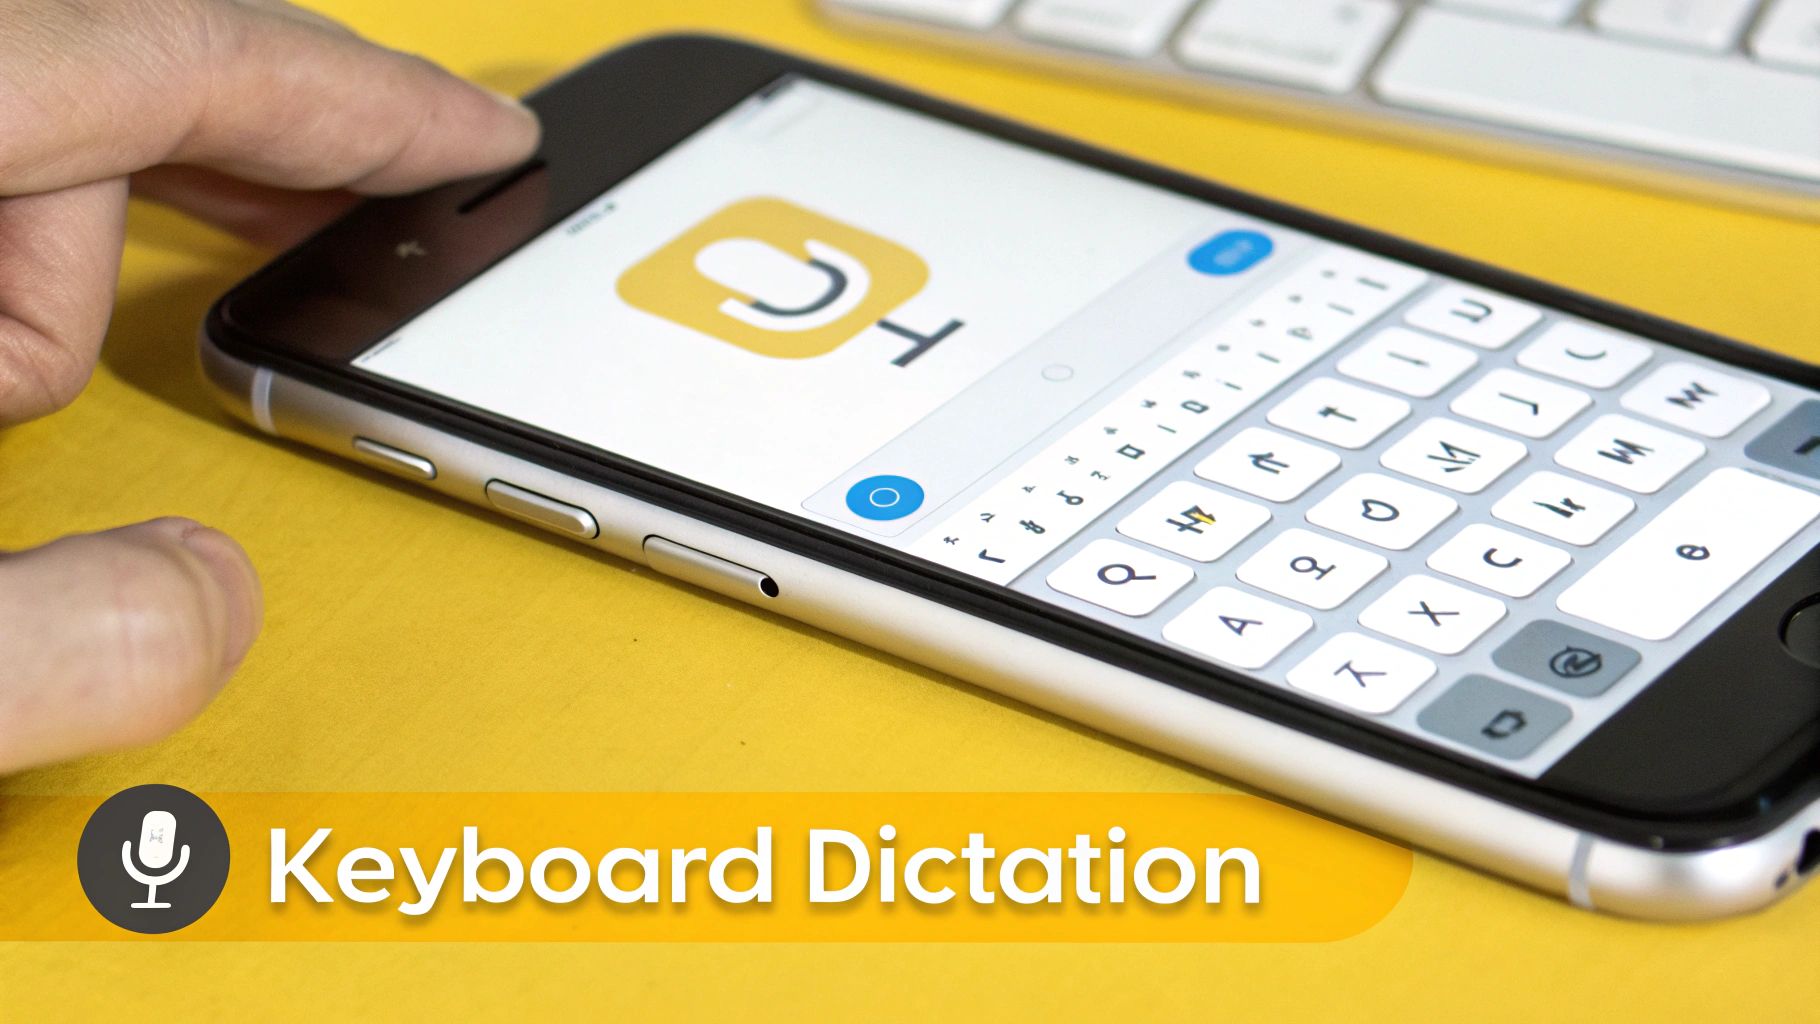
Mastering Keyboard Dictation in Your Daily Apps
The little microphone icon on your iPhone keyboard is probably the fastest way to get your thoughts into text, and it's a lifesaver for everyday stuff. I use it constantly in Messages, Mail, and Notes. It’s perfect for turning a quick thought into a written message without fumbling with the on-screen keys.
This feature, which Apple calls Keyboard Dictation, is all about speed and convenience. But its real magic kicks in when you stop thinking of it as just a transcriber and start using it like a voice-controlled text editor. You can actually speak your formatting, not just your words.
Speaking in Punctuation and Formatting
To really get the hang of this, you have to start thinking out loud. It feels a bit weird at first, but dictating your punctuation and formatting as you go quickly becomes second nature. And trust me, it’s a game-changer for your workflow.
Here are the commands I find myself using all the time:
- Punctuation: Just say "period," "comma," "question mark," or "exclamation mark" as you finish a thought.
- Line Breaks: Need to drop down a line? Just say "new line."
- Paragraphs: For a proper paragraph break with that clean double space, the command is "new paragraph."
- Special Characters: You can say things like "quote" and "end quote" to wrap text in quotation marks, or "colon" when you're about to make a list.
So, you could dictate a message that sounds like this: "Hey team comma new paragraph Just a heads-up that our meeting is at 10 AM tomorrow period Please come ready with your updates exclamation mark" Your iPhone will spit out a perfectly formatted message, all set to send.
Key Takeaway: The idea is to create a finished piece of text with just your voice. When you build the formatting commands right into your speech, you cut out all that time you’d normally spend going back to edit. It makes the whole process so much more efficient.
Tips for Unbeatable Accuracy
While Keyboard Dictation is surprisingly accurate out of the box, its performance really depends on how well it can hear you. A few small tweaks can make a huge difference.
First off, get your phone in the right spot. I’ve found that holding it about six inches from my mouth, with the bottom mic pointed at me, is the sweet spot. It picks up my voice clearly without getting all those distracting breath sounds.
Next, find a quiet space. Trying to dictate in a noisy cafe or with the TV blaring is a recipe for disaster. The transcription engine just gets confused. Ducking into a quieter room before you start will give you much cleaner text.
This shift to voice isn't just a gimmick, either. The global voice-to-text market on mobile devices ballooned to USD 7.4 billion in 2024, and a huge chunk of that is in North America. People are hooked on the convenience of hands-free control, and it's become a core part of how we use our phones every day.
By the way, as you get better with dictation, it's also a great idea to optimize your iPhone's auto-correction tools for the times you do type. Combining these two skills makes your iPhone an incredibly efficient communication hub.
Using Siri for Hands-Free Messaging and Notes
When you can't touch your phone, Siri is your best friend for getting thoughts from your head into text. Think of it as your go-to for true hands-free voice-to-text on your iPhone. It's a lifesaver when you're driving, in the middle of cooking, or just juggling too many things at once.
The whole thing is meant to feel like a conversation. Just start with the classic "Hey Siri" and tell it what you need. A simple "Hey Siri, text my partner I'm on my way" kicks off the process, turning your words into a message without you ever having to look at the screen.
Real-World Commands and Scenarios
Siri's real magic comes from how it fits into your everyday life. It's built to understand how people actually talk, so you can ditch the robotic commands and just speak naturally.
Here are just a few times it becomes absolutely indispensable:
- While Driving: "Hey Siri, send a text to Alex saying I'll be there in 10 minutes."
- Capturing Ideas: "Hey Siri, start a new note for project ideas and add 'research competitor branding' to it."
- Managing Your Inbox: "Hey Siri, send an email to the marketing team. Subject: Quick Update. Message: The campaign visuals have been approved."
One of the best parts is the back-and-forth. After you dictate something, Siri will read it back to you and ask if you're ready to send it. If you catch a mistake, you can just say, "Change it to..." or even "No, cancel," and start over. It's all done with your voice.
Pro Tip: Ever have a brilliant idea when your hands are full? Just say, "Hey Siri, remind me to draft the proposal tomorrow morning." It instantly creates a reminder, so that great thought doesn't just vanish.
Why Siri Is a Go-To for Hands-Free Use
What makes Siri so effective is that it's baked right into iOS. It isn't some separate app you have to open; it's a core part of the system that can tap into your contacts, calendar, and apps like Messages and Notes seamlessly.
This deep integration has led to massive adoption. With Siri on over 500 million electronic devices, it’s a dominant force in voice tech. Better yet, the stats show people are actually using it when it matters most. Among iPhone users who use the assistant, a whopping 62% report using it while driving, which really hammers home how vital this hands-free function has become. You can dig into more of these trends and discover additional voice search statistics if you're curious.
Ultimately, this integration makes everything feel natural and fluid, turning your iPhone into a powerful tool you can command from across the room.
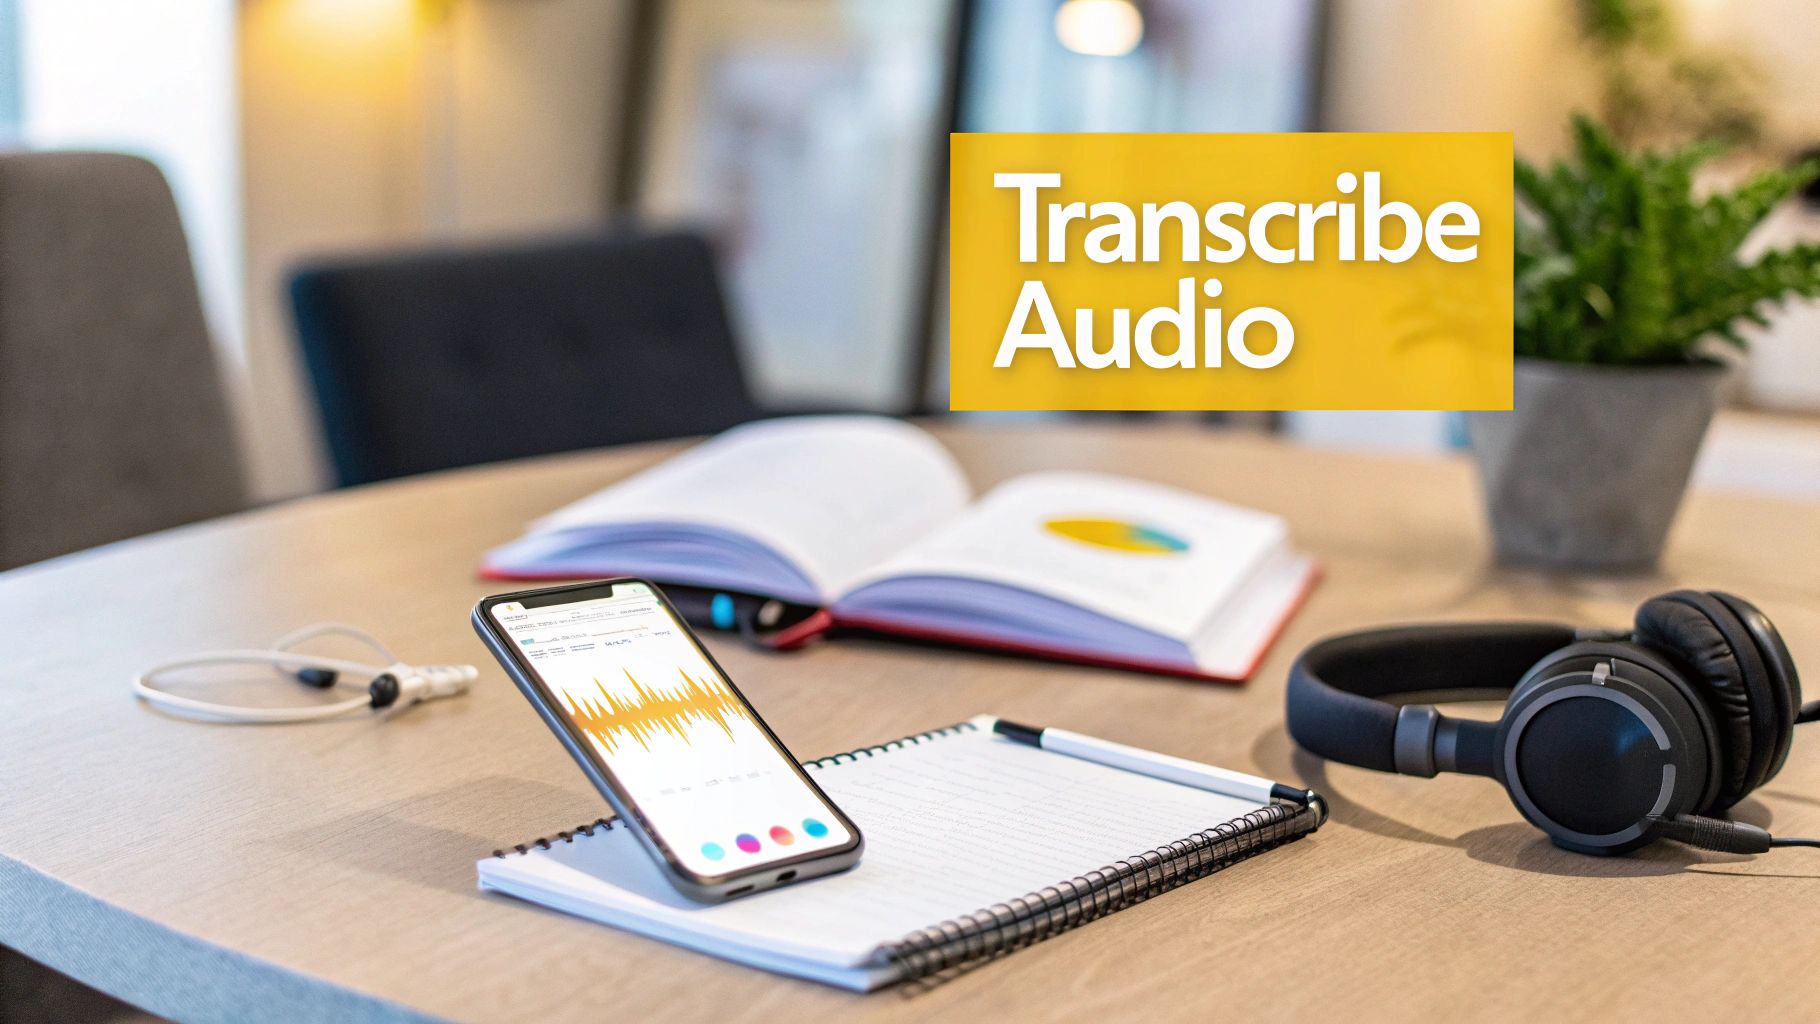
How to Transcribe Longer Audio Recordings
When you need to get more than just a few sentences down, keyboard dictation and Siri just won't cut it. They’re great for quick thoughts, but they aren't built to handle a 30-minute meeting or an hour-long lecture.
For those bigger jobs, your best friend is already on your iPhone: the Voice Memos app. It's a surprisingly powerful and high-quality audio recorder that’s perfect for capturing longer sessions.
The secret to a great transcription is always a clean recording. Before you hit that red button, take a moment to set yourself up for success. If you're in a big room, get your iPhone as close to the main speaker as you can. Seriously, even moving it a few feet can make a massive difference in cutting down echo and background noise.
The Voice Memos to Notes Workflow
Once your recording is done, you don't actually need a special app to get it transcribed. Your iPhone has a clever, built-in trick that uses the Notes app to do the heavy lifting. It's a surprisingly simple way to turn your audio file into editable text.
Here's how I do it:
- First, open Voice Memos, record your audio, and save it with a name you'll remember.
- Next, open that new recording, tap the "More" button (the three little dots), and select Share.
- In the menu that pops up, find and tap the Notes icon.
Your audio file will instantly appear in a new note. And here’s the magic part: the Notes app will often automatically generate a text transcription right underneath the audio player.
This is a fantastic way to get a first draft of meeting minutes, pull quotes from an interview, or just organize your own brainstormed ideas. It’s not flawless, but it gives you a solid starting point that you can clean up in a few minutes. If you want a deeper dive, our guide on how to record audio on your iPhone has more tips on getting the initial recording right.
Getting the Best Transcription Results
The accuracy you get from this voice to text on iPhone method really comes down to one thing: audio quality. Even small background noises, like an air conditioner humming or a distant conversation, can throw the transcription off.
A quiet environment is your best asset for accurate transcription. If possible, find a small room with soft furnishings like carpets or curtains to minimize echo. This simple step can make a world of difference in the final text output.
At the end of the day, this workflow is all about turning spoken words into something you can actually use. It’s a reliable process for anyone who needs to document conversations or turn scattered thoughts into a structured plan. Just remember, it all starts with the best possible audio recording.
Digging into Advanced and Accessibility Features
Beyond the everyday dictation tools, your iPhone hides some incredibly powerful settings that can completely change how you use voice-to-text. These aren't just for niche cases; they open up new ways to communicate and make your entire dictation experience smoother.
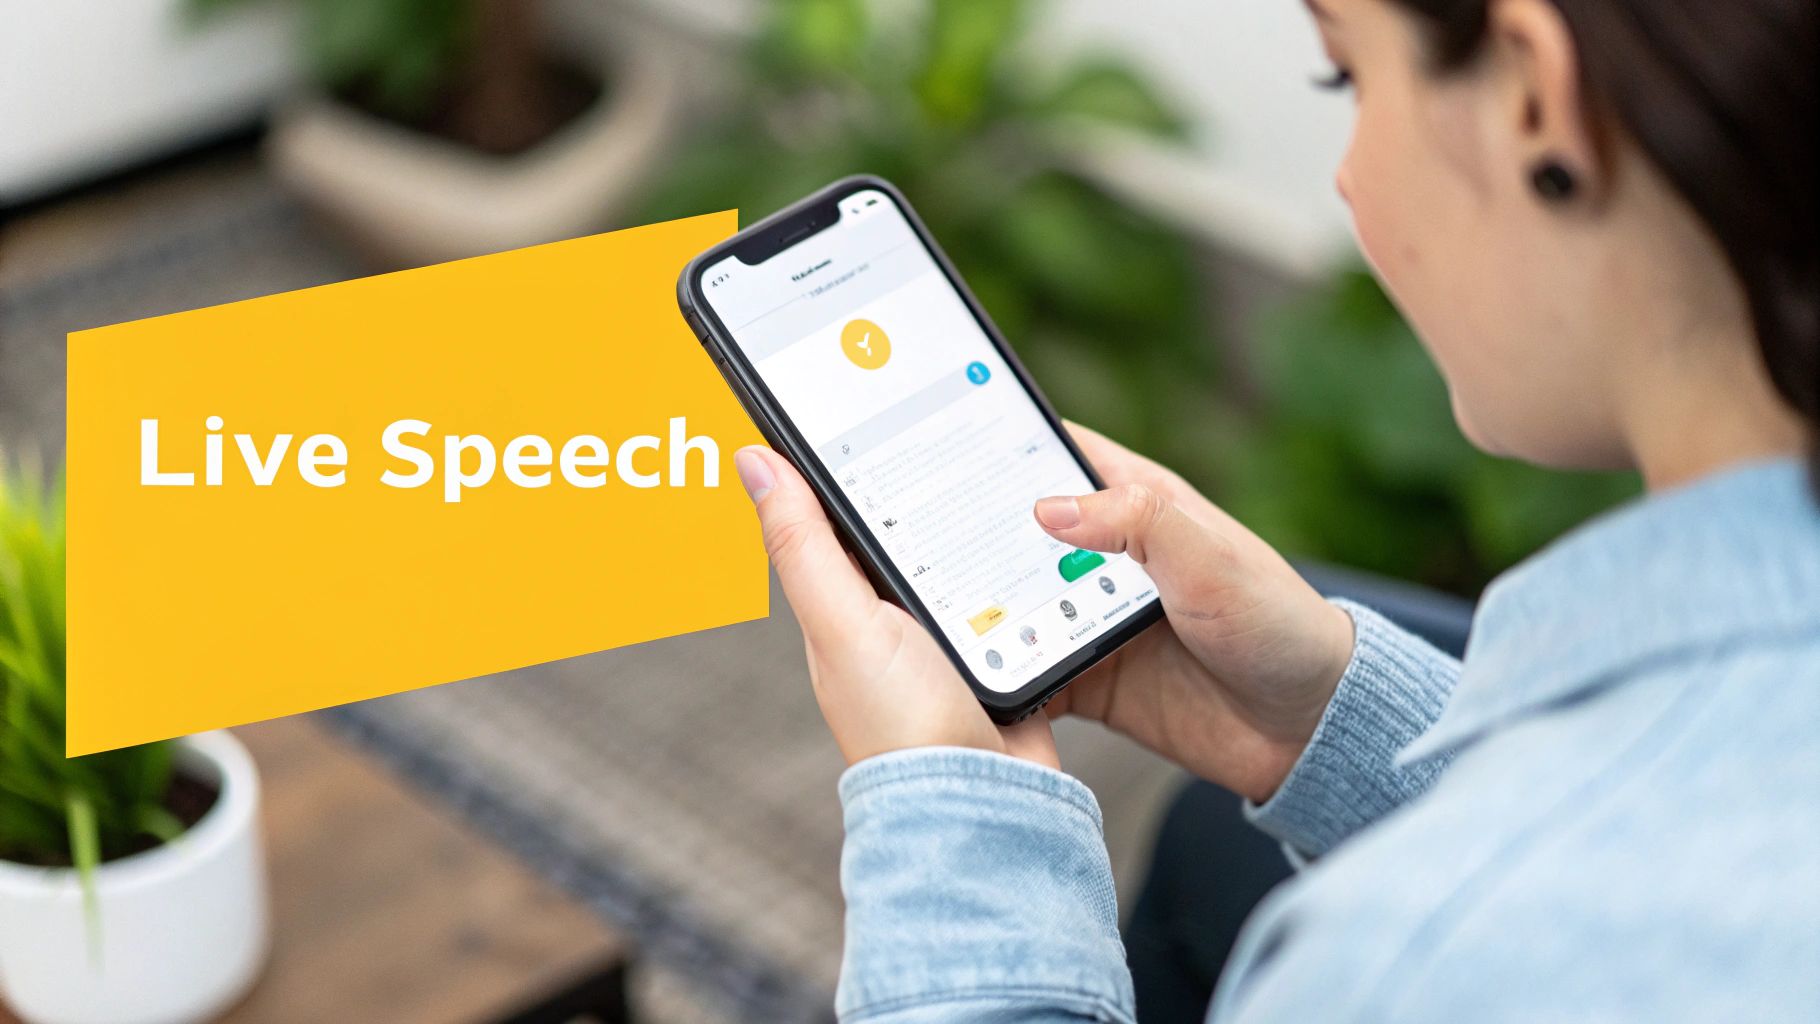
One of the most impressive is Live Speech. I've found this to be a game-changer for people who have difficulty speaking. It lets you type what you want to say, and your iPhone speaks it aloud in a surprisingly natural-sounding voice. It’s perfect for phone calls, FaceTime chats, or even talking to someone in person.
How to Get Live Speech Working
Getting this set up is actually pretty simple.
Head over to Settings > Accessibility > Live Speech and flip it on. From then on, a quick triple-click of the side button brings up a text box where you can start typing.
To make it even slicker, you can create a bank of go-to phrases.
- On the Live Speech settings page, tap Favourite Phrases.
- Add common things you'd say, like "Hello, can you hear me okay?" or "Just a second, I'm typing my response."
These phrases pop up as handy shortcuts, letting you get your point across with a single tap instead of typing it out every time.
Customizing Your Dictation Setup
A few small tweaks in your settings can make a huge difference in accuracy and ease of use. The first thing I always recommend is setting up your dictation languages. If you're bilingual, go to Settings > General > Keyboard > Dictation Languages and add any other languages you speak. This tells your iPhone which language to listen for, so you don't have to constantly switch keyboards.
Privacy is a big deal, and Apple handles it well. In your Keyboard settings, you can check out the 'About Dictation & Privacy' notice. For most languages, dictation is processed right on your device, meaning your voice data stays private and transcription is faster.
Finally, getting clean audio is key. A clear microphone input makes all the difference. While you can't always control your environment, it's worth learning a few tricks to remove background noise from audio. A little effort here can seriously boost your transcription accuracy. Taking a moment to explore these advanced options really helps you tailor your iPhone's voice features to fit exactly how you work.
Professional Transcription with Third-Party Apps
Let's be real: Apple's built-in tools are great for quick notes, but they can fall short when you need serious precision. If you're trying to transcribe a multi-person interview or make sense of audio with thick accents, you'll want to turn to a specialized app. This is where the App Store really shines, offering powerful tools built for high-stakes work where every word has to be perfect.
For anyone creating content, though, the job doesn't end with a block of text. This is where a browser-based tool like TranslateMom steps in. It’s more than just a transcriber; it’s a full "Studio" environment designed to handle both audio and video, turning your iPhone recordings into polished, professional content.
A Creator-Focused Workflow Example
Picture this: you've just wrapped up a video interview you recorded on your iPhone. Instead of fumbling around with separate text files and video editors, here’s how a professional tool can help you convert that voice to text on your iPhone and get it ready for an audience.
- Import Your Video: Open TranslateMom in your browser and upload your video file directly or just paste a link from platforms like YouTube or TikTok.
- Choose Your Service: Select the Transcription service to get same-language captions, or choose Translation if you need subtitles in another language.
- Fine-Tune in the Studio: This is where the magic happens. The editor lines up your captions with a visual audio waveform, letting you drag start and end points to nail the timing perfectly. You can even style the text with custom fonts, colors, and karaoke-style animations.
- Export Your Final Product: When you're done, you can either download the subtitles as an SRT file or "burn" them directly into the video, creating a new video file ready to post on social media.
This kind of workflow turns transcription from a chore into part of the creative process. If you’re looking for a professional-grade solution, it’s always a good idea to see what’s out there—checking out something like a Descript vs Tubentum comparison can help you figure out what fits your needs best.
Key Insight: Professional tools aren't just about getting more accurate text; they're about a smarter workflow. Being able to visually edit captions against the audio and export a finished video in one place is a massive time-saver for creators.
If you want to dig deeper into what separates the good from the great, take a look at our guide on finding the best transcription tool in 2025. The key is always to match the tool's features to what your project actually demands.
Got Questions? I've Got Answers
Still have a few things you're wondering about? Let's clear up some of the most common questions people ask about iPhone voice-to-text.
How Can I Get My iPhone to Transcribe More Accurately?
This is the big one. To really dial in the accuracy, there are a few simple tricks that make a world of difference.
First, a stable internet connection helps a lot, since some of the heavy lifting happens on Apple's servers. But the single most important thing you can do? Find a quiet place. Seriously. Background noise is the number one enemy of clean transcription.
Also, try to speak clearly and at a natural pace—don't rush, but don't talk artificially slow, either. Make sure the microphone is reasonably close to your mouth. And don't forget to actually say your punctuation out loud, like "comma" or "exclamation mark," so your text formats correctly on the fly.
Can I Dictate Text on My iPhone When I’m Offline?
Yes, you can! On most modern iPhones, Apple includes on-device dictation for a bunch of languages, including English. This is a game-changer.
It processes everything right on your phone, so it’s often faster and always more private because nothing gets sent over the internet. You can check if it's ready to go under Settings > General > Keyboard. If your language supports it, it'll just work automatically anytime you don't have a signal.
What Happens to My Voice Data? Is It Private?
Apple takes privacy pretty seriously here. When you're using the on-device dictation I just mentioned, none of your voice data ever leaves your phone. Period.
For some specific things that need to connect to the cloud (like certain Siri requests), the data is sent to Apple, but it's tied to a random identifier, not your personal Apple ID. So, your dictation isn't being linked back to you personally.
When built-in tools just don't cut it for professional video work, you need something with more precision. TranslateMom is designed for just that. It's a browser-based studio where you can upload your video, use a visual audio waveform to fine-tune every millisecond of your subtitles, and export a perfectly captioned video ready for social media. Ready to make your video content truly professional? Check out https://www.translate.mom.
