To convert an M4A file to WAV, you have a few solid options. For a one-off file, an online converter gets the job done quickly. But for more control over the final quality, I always recommend desktop software like Audacity or VLC. The basic idea is simple: you load your M4A, pick WAV as the output, and hit convert. What you get is a pristine, uncompressed audio file ready for serious editing work.
Why Pro Projects Demand WAV Over M4A
Before we get into the "how," let's talk about the "why." M4A files are fantastic for saving space on your phone. Their compression is smart and efficient, but that efficiency comes at a cost when you get into professional audio.
The crucial difference is all about data. M4A is a lossy format, while WAV is lossless.
Think of it like this: an M4A is a high-quality photocopy of an original document. It looks great, but some microscopic details are gone forever. A WAV file is the original document, a perfect, bit-for-bit replica of the recording. Every tiny detail, every subtle nuance is preserved.
M4A vs WAV At a Glance
Here’s a quick table to break down the key differences between the two formats, helping you see why one is built for convenience and the other for quality.
| Feature | M4A (AAC) | WAV (PCM) |
|---|---|---|
| Compression | Lossy (data is discarded) | Lossless (all original data is preserved) |
| File Size | Smaller, ideal for storage & streaming | Much larger, requires more storage space |
| Quality | Very good for listening, but not for editing | Archival, professional studio quality |
| Best For | Casual listening, music on mobile devices | Pro audio/video editing, mastering, archiving |
| Editing | Not recommended; quality degrades with each save | Ideal; no quality loss during editing |
Ultimately, choosing between them comes down to your goal. If you're just listening, M4A is perfectly fine. But if you're creating, editing, or archiving, WAV is the only way to go.
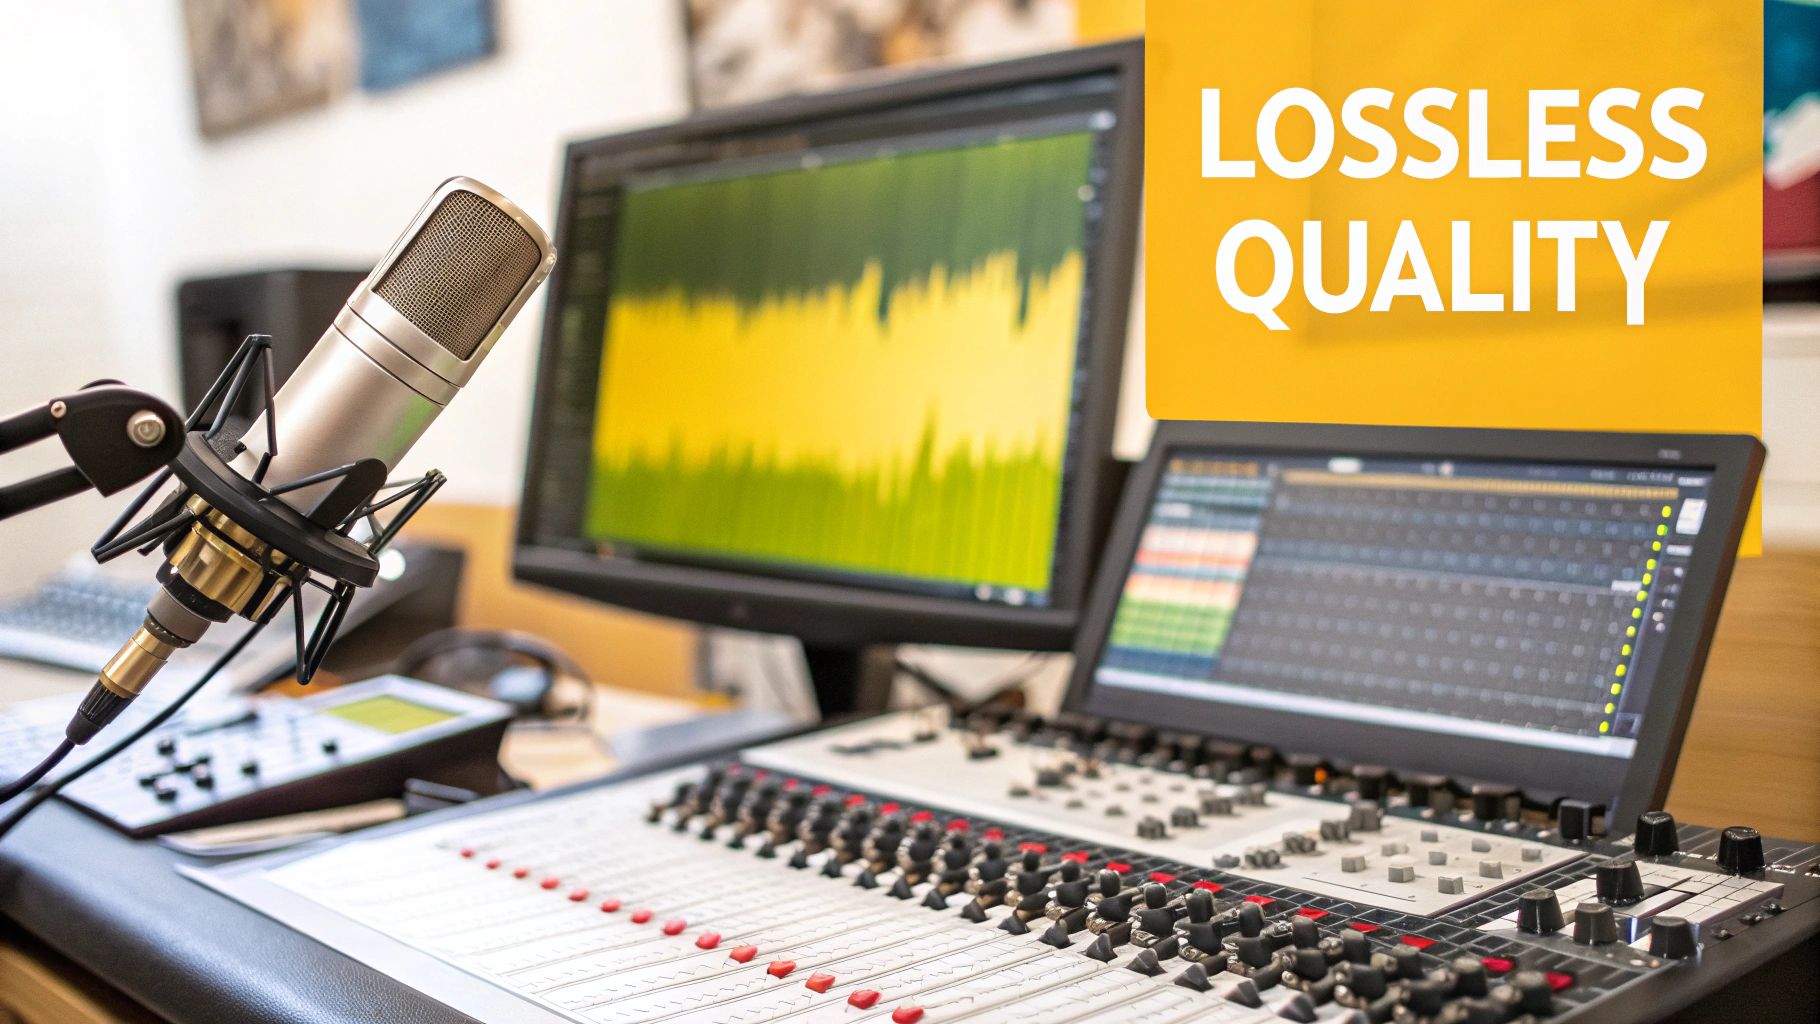
When Quality Is Non-Negotiable
This distinction becomes critical in high-stakes scenarios. Imagine you're preparing audio for a video project where timing is everything. For professional tools like TranslateMom, a WAV file isn't just a suggestion; it's the foundation for precision work.
Its uncompressed nature guarantees that when you generate subtitles or AI-powered dubbing, everything lines up perfectly with the original sound wave. There are no weird compression artifacts to throw things off. When you're in the TranslateMom Studio editor, a visual audio waveform lets you drag start/end points to match speech patterns perfectly. A clean WAV source makes this process far more accurate.
This need for fidelity pops up everywhere in creative fields:
- Music Production: When you're layering multiple tracks, starting with compressed files can introduce subtle flaws that compound and muddy the final mix.
- Podcasting: Pro podcasters edit their audio heavily. A clean WAV file is essential for effective noise reduction, equalization, and mastering without degrading the sound.
- Audio Archiving: For preserving important recordings—interviews, historical audio, master tracks—WAV is the archival standard. It ensures zero quality is lost over time.
The Professional Standard
The lossless nature of the WAV format makes it the undisputed industry benchmark for any task involving audio editing. In California's fast-paced tech and media scene, the need to convert M4A file to WAV has exploded with the growth of content platforms. Creators on YouTube, TikTok, and podcasts know that starting with a high-quality WAV is the first step before tackling complex jobs like adding subtitles or dubbing into other languages.
WAV files give you the raw, unadulterated material needed for precision work. By keeping every last detail, you gain maximum flexibility to edit, enhance, and repurpose your audio without ever sacrificing its integrity. This is the bedrock of professional sound.
On a practical note, a higher-quality source file makes everything downstream easier. For instance, it helps you transcribe MP3 to text efficiently, and the same logic applies to M4A. A clean WAV will almost always yield a more accurate transcription.
And if you’re starting your audio journey right from your phone, check out our guide on professional audio recording with an iPhone to make sure you capture the best possible sound from the get-go.
Using Online Converters for a Quick Fix
Sometimes, you just need to get the job done fast. You don't want to download software or fuss with complex settings. For those moments, an online converter is your best friend.
These web-based tools are built for one thing: speed. The whole process is incredibly simple. You find a site, drag your M4A file into the browser, pick WAV as the output, and click a button. A few moments later, you get a link to download your freshly converted file. For a one-off conversion, it doesn't get much easier than that.
But, as with most things that seem too easy, there’s a catch. That convenience comes with some serious trade-offs you need to think about before you upload anything.
The Trade-Offs: Privacy and Limits
Let's talk about the big one first: privacy. When you upload a file to a random website, you're essentially handing your data over to a third party. If that audio contains a confidential business meeting, a sensitive interview, or any private information, using a free online tool is a risky move. Always take a moment to skim the site’s privacy policy to see what they do with your files and how long they keep them.
The other major headache is file size limits. Most free converters draw the line somewhere, often capping uploads at 100 MB or maybe 1 GB if you're lucky. That's fine for a short voice memo, but if you're working with a full podcast episode or a long lecture, you'll hit that ceiling pretty quickly.
For a browser-based tool like TranslateMom, you'll want to avoid these limits. It supports direct file uploads up to 5GB and lets you import directly from YouTube, TikTok, or Instagram URLs, which is a much more secure and efficient way to start a professional transcription or dubbing task.
Making a Smart Choice
Despite the downsides, online converters definitely have their place. They're perfect for non-sensitive audio clips that are small enough to fit within the upload limits.
If you decide to go this route, here are a few tips to make the experience a bit safer and more effective:
- Look for Extra Options: Some of the better online tools let you tweak settings like the sample rate or bit depth. If you can, match these to your original M4A file to keep the quality as high as possible.
- Check for HTTPS: Make sure the website address starts with
https://. That little "s" means your connection is encrypted, which protects your file during the upload process. - Delete Your File After: Some services give you the option to manually delete your file from their server once you've downloaded the WAV. It's a small step, but it's one worth taking.
Ultimately, online converters are a balancing act between convenience and control. For a quick, non-critical task, they’re a fantastic resource. But if you’re dealing with professional work, confidential audio, or very large files, a proper desktop app is always the safer bet.
Converting with Audacity for Maximum Control
When you need absolute control and the highest possible audio quality, those quick online converters just won't do. For any serious audio work, Audacity is the tool I always come back to. It’s free, open-source, and gives you complete, granular control over every tiny detail of your file. This makes it the perfect choice to convert M4A to WAV for professional projects.
Unlike a simple drag-and-drop tool, Audacity lets you actually see, edit, and polish your audio before you export it. This is a non-negotiable step for podcasters, musicians, and video creators who need their audio to be perfect. For instance, if you plan to download subtitle files (like SRT or VTT) from TranslateMom to use in other software, starting with a pristine WAV file made in Audacity ensures your final audio and text tracks sync perfectly.
Getting Your M4A Ready for Export
Working in Audacity is about more than just a quick conversion; it's about safeguarding your audio's integrity from start to finish.
First, pull your M4A file into the program by going to File > Import > Audio. Once it’s loaded, you’ll see the audio’s waveform laid out in front of you. Before you do anything else, take a quick look at the Project Rate.
- Project Rate (Hz): You’ll find this in the bottom-left corner of the window. It sets the sample rate for your final WAV file. As a rule of thumb, 44100 Hz is the standard for music, while 48000 Hz is what professionals use for video projects.
- A Quick Clean-up: Now is the perfect time to make small improvements. You can easily trim any dead air from the start or end of the track or even apply a subtle noise reduction. If your audio has some distracting background hiss, you can learn more about how to remove background noise from your audio to get the cleanest possible file.
Here's the real advantage of using a dedicated editor like Audacity over a simple converter: you can visually inspect and clean your audio. This ensures the file you export is the best possible version of your source material.
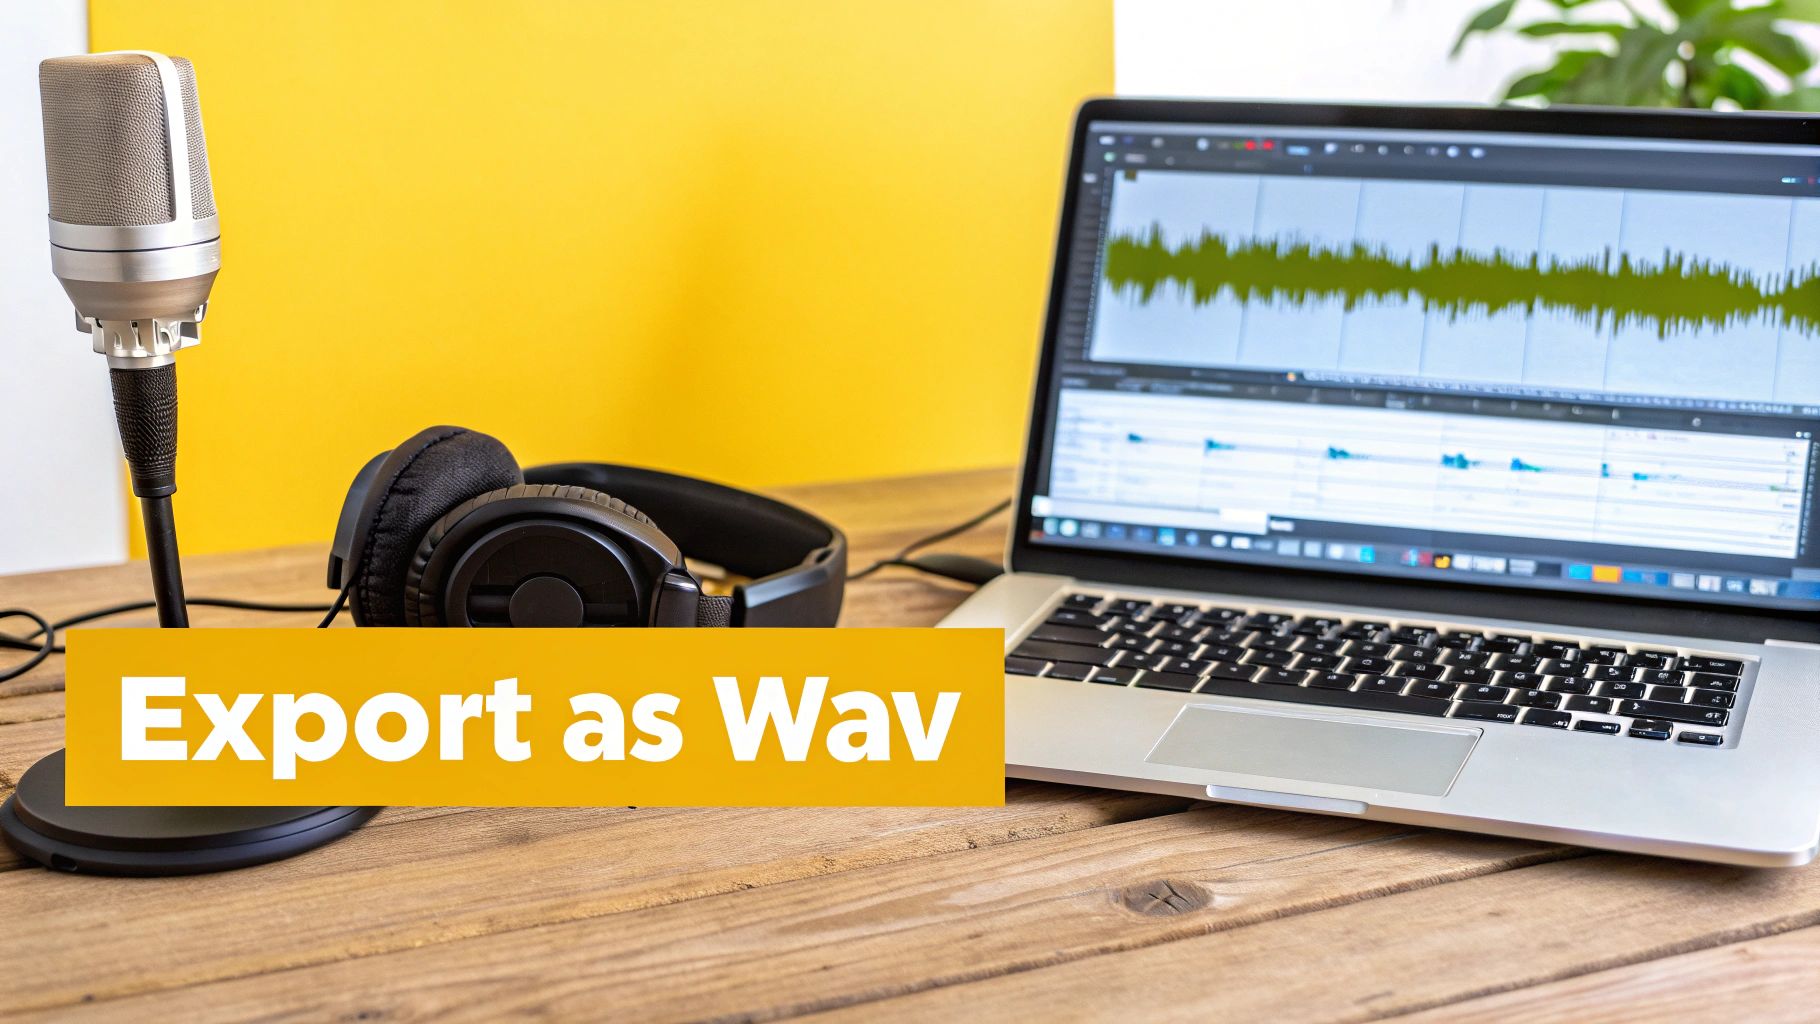
Exporting to a Professional WAV Standard
Once you’re happy with how the audio looks and sounds, you're ready to export. This is where you get the final layer of control.
Head to File > Export > Export as WAV. A dialogue box will pop up, giving you a few more crucial options to fine-tune the output. For anyone in audio production, knowing how to handle different formats is essential, and it’s why Audacity is often listed among the best editing software for podcasts.
Your most important choices are under the "Encoding" dropdown:
- 16-bit PCM: This is your standard for CD-quality audio. It strikes a great balance between high quality and manageable file size.
- 24-bit PCM: This option gives you a much wider dynamic range, making it the go-to for professional audio editing, mixing, and mastering.
- 32-bit float PCM: This offers the absolute most headroom for complex editing without any risk of digital clipping, but be warned—the files get quite large.
For most professional uses, exporting as a 24-bit PCM WAV is the sweet spot. It holds onto the maximum amount of audio detail, giving you a robust, high-fidelity file that’s ready for any professional workflow. Taking this extra step guarantees your audio is primed for quality-dependent tasks, from music production to precise video localization.
Using VLC Media Player for Simple Desktop Conversions
You probably already have one of the most versatile audio converters on your computer and don’t even know it. That familiar orange and white traffic cone—the icon for VLC Media Player—isn't just for watching videos. It’s hiding a surprisingly powerful and reliable conversion tool.
For a lot of people, VLC hits the sweet spot. It gives you the privacy and stability of a desktop app without the intimidating interface of a full-blown audio editor like Audacity. If you just need to convert an m4a file to wav without uploading your files somewhere, VLC is a fantastic choice.
This screenshot shows the main interface of the highly popular VLC Media Player, recognized by its distinctive traffic cone logo.
The clean interface is a big part of its charm, but don't let that fool you. Its hidden features, like the conversion tool, make it a powerhouse for more than just playback.
Finding the Conversion Tool
VLC’s conversion feature is a bit tucked away, but it’s simple to get to once you know where to look. The whole process is quick and gives you just enough control to make sure you get a high-quality WAV file at the end.
First, fire up VLC and look at the top menu bar.
- Go to
Fileand then click onConvert / Stream. - This pops up a new window where the magic happens.
- You can drag your M4A file right into this window or click the "Open media..." button to find it on your computer.
Setting Up Your WAV Export
With your M4A file loaded, the next step is to tell VLC what you want it to do. This part is key to making sure you end up with a true, uncompressed WAV.
Look for the "Choose Profile" section and click the dropdown menu. You’ll want to select Audio - CD. This is a preset that’s already configured for high-quality, lossless audio—exactly what we need for a proper WAV file.
Pro Tip: I always recommend double-checking the codec settings to be absolutely sure. After you pick the "Audio - CD" profile, click the little
Customizebutton next to it. Head over to the "Audio codec" tab and just confirm that the Codec is set to WAV. This guarantees you're exporting a pure, uncompressed file and not just sticking a compressed format inside a WAV wrapper.
Once you’ve confirmed the settings, just choose where to save the file.
- Click
Save as File, thenBrowseto pick a location. - Make sure to name your new file with a
.wavextension. - Hit
Save.
VLC will process the file in just a few seconds. You'll be left with a high-fidelity WAV file, ready for any professional use—from audio editing to prepping it for a tool like TranslateMom.
Automating Bulk Conversions with FFmpeg
When you’re staring down a folder packed with dozens, or even hundreds, of M4A files, converting them one by one is a non-starter. It’s not just slow; it’s a surefire way to kill your productivity. For developers, podcasters, and anyone who values their time, automation is the only real answer.
This is where FFmpeg steps in. It's the powerful, open-source command-line tool that secretly runs behind many of the audio and video apps you already use. By tapping into it directly, you get full control over your entire conversion workflow.
The Basic Command for a Single File
At its core, converting a single file is surprisingly simple. Once you have FFmpeg installed, just open up your terminal (on Mac/Linux) or Command Prompt (on Windows).
A basic conversion command looks like this:
ffmpeg -i input.m4a output.wav
That's it. The -i flag just points to your input file. FFmpeg is smart enough to figure out the rest, creating a high-quality, uncompressed WAV file from your M4A source. No fuss.
Scaling Up with a Simple Script
But the real magic happens when you need to process a whole directory. Manually typing that command for every file defeats the purpose. A simple loop script is all you need to automate the entire batch.
If you're on a Mac or Linux machine, this one-liner will do the trick:
for f in *.m4a; do ffmpeg -i "$f" "${f%.m4a}.wav"; done
This command finds every file ending in .m4a, converts it, and saves a new WAV file with the same name. It’s an incredibly efficient way to handle large volumes of files and is exactly why FFmpeg is the go-to for server-side audio processing.
This flowchart can help you decide which path makes the most sense for your needs, from a quick one-off conversion to a massive batch job.
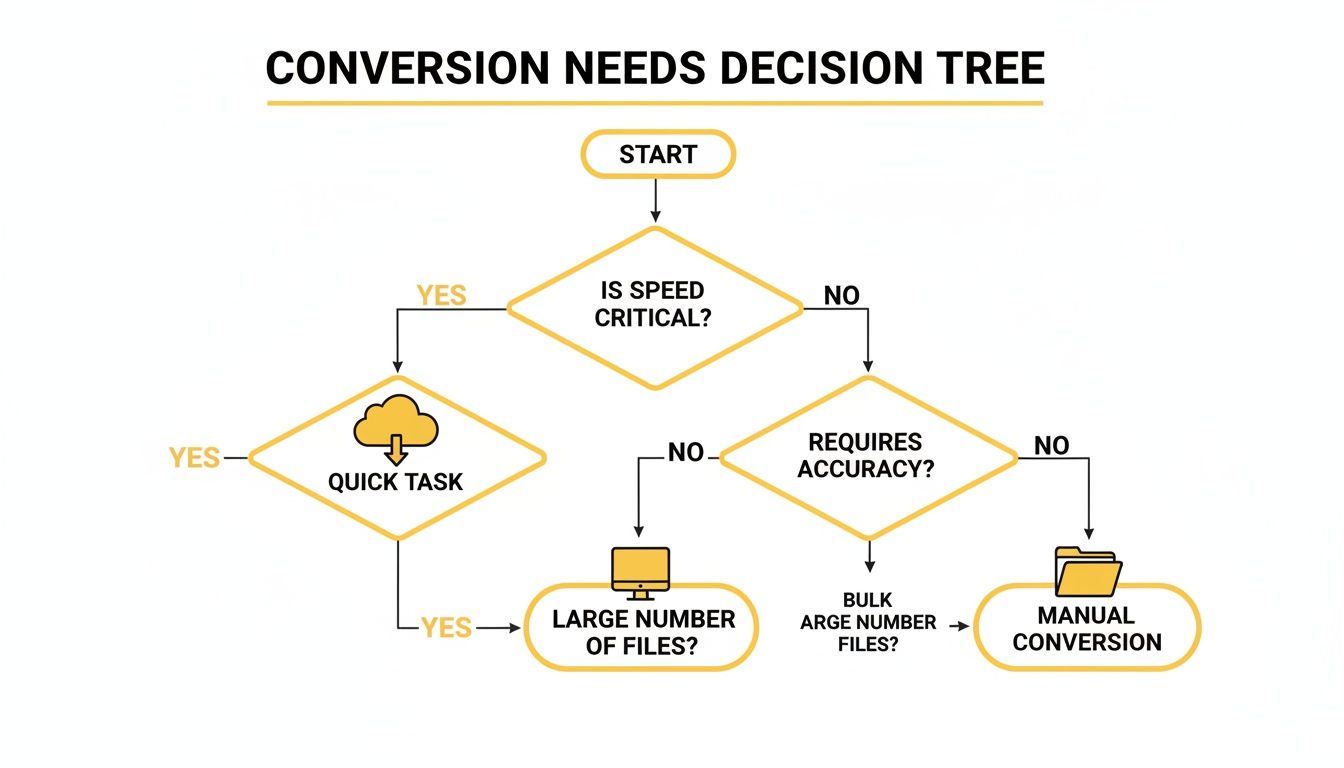
As the chart shows, when you're dealing with a high volume of files, an automated command-line tool like FFmpeg is easily the most efficient choice.
Adding Precision with Advanced Commands
Sometimes, "good enough" isn't. You need specific settings for professional work. FFmpeg gives you granular control over every detail of the output file, from the audio codec to the sample rate and bit depth.
For instance, say you need to create a 24-bit WAV file with a 48 kHz sample rate. Here's the command:
ffmpeg -i input.m4a -c:a pcm_s24le -ar 48000 output.wav
Let's break that down:
-c:a pcm_s24lesets the audio codec to 24-bit PCM (a standard for high-quality audio).-ar 48000sets the audio sample rate to 48000 Hz.
This level of precision is essential when preparing audio for professional applications. For a service like TranslateMom, providing a high-quality WAV input ensures the AI-powered dubbing and transcription services have the cleanest possible audio to work with. Once inside the Studio, you can fine-tune every millisecond of the resulting subtitles. Better input means much more accurate results.
FFmpeg is the undisputed champion for automated workflows. Its ability to be scripted lets you build reliable, hands-off pipelines for preparing huge batches of audio, saving countless hours of mind-numbing manual work.
Ultimately, taking a few minutes to learn a couple of basic FFmpeg commands can completely change how you handle audio files, turning a tedious chore into a swift, automated process.
Verifying Your Final WAV File
After you’ve gone through the trouble of converting an M4A file to WAV, it’s easy to call it a day. But hold on—there’s one last check that can save you a world of frustration down the road. This quick verification step ensures your new file is what it claims to be: genuinely uncompressed and ready for professional use.
This is a detail a lot of guides skip, but it's crucial. A quick look under the hood confirms the file you’re about to drop into a podcast mix or upload to a platform like TranslateMom has the right technical specs. When you start a "New Task" in TranslateMom, whether it's for transcription, translation, or dubbing, the quality of your source audio is everything. Garbage in, garbage out, as they say.
Quick Inspection Using File Properties
The easiest way to check your new WAV file doesn't require any fancy software. Your computer’s built-in file info tool has everything you need for a first pass.
- On Windows: Just right-click the WAV file, hit "Properties," and navigate to the "Details" tab.
- On macOS: It's a simple right-click (or Control-click) on the file and then "Get Info."
You’re looking for the audio details, specifically the bit rate. For a standard, uncompressed 16-bit, 44.1 kHz WAV file, this number should be exactly 1411 kbps. If you see something way lower, like 128 kbps or 256 kbps, that’s a red flag. It means the file is probably still compressed, despite the .wav extension.
Deeper Analysis with Audacity or MediaInfo
If you want to be absolutely certain, a couple of free tools can give you a more detailed look. My go-to visual check is to simply drag the new WAV file back into Audacity. The waveform should look full and dynamic. If it appears thin, blocky, or has flat tops (clipping), something went wrong in the conversion process.
For an even more technical breakdown, I highly recommend MediaInfo. It’s a powerful little utility that gives you a complete report card on any media file.
Pop your WAV file into MediaInfo and look for the "Format" and "Codec ID." A true, uncompressed WAV file will always be listed as PCM (Pulse-Code Modulation). This is the ultimate confirmation that you have a lossless file, not just a compressed track hiding inside a WAV wrapper.
This final check takes less than a minute, but it gives you total confidence in your audio. It guarantees that every step that follows, from editing to syncing subtitles in the TranslateMom Studio, is built on the best possible foundation for a polished, professional result.
A Few Common Questions About M4A to WAV Conversion
When you get ready to convert an m4a file to wav, a few questions almost always pop up. This is especially true if you're concerned about quality and hitting potential roadblocks. Let's clear things up so your audio is primed for professional use, whether that's for editing, mastering, or uploading to a service like TranslateMom.
One of the biggest questions I hear is: "Will converting my compressed M4A back to WAV restore its original quality?"
The short answer is no. Think of it this way: when you create an M4A, the compression algorithm discards some audio data to make the file smaller. Converting it back to a lossless format like WAV can't magically bring that lost data back. What you end up with is a perfect, uncompressed copy of the M4A source, not the original recording.
That's why it's always best to start with the highest-quality audio you can get your hands on. For example, when you give TranslateMom a video link or upload a file, our platform gets to work on the original audio track. After choosing your source and target languages, the service you select (Transcription, Translation, or Dubbing) uses that high-fidelity source to generate the most accurate results possible.
What About the Huge WAV File Size?
Another thing that often surprises people is the massive size of a WAV file. You might have an M4A that's only a few megabytes, but the converted WAV file could easily be ten times larger. This isn't an error; it's the nature of an uncompressed format. It contains every single bit of audio information from the source file.
For any serious audio work, this trade-off is absolutely worth it. The extra storage space is a small price to pay for the flexibility in editing and the archival-grade quality that WAV delivers. When you need precision—like when you're syncing subtitles frame-by-frame—the integrity of a WAV file is something you can't compromise on.
Fixing Common Conversion Problems
Sometimes, things just don't go right. Here are a few common hiccups I've seen and how to fix them:
- My new WAV has no sound: This is often a codec issue. When you're exporting from a tool like VLC or Audacity, double-check that you've selected a standard PCM codec.
- The file is still small and sounds compressed: If your WAV file shows a low bit rate (like 128 kbps), the conversion didn't work correctly. You likely just put a compressed audio stream inside a WAV container. Go back, re-export, and make sure the output is set to uncompressed PCM.
- My software won't import the file: Many professional editing tools are picky and won't accept M4A files. This is one of the main reasons for converting in the first place. WAV is universally supported and will work in virtually any audio or video editor.
The main takeaway here is that a good conversion is all about preserving quality, not creating it from thin air. A properly converted WAV file gives you a stable, high-fidelity foundation for any professional audio project, making sure your final product is as clean and clear as possible.
Ultimately, a pristine audio source is step one toward a polished final product. For anyone looking to get their audio transcribed, a high-quality WAV can make a world of difference in accuracy. You can learn more about this in our guide on using a free audio to text converter.
Ready to bring your video content to a global audience? With TranslateMom, you can subtitle, translate, and dub your videos into over 100 languages with stunning accuracy. Try it today and break language barriers in seconds at https://translate.mom.